
How to Make a Sourdough Starter from Scratch
Learn how to make a sourdough starter from scratch using two simple ingredients – flour and water!
Have you wanted to jump in and learn all about sourdough, but don’t know where to start? Join the conversation with others and learn how to make your very own sourdough starter from scratch. In this guide, you’ll learn what a sourdough starter is, how to make one, its life cycle, and a robust FAQs section to help troubleshoot your questions.
Save This For Later!
We’ll email this post to you so it doesn’t get lost in your open tabs!
By submitting this form, you consent to receive emails from Lockrem Homestead
Having a sourdough starter empowers you to bake breads and other baked goods with an ancient method of leavening. Baking with a sourdough starter makes it easy to feed your family homemade bread. I use this bread recipe weekly to feed fresh bread to my family.
But don’t limit yourself to just bread loaves. A sourdough starter can be used to leaven bagels, baguettes, and cinnamon rolls. Incorporate the sourdough discard (unfed starter) to add flavor, moisture, and help break down the phytic acid in the grains. Here, be creative and use it in a variety of ways. Use it to thicken sauces, add to muffins, cakes, and cookies.
What is a Sourdough Starter?
Long before commercial yeasts were created, sourdough starters were used to inoculate bread doughs. But what is it and how does it work? A sourdough starter is a colony of wild yeast and bacteria captured from its surroundings. Mixing flour and water over a series of days and letting it sit out allows the natural wild yeast in the flour and the air to be caught and suspended in the starter.
Over time, this colony of bacteria grows and becomes strong, referred to as a mature starter. The flour provides the food these tiny microbes need in order to grow. As the microbes feed, the sourdough starter begins to ferment and, as a byproduct, produces carbon dioxide gas, which leavens the bread.
This living colony of yeast and bacteria requires oxygen, regular feedings, and water to stay healthy and strong.
How Long Does It Take to Make a Sourdough Starter?
The sourdough starter takes just a few minutes of hands-on time spread over many days. From start to finish, this process can take 5-7 days. Sometimes it takes longer, especially in cooler climates, and sometimes it goes really quickly. But more than the time outline, you’re looking for the starter to behave a certain way to know when it’s ready to make bread.
How to Start and Feed a Sourdough Starter
To keep things simple, I suggest using a 1:1:1 feeding ratio. These numbers represent the amount of starter, flour, and water, always in this order. As you become more familiar with caring for a sourdough starter, you can adjust the feeding ratios. Read all about sourdough feeding ratios, with an easy calculator.
Sourdough Starter Life Cycle
When I first started to learn about all things sourdough, I kept reading about the steps to take but was quickly frustrated when the result didn’t match the directions.
Once I finally understood the process and what visual cues to look for, I was able to create a timeline to bake bread that works within our family’s schedule. Understanding the starter’s life cycle teaches you what it’s doing and how to respond to it.
- Feed Starter – Like all fermented foods, a sourdough starter needs to be fed with a specific food source to begin the fermenting process. Adding flour and water to the inactive sourdough starter gives the microbes the food they need.
- Lag – There will be a lag time after the sourdough starter is fed, where it appears not much is happening. However, the yeast and bacteria are busy at work eating their newly introduced food supply.
- Growth – The sourdough starter is a colony of bacteria and yeast that eat and digest the starches in the flour, which in turn, creates carbon dioxide, causing the starter to grow.
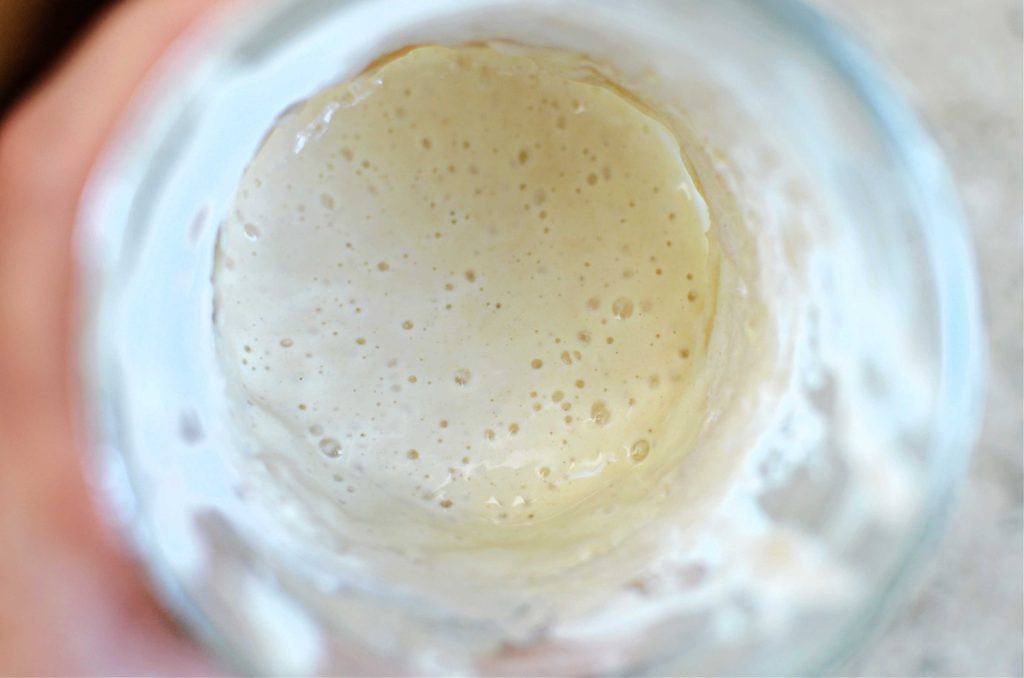
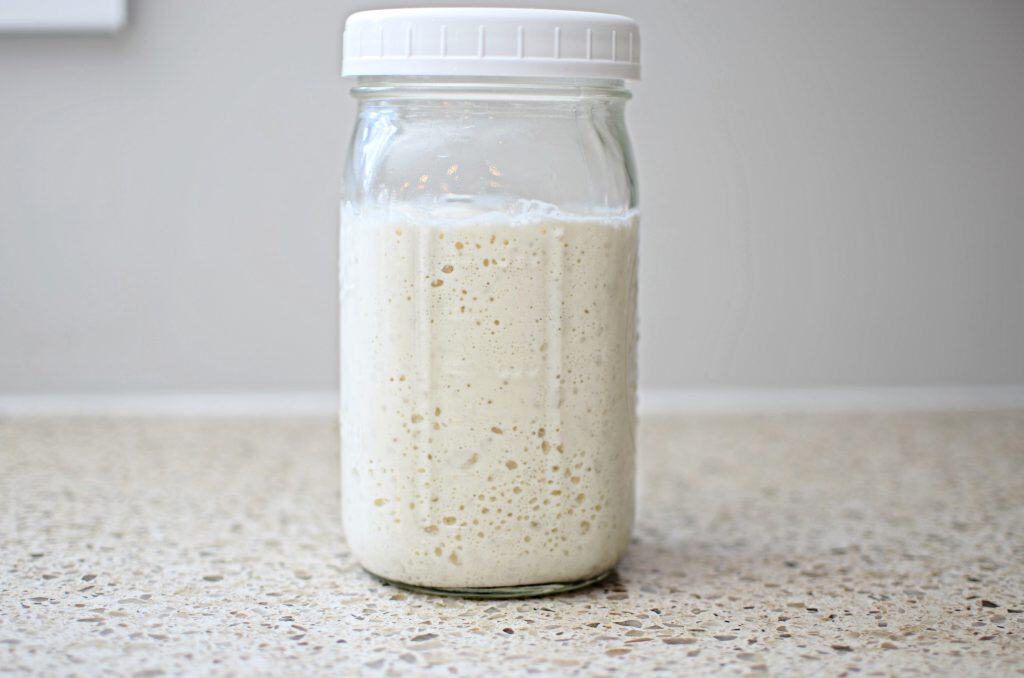
- Peak – When the starter has eaten much of its food supply, this is what we refer to “at its peak” and is the optimal time to use. The starter will have a slightly domed top as it grows.
- Decline – When the bacteria have eaten through all of their food supply, the next stage is one of decline. The starter will slowly start to fall back down. Having eaten through their food supply, the starter stops producing carbon dioxide.
Temperature affects the rate of activity of the starter. Hence, the colder the starter’s environment, the slower they eat and digest their food. Whereas, the warmer the environment, the faster they move through this process.
Sourdough Starter Ingredients
- Flour – I like to use organic all-purpose flour because it’s easy to find at most grocery stores. If you find the starter is sluggish to get started, you can use whole wheat flour. Its bran and germ are rich in minerals, nutrients, and enzymes that accelerate fermentation.
- Water – Use room temperature, unchlorinated water for the best results. If using tap water, let it sit out in an uncovered container for 24 hours to let the chlorine evaporate out of it before using it in your starter.
Tools You’ll Need For Sourdough Starter
- Glass container, like a Weck or quart canning jars
- Kitchen scale
- Paper towel
- Rubber band
- A spatula or a non-metal utensil to stir the starter
How to Make Sourdough Starter from Scratch Instructions
Day 1:
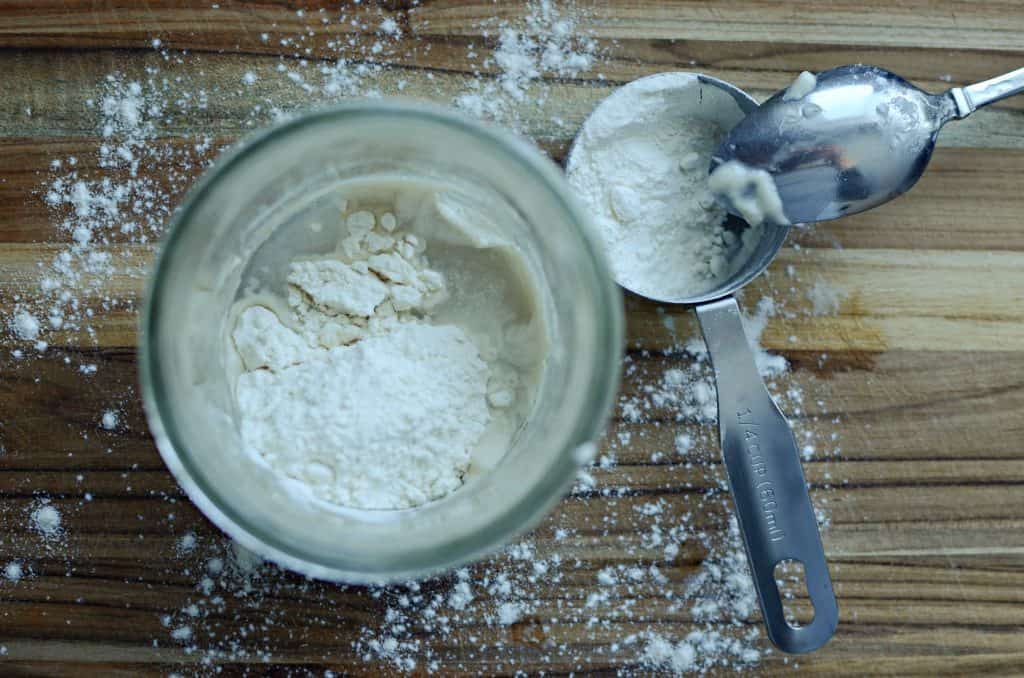
- Mix equal parts flour and water by weight in a clean quart-size jar. I used 1/4 cup of flour and 2 T of water, roughly 30 g of each.
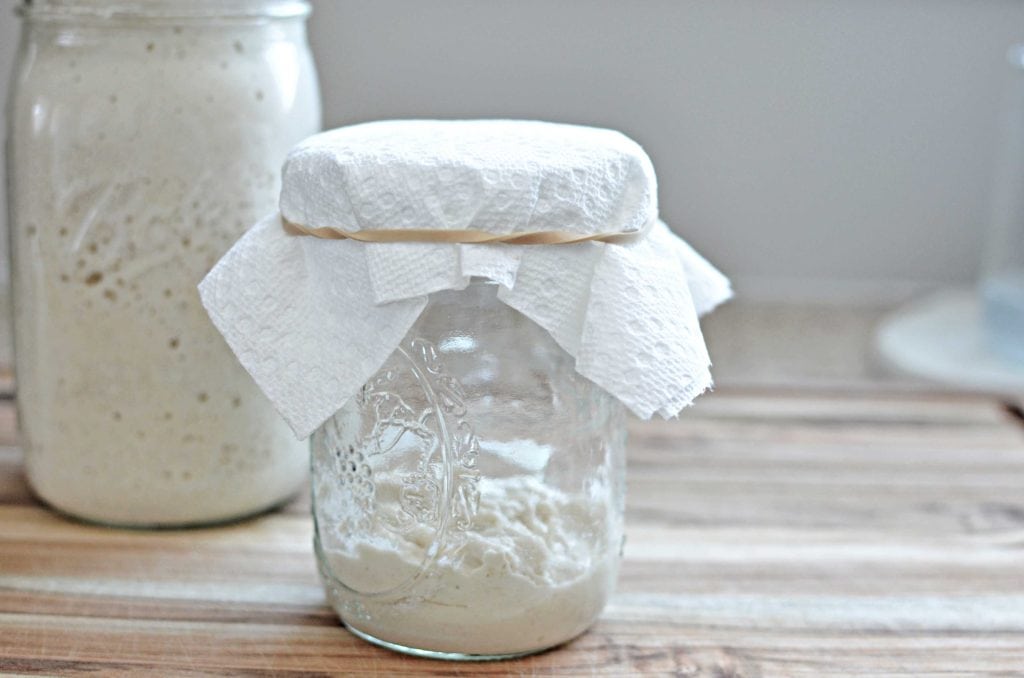
- Cover the jar with a paper towel, held in place with a rubber band. You’ll want something that allows the jar to breathe, but keeps it covered to keep dust and debris out of.
- Let the starter rest at a room temperature of 70°F/21°C – 72°F/22°C for 24 hours. For best results, place in a warm, draft-free spot.
Day 2-4:
- Continue to feed with equal parts flour and water by weight in a clean quart-size jar. I used 1/4 cup of flour and 2 T of water, roughly 30 g of each.
- Then, cover the jar with a paper towel, held in place with a rubber band.
- Continue to let the starter rest at a room temperature of 70°F/21°C – 72°F/22°C for 24 hours. A warm, draft-free spot is best.
- By this time, you should start to notice some activity, bubbles or a faint yeasty smell, by this point. If there isn’t, no need to be concerned, just keep feeding and letting it rest out in the open.
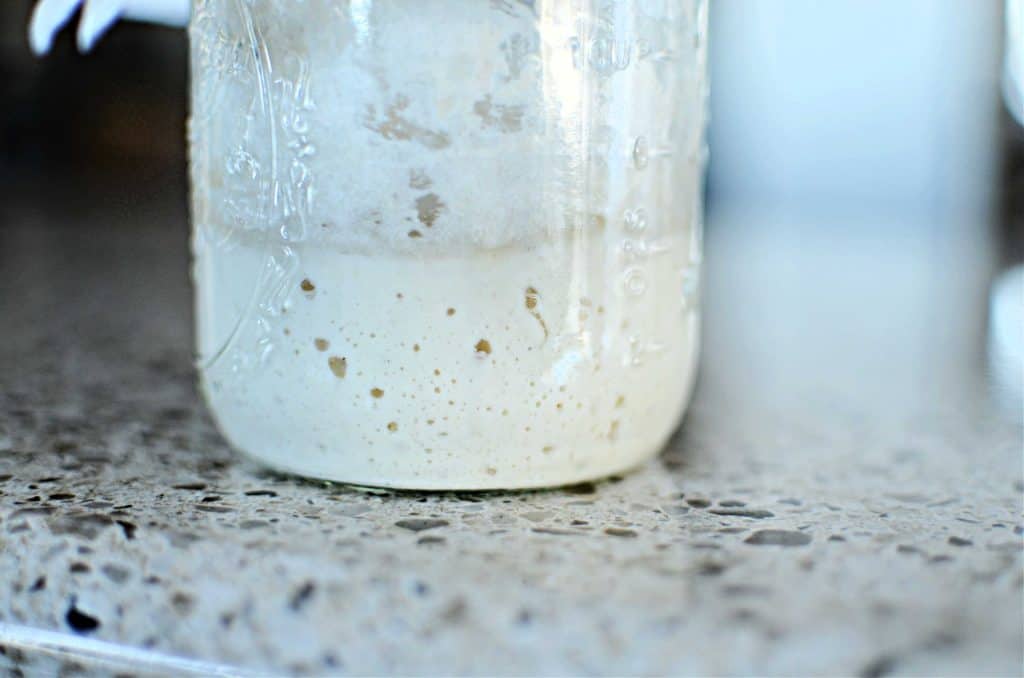
Step 3: Day 5-7:
- By this point, the starter has grown to be quite substantial in size. Discard half of the starter before each feeding of equal parts of the flour and water by weight. Again, use 1/4 cup of flour and 2 T of water, roughly 30 g of each. Why discard? With the mass of starter that’s there, it would take quite a bit of flour to keep up with enough food for that size. By reducing the starter size, it uses much less flour for feedings.
- Afterwards, cover and continue to let rest in a warm environment.
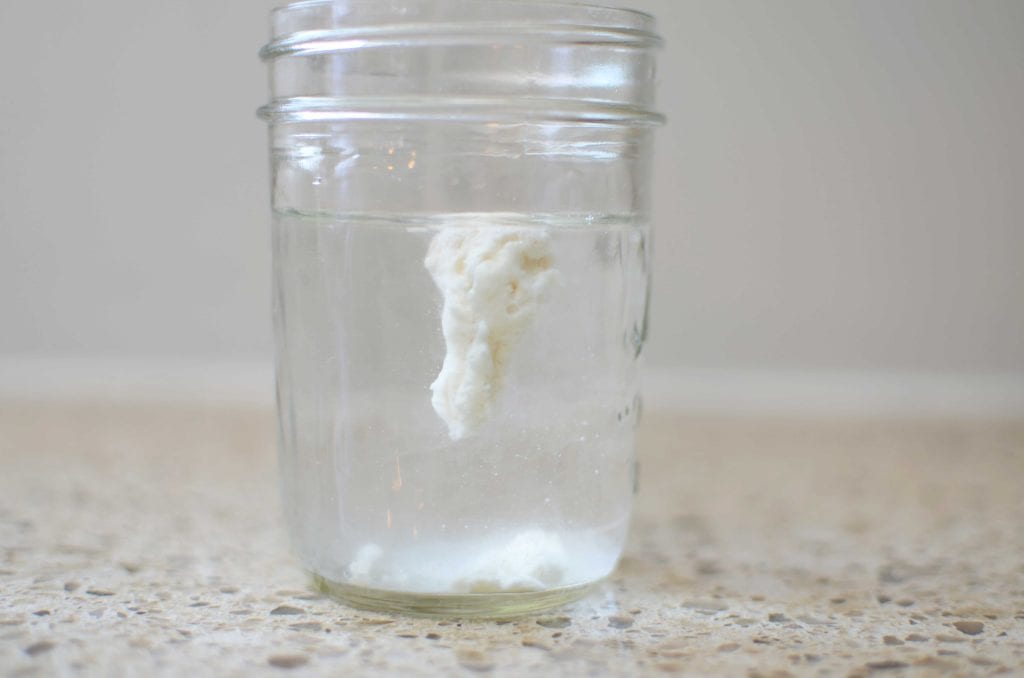
- By day 7, test the starter using the float test (explained below). If it’s not ready by day 7, continue to discard and feed daily. Sometimes the environment isn’t quite right, and it just takes longer. Don’t lose heart, keep persevering!
Helpful Tips for Making a Sourdough Starter
- Use a kitchen scale. It’s an invaluable, inexpensive tool for baking sourdough breads. Measuring by weight, and not volume, helps ensure consistency in ingredient amounts.
- Use clean equipment – Wash your kitchen tools with hot soapy water or run them through the dishwasher to ensure everything is clean. You don’t want any cross-contamination with other bacteria as you make the starter.
- Designated space – Keep the sourdough starter from other ferments, including cheese, kombucha, sauerkraut, or a ginger bug. They all have their own types of yeast and bacteria, and don’t do well too close together. Generally, 8-10 feet apart is sufficient.
Ways to Use Your Sourdough Starter
- Add to breads to leaven like sandwich bread, ciabatta, tortillas, brioche, English muffins, and rolls.
- Create beautiful, artisan bread with different flavor add-ins like strawberry, double chocolate, cinnamon raisin, fig and walnut, and jalapeno and cheddar. With so many flavor combinations, the possibilities are endless. Discover more sourdough bread recipes.
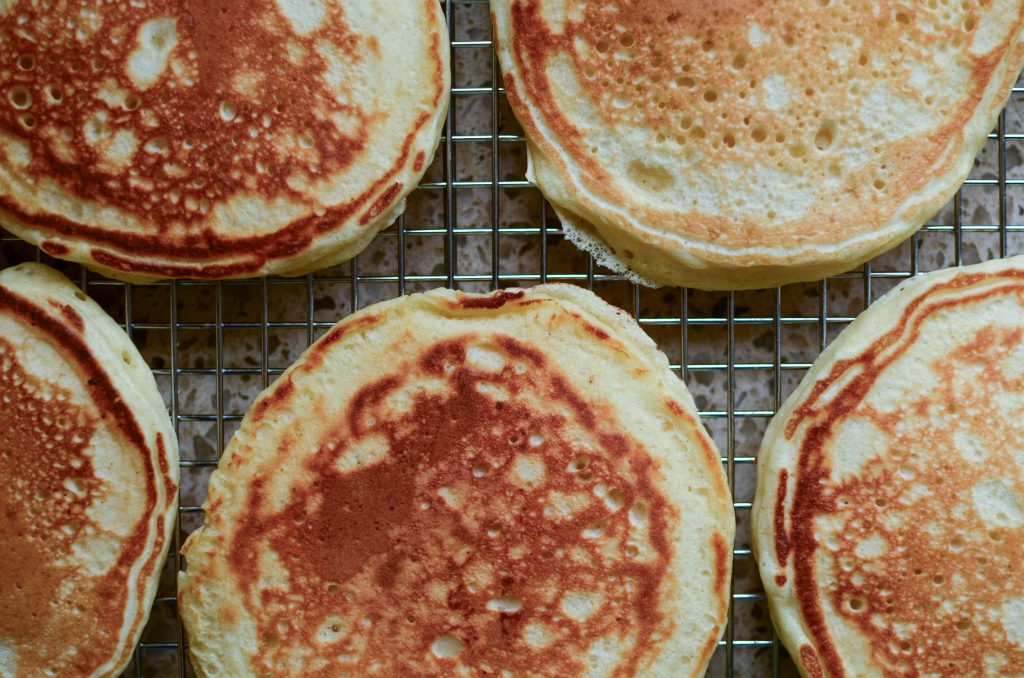
- Add sourdough discard to your favorite recipes for that classic sourdough tang, moisture, and its health benefits. Some of our favorites are pancakes, rhubarb muffins, mac and cheese, and lemon poppyseed scones. Find more sourdough discard recipes.
FAQs About Making a Sourdough Starter
How Do I Know If My Starter is Ready to Bake With?
There are two great indicators to know that the starter is ready to bake with.
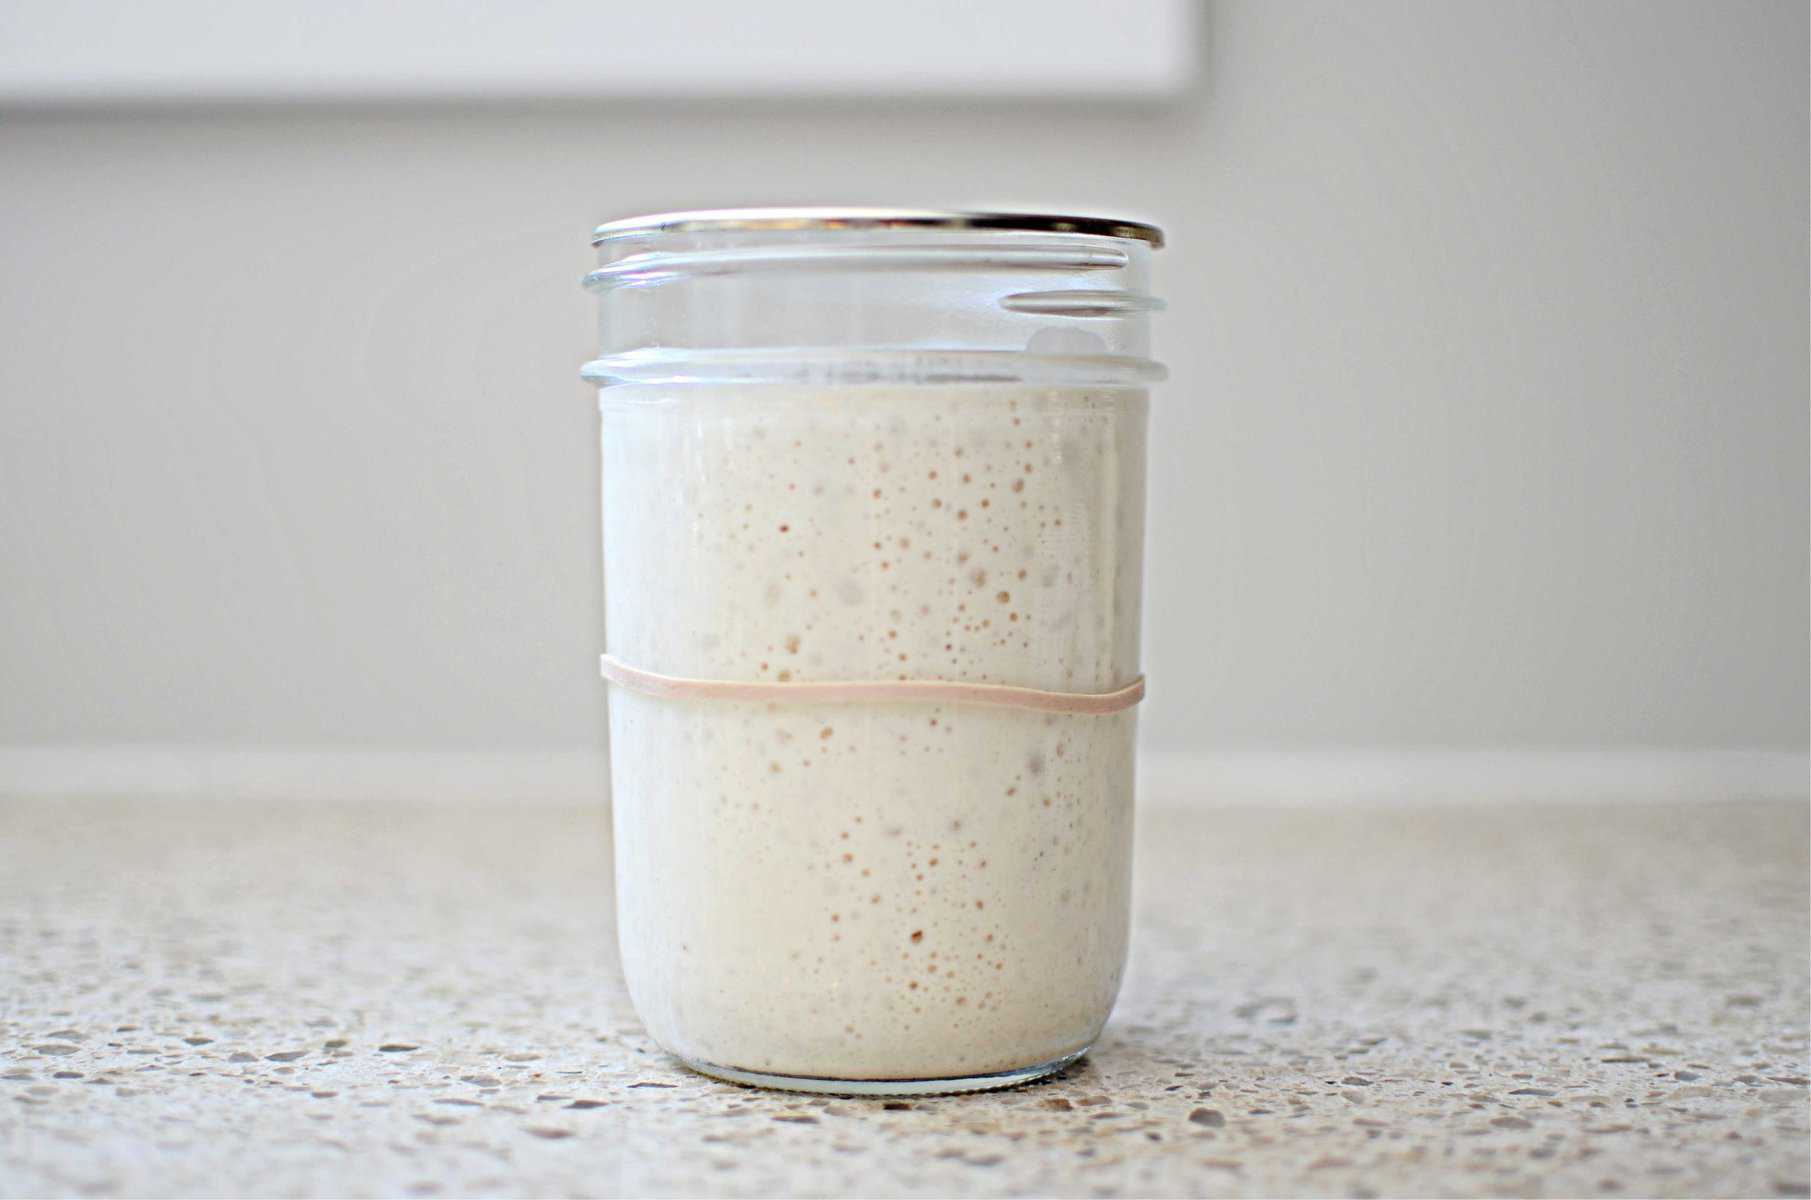
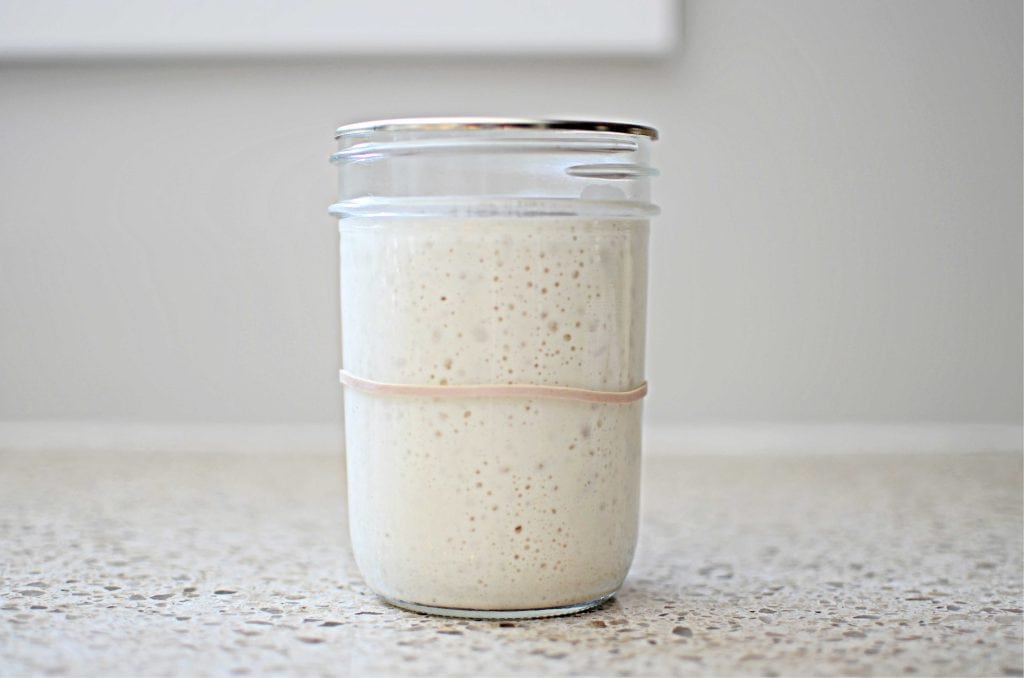
First, the starter doubles in size 4-6 hours after a 1:1:1 feeding, and you’ll see activity in the starter, meaning that there will be many tiny bubbles appearing throughout the starter. I use a rubber band to mark the starting point on the jar after it has been fed. This allows me to see its growth at a glance.
Second, the starter will pass the float test. What is a float test? Often this is how you determine if the starter is ready to bake with. To perform the float test, place a small amount of starter in a cup of water. The carbon dioxide present in the starter will cause the starter float to the top when its ready. But then if it sinks to the bottom, it needs more time.
What if My Starter Never Got Bubbly?
You may find that a brand-new starter takes more time than the time recommendation to show signs of life. This than is more common in cold environments. When I made my first starter, it was the middle of winter, and therefore our house was so cold! My starter took twice the amount of time as anything I was reading online.
It can be discouraging if what’s happening in your kitchen isn’t lining up with the directions that you are reading. Little did I know how much temperature would play a part in the timeline. I finally found that keeping the starter in the oven with the light on was the ideal climate in our cold winter house.
I Have a Living, Bubbling Starter. Now What?
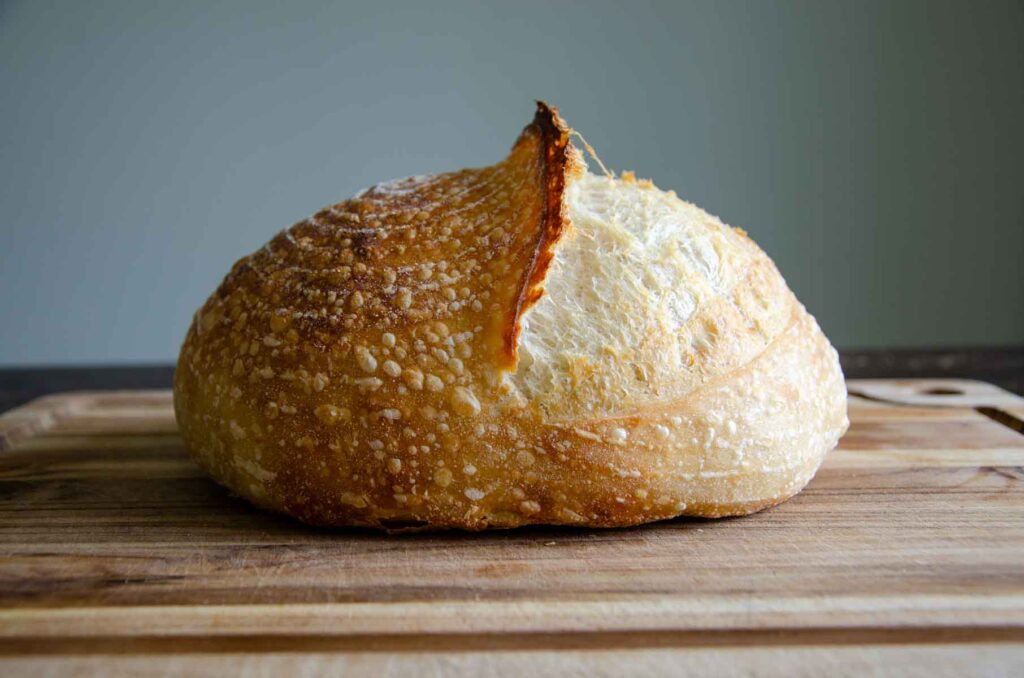
Congratulations! You’ve past the first step in your sourdough journey. Now that the starter has passed the float test, you’re ready to jump into creating something delicious! I recommend this easy sourdough bread loaf. Continue with your regular feeding schedule.
How Do I Keep My Starter Alive?
Once the starter is established, you have two options for a feeding schedule.
Option 1 – Daily
The sourdough starter will go through its cycle much faster if kept at room temperature. Increase the feeding ratio if you plan to keep the sourdough starter on the counter.
- About 4-6 hours before you’re ready to bake, feed it 1:1:1 and stir well.
- Next, let it rest on the counter with a lid loosely covering the top. It will become active as it starts to feed on the flour.
- Use in your recipe once it comes to its peak, generally 3-4 hours.
- After you use the starter, refeed the starter 1:5:5, cover, and place it in a draft-free place in the kitchen. This allows more time between feedings.
- The next day, discard a portion of the starter and continue with your daily feedings.
For me, this type of feeding schedule isn’t realistic. First, it requires more resources, mainly time and flour. Second, I don’t bake often enough that it makes sense to have a sourdough starter at its peak the majority of the week.
Option 2 – Weekly
Schedule the feedings once a week. Remember how we said that the temperature affects how active the starter is? This option uses that to our advantage.
Store the sourdough starter in the fridge and pull it out when you’re ready to use it. The cold slows the rate the starter goes through it’s food, extending the time between feedings.
- Follow the above feeding schedule, but instead of leaving it on the counter, replace the lid and move to the refrigerator.
- When you’re ready to bake again, remove the starter from the fridge and feed it. As it warms up, it will begin to feed and ferment.
- Once it’s at its peak, add the desired amount of active sourdough to your recipe. Then place the sourdough starter back to the fridge until the next time you plan to bake with it.
If you aren’t going to bake weekly, I suggest feeding it and allowing it to come to its peak at room temperature before placing it back in the fridge. Be sure to discard some of the starter before feeding to keep it at a manageable amount if you’re not baking with it.
Ooops, I Forgot to Feed My Starter. Is it Dead?
A really common question! But these starters are pretty resilient, and it really takes a lot for them to die. Ultimately, forgetting a feeding or two won’t hurt the health of the starter.
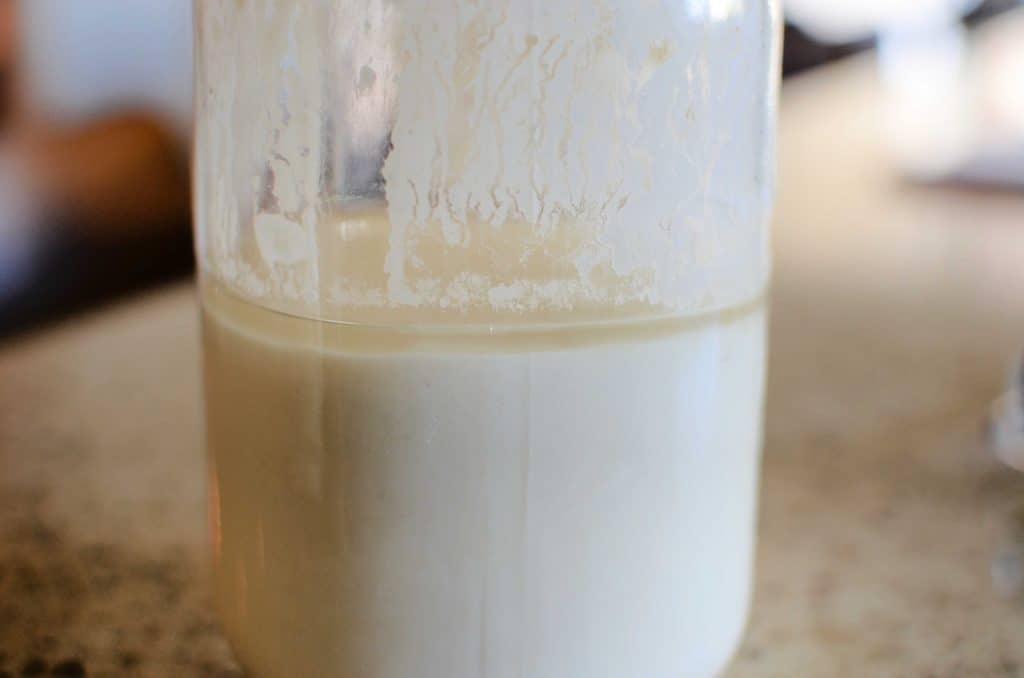
You might notice a watery substance on the top of the starter. This is hooch and means that your starter is hungry. It will also have a sharp, acidic scent.
When this happens, you can either pour it off, or simply stir back in when the starter is fed. Exposure to high heat or extended periods of neglect at room temperature can cause your starter to die.
If you notice funky colors in your starter, throw it away and start a fresh one. If you happen to see any orange or pink streaks, this is a sign that the starter has gone bad and needs to be thrown out.
What do I do With a Freeze-Dried Starter?
If you have a freeze-dried starter that needs to be reconstituted, the process is much like making a starter, with a bit of a jump start on the process.
Day 1: Add freeze dried starter to clean pint size jar, along with 50g water and 50g flour. Stir and cover with paper towel fastened with rubber band. Rest at room temperature or someplace warm.
Day 2: There may be some activity starting, but don’t worry if you don’t see any activity yet. Add another 50g water and 50g flour. Stir, cover and let sit at room temperature.
Day 3-5: You should start to see small bubbles in the starter by this point. If not, just keep going. By this point, you have a bit of starter. In order that so much flour is used, you are going to discard half of the starter, and then feed again 50g water and 50g flour. Cover, and sit at room temperature. By the end of day 5, the start should have plenty of activity and your starter is ready to bake with!
What Do I Do if I Got a Starter From a Friend?
If the starter has been fed recently, it can be stored in the fridge until you’re ready to bake with it. It may be helpful to ask who you got the starter from when the last time the starter was last fed. If you don’t have this information, a good rule of thumb is to feed the starter with equal weight of starter, flour and water.
You are now ready to make your own sourdough starter from scratch!
I’d love to hear from you! If you found this guide helpful, please leave a star rating and let me know how in the comments section below. Happy Baking!

Hi! I met you yesterday at the Groves’ gathering 🙂 and bought one of your freeze dried starters. A question… Can I use whole wheat flour? I thought I’ve read somewhere that it interacts with the starter differently that white flour does? 🤷♀️. Thanks!
Hi! Yes, it was great to meet you! Yes, you can use whole wheat flour, but I would use all-purpose flour to get the starter going just because that’s what it is used to. Once the starter is awake and bubbling, you can transition the starter to a whole wheat flour. From what I’ve read, there will be an adjustment period when switching flours, but I don’t have personal experience with this. Please keep me posted on how it goes.
Sure! We’ll be in touch 🙂
Thank you for sharing this! I will take any and all sourdough tips from you Leisha. You are the sourdough queen.
Thanks, Brenda! I can’t wait to taste your sourdough!