How to Autolyse and Fermentolyse: Sourdough Bread
Sourdough recipes sometimes call for an autolyse or fermentolyse. Often, this is one of the first steps in a lot of sourdough baking recipes. What is it, and why do it? This guide will cover autolyse sourdough vs fermentolyse, when to use them, and also when you might not want to.
This post may contain affiliate links. As an Amazon Associate, I may receive a small commission, at no cost to you, if you make a purchase. Please read our disclosure policy.
Understanding more about how to autolyse sourdough and fermentolyse will give you the tools to bake better sourdough!
As you develop your skills as a home bread baker, you’re sure to come to a point when you want to dive deeper to better your sourdough baking skills. Most of my sourdough bread recipes are written so a new home baker can jump right in and bake a great loaf of bread with little to no prior experience. However, there comes a point when you want to know more and grow your sourdough baking knowledge.
If you’re new to using a sourdough starter to leaven breads, I suggest starting with learning how to make a sourdough starter. Once your starter is ready, the next step is to bake bread using my easy sourdough bread recipe.
What is Autolyse Sourdough Bread?
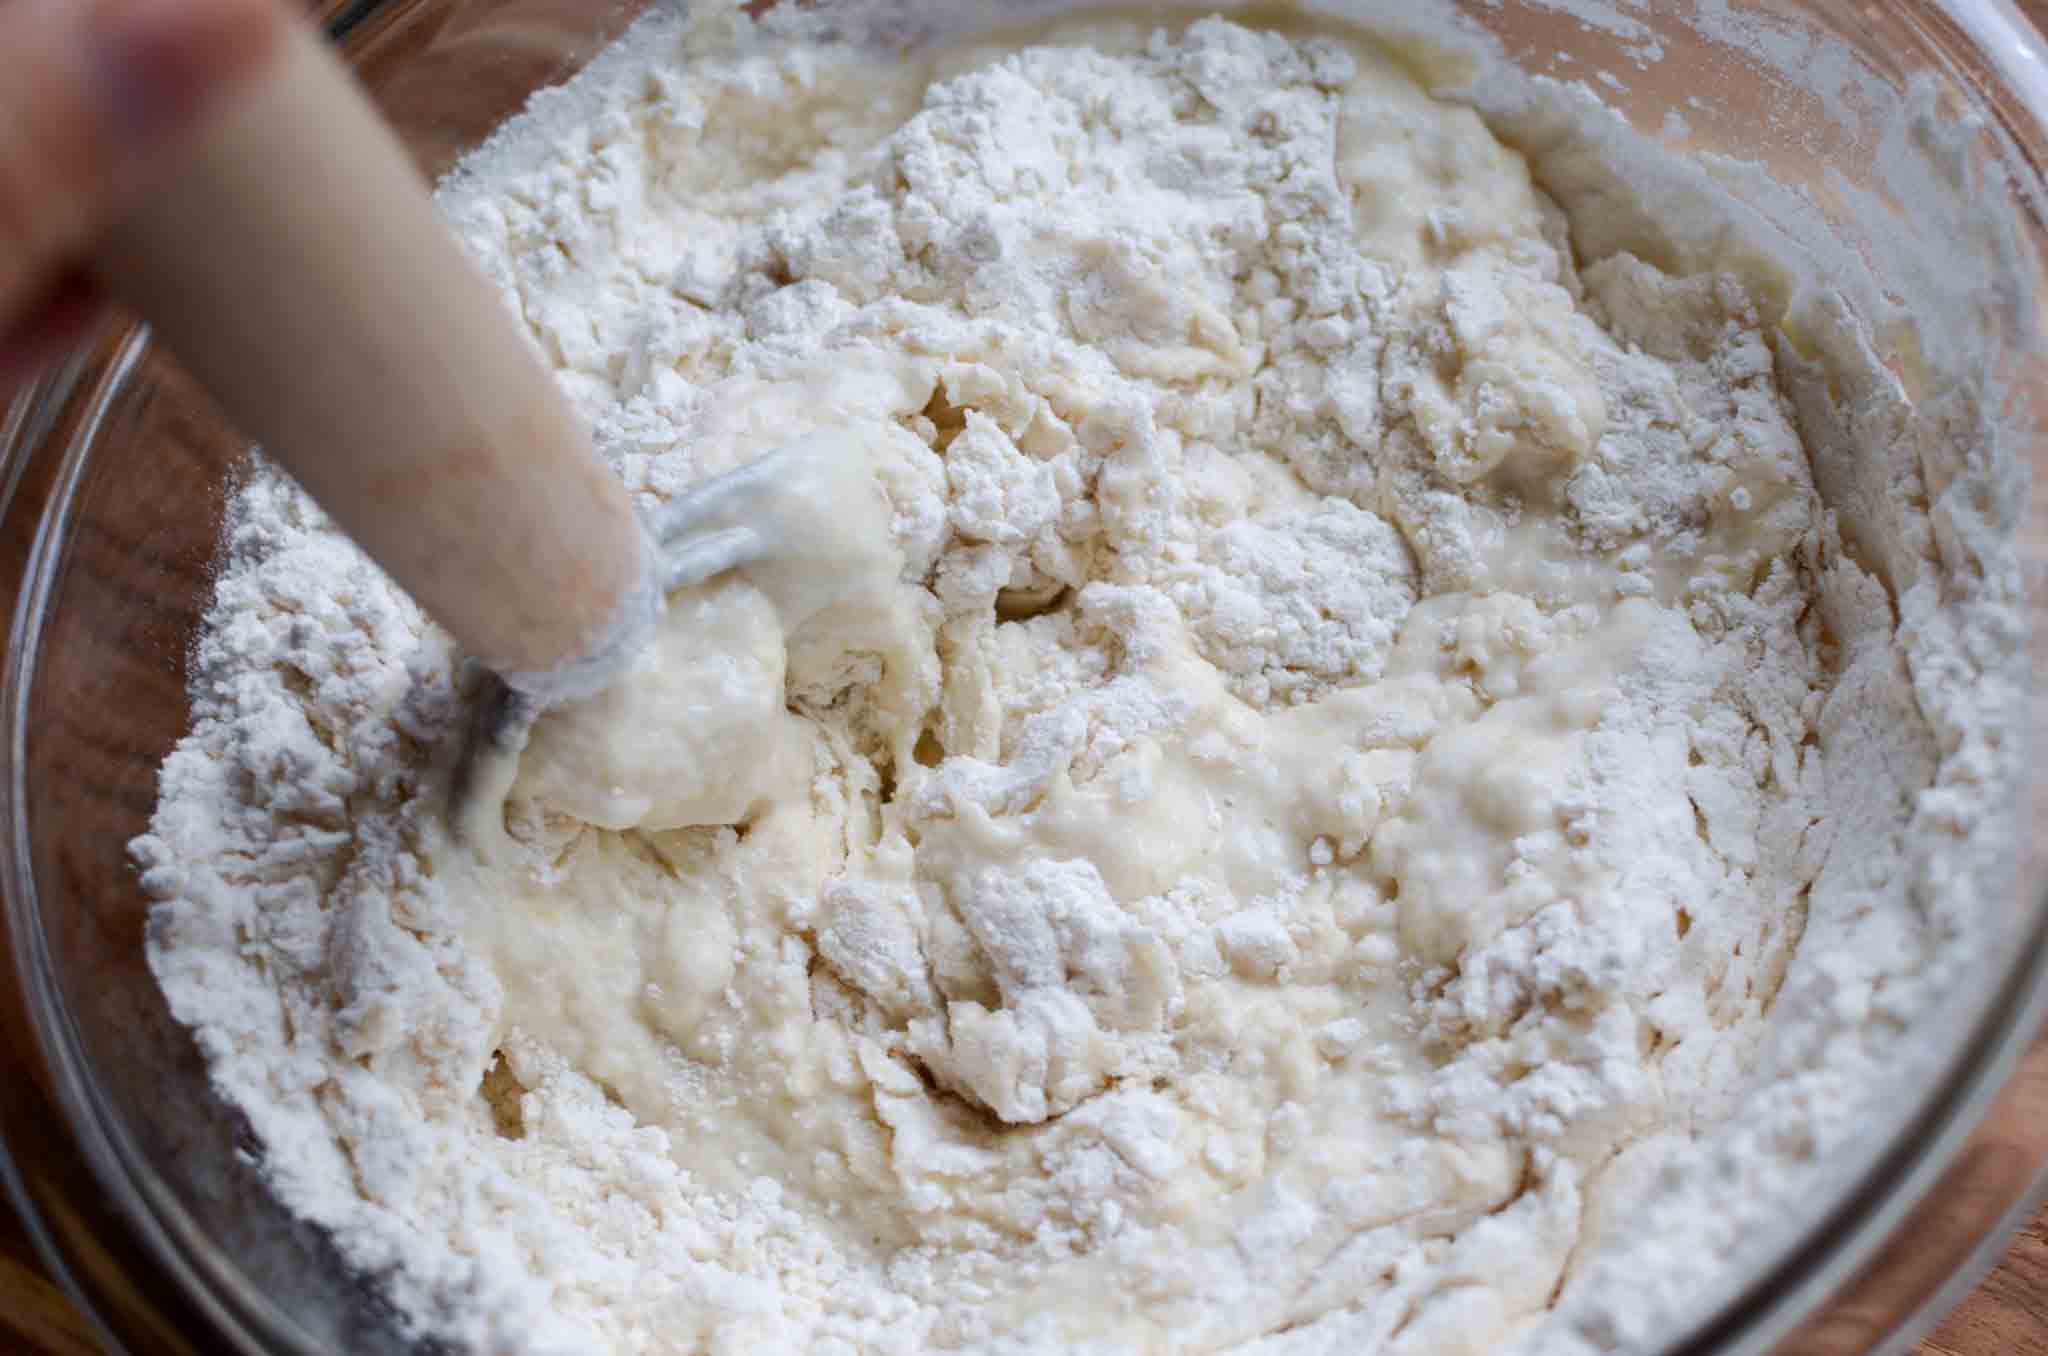
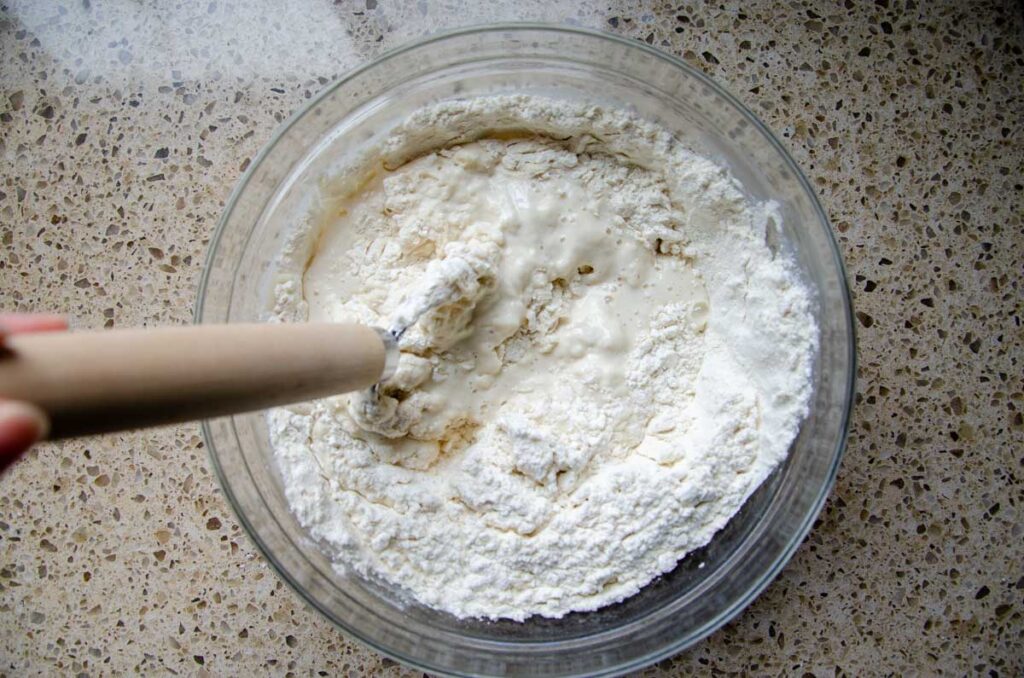
The autolyse method, sometimes written as autolyze, dough autolysis, or autolysis, is a simple process of combining flour and some or all of the water in a sourdough recipe and leaving it to rest for a short time. I like to use a dough whisk to mix all of the flour with the water. It does a great job incorporating the last bits of flour at the bottom of the bowl. Cover the bowl and let it rest for 30 minutes, up to a couple of hours at room temperature.
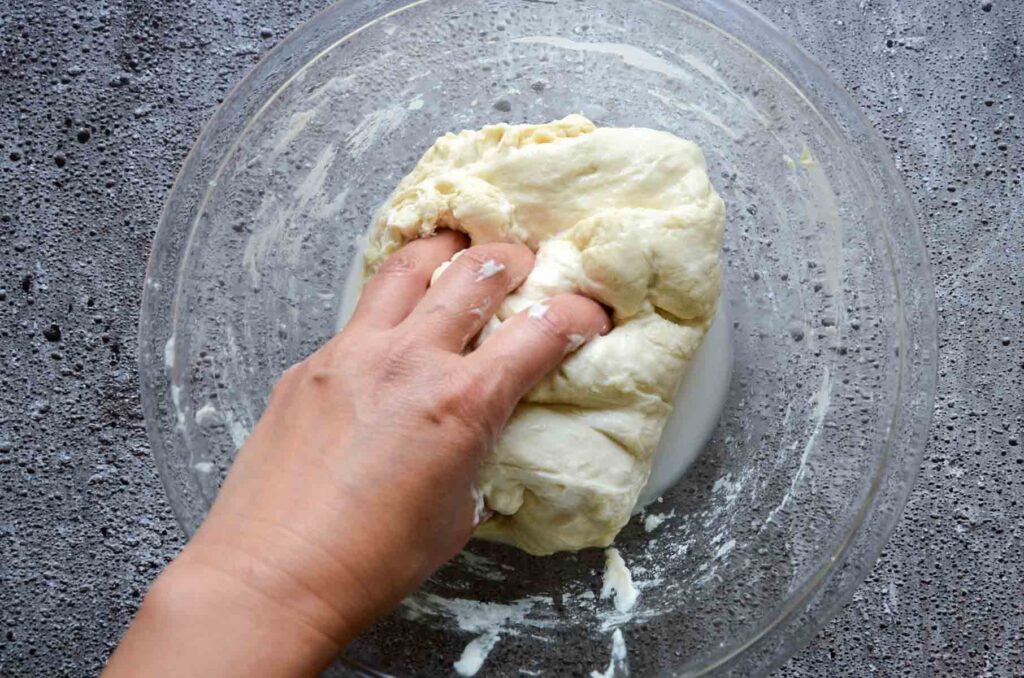
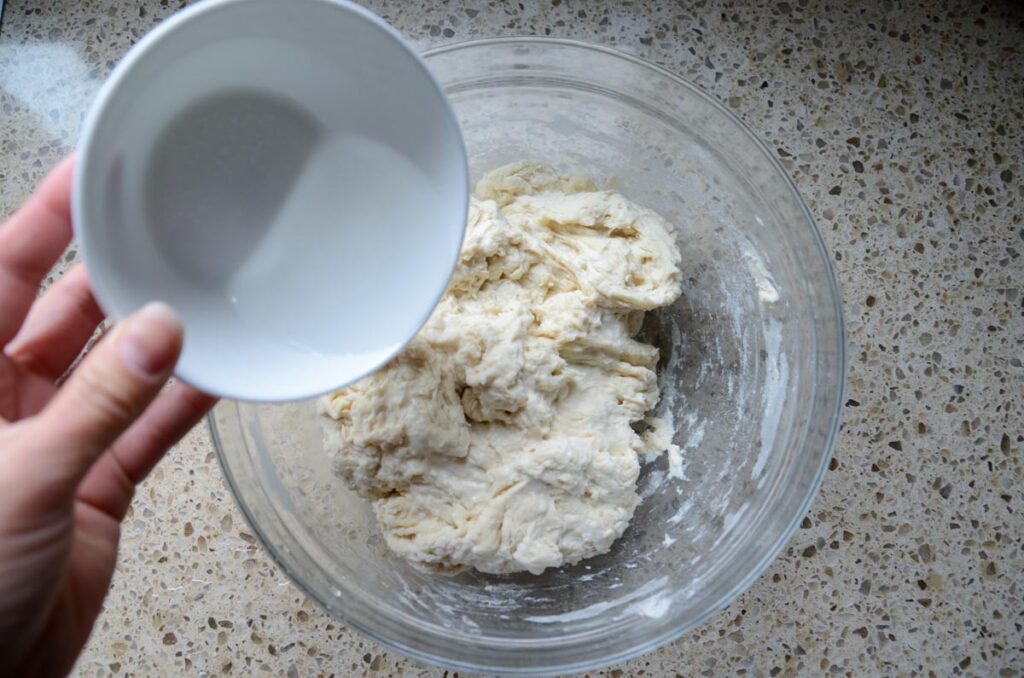
Next, add the ripe levain, salt, and any additional water after the autolyse period and before mixing and strengthening the dough.
During this rest period, the enzymatic activity begins.
- The amylase enzymes begin to break down the carbs into simple sugars that the yeast can feed on.
- The protease enzymes naturally break down the gluten network to improve the dough’s extensibility, letting the dough stretch without tearing.
- While at the same time, seemingly paradoxically, the gluten bonds begin to form to give the dough better gluten development for a smoother texture and more strength.
For best results, aim for the water’s temperature to be between 75°F(24°C) – 80°F(26°C).
A good example of when to autolyse is in my sourdough chocolate chip croissant bread. I autolyse the dough to compensate for the added butter, which can weigh the dough down. This small step doesn’t add much time or effort, but helps to create a stronger dough, better oven spring, and increased extensibility.
What is Fermentolyse Sourdough Bread?
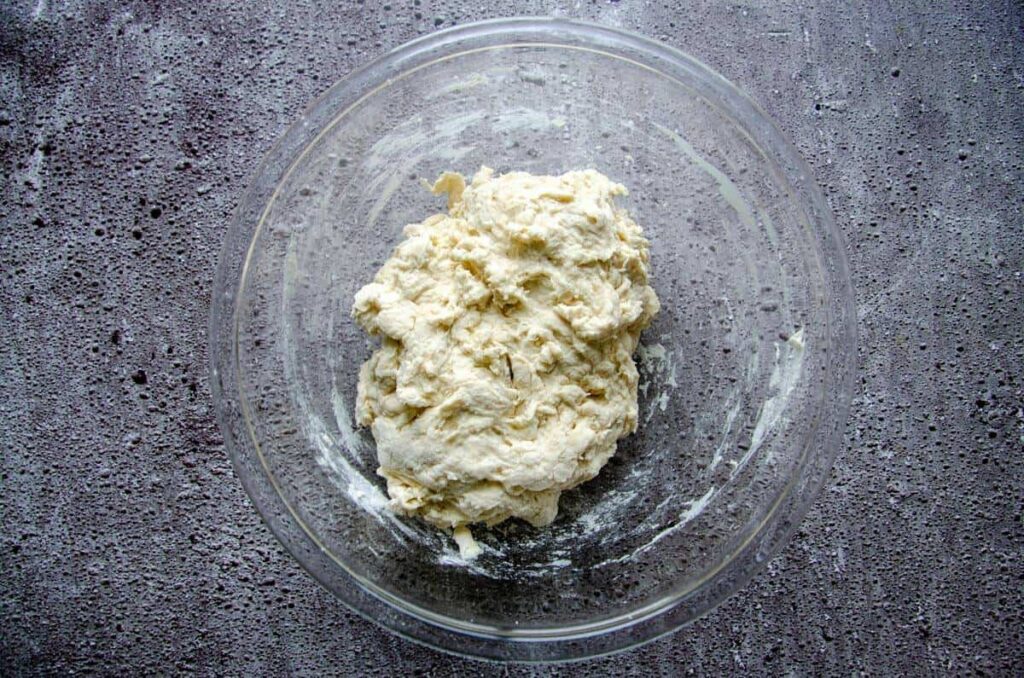
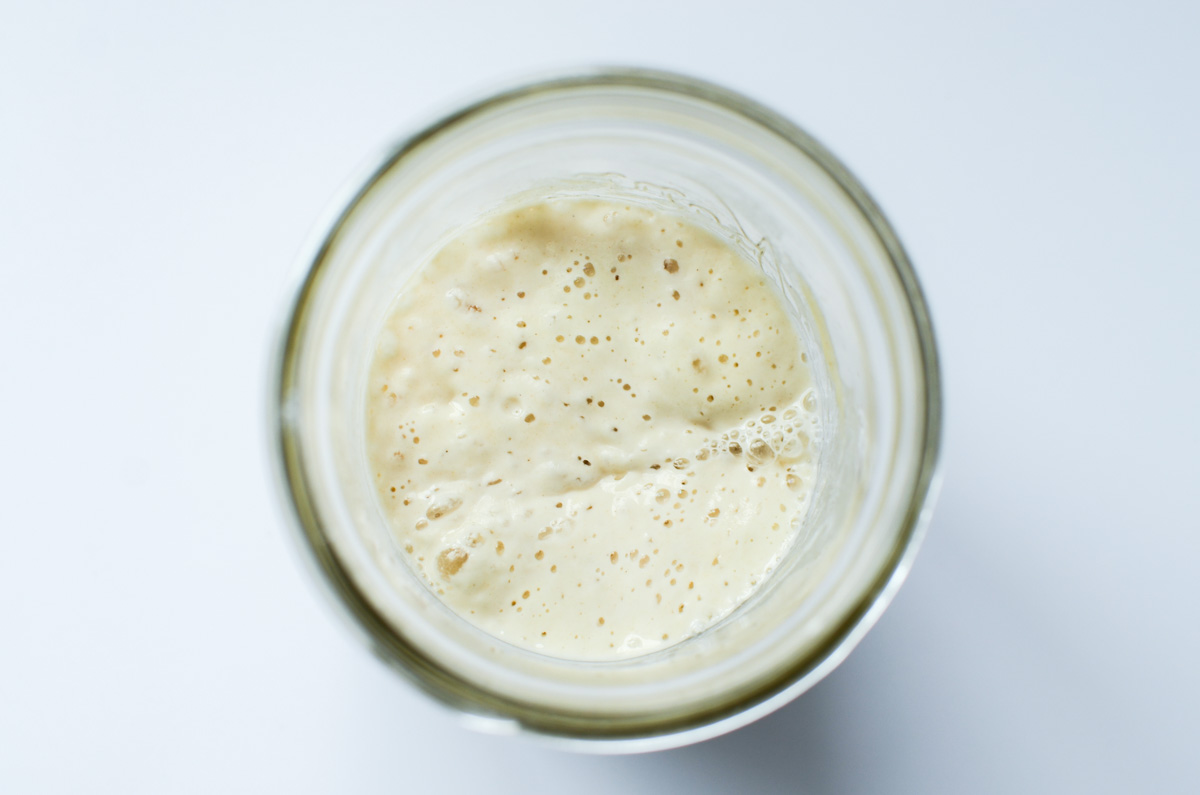
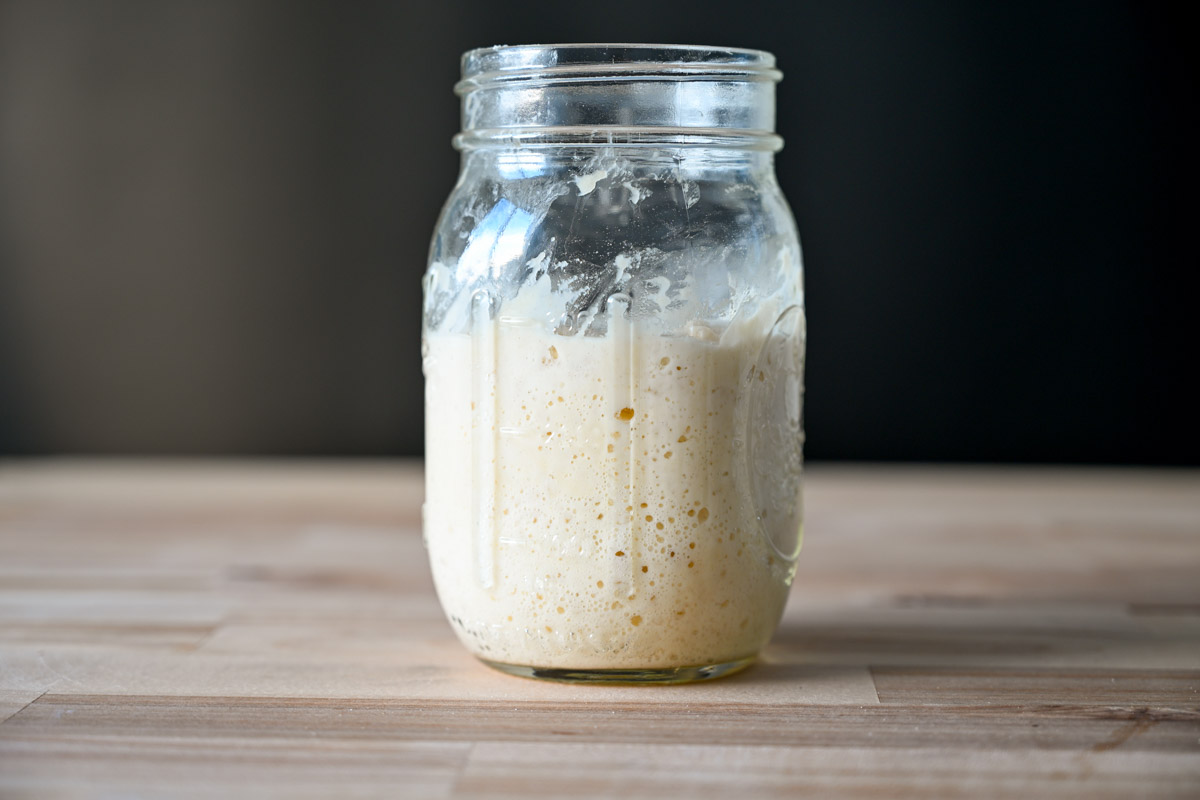
The fermentolyse is similar to the autolyse process. Fermentolyse is when flour, water, and levain are combined and allowed to rest for a period of time before adding the rest of the ingredients. When I was just beginning my sourdough journey, this is often how I mixed sourdough bread dough. It was simple and gave me great results.
After the fermentolyse process, add the salt and any reserved water. However, if you’re prone to forgetting or want to simplify the mixing process, add the salt when you mix the other ingredients. Although the yeast slows the yeast’s activity, it won’t kill it.
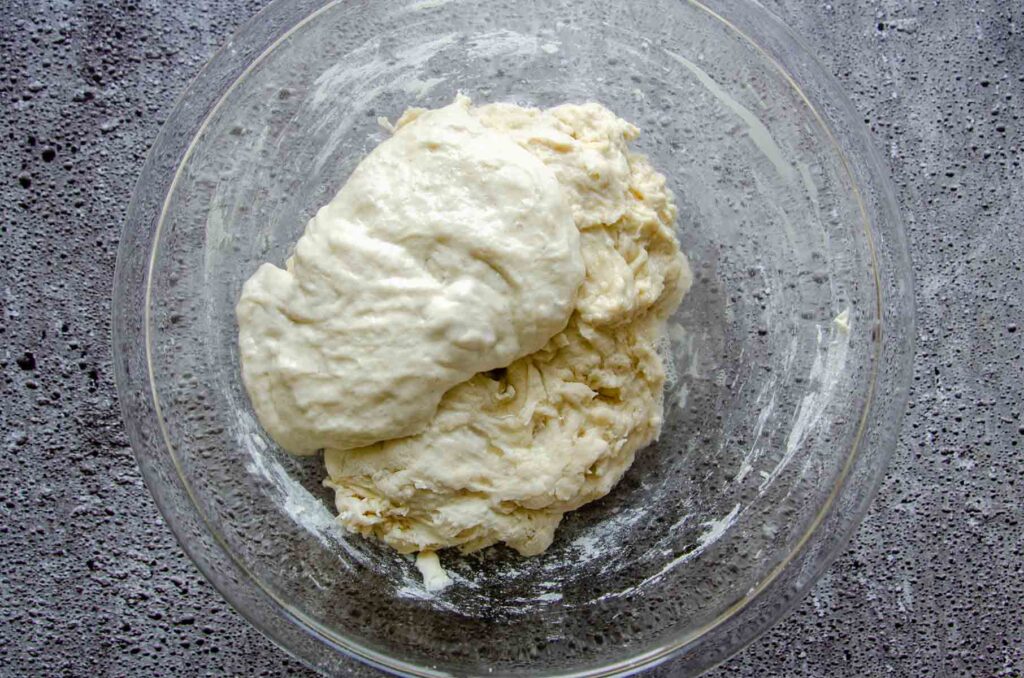
Once the sourdough starter is mixed with flour and water, the bulk fermentation process starts and continues until the dough is shaped. This is how we get the term, fermentolyse.
Generally, the fermentolyse time is short, and you do not want to do it for more than an hour before adding the salt. If you wait too long, the dough can overproof after the stretch and folds and bulk fermentation are done.
This type of autolyse is becoming more popular because it ensures you don’t forget to add the salt later. Sourdough bread without salt will have poor results. A fermentolyse is ideal for making sourdough breads using white flour, with results similar to an autolyse.
The Benefits of Autolyse and Fermentolyse Sourdough Bread Dough
Learning about these different methods, you might be asking yourself, “Why add more steps to the bread-making process?” Why autolyse sourdough?”
The simple answer is that it makes for better sourdough bread.
The autolyse and fermentolyse process kick-starts the enzyme activity. The enzymes convert the starch into sugars, which gives the yeast plenty of food. Starting the process without salt allows the yeast a head start to build a strong foundation before the salt inhibits yeast development.
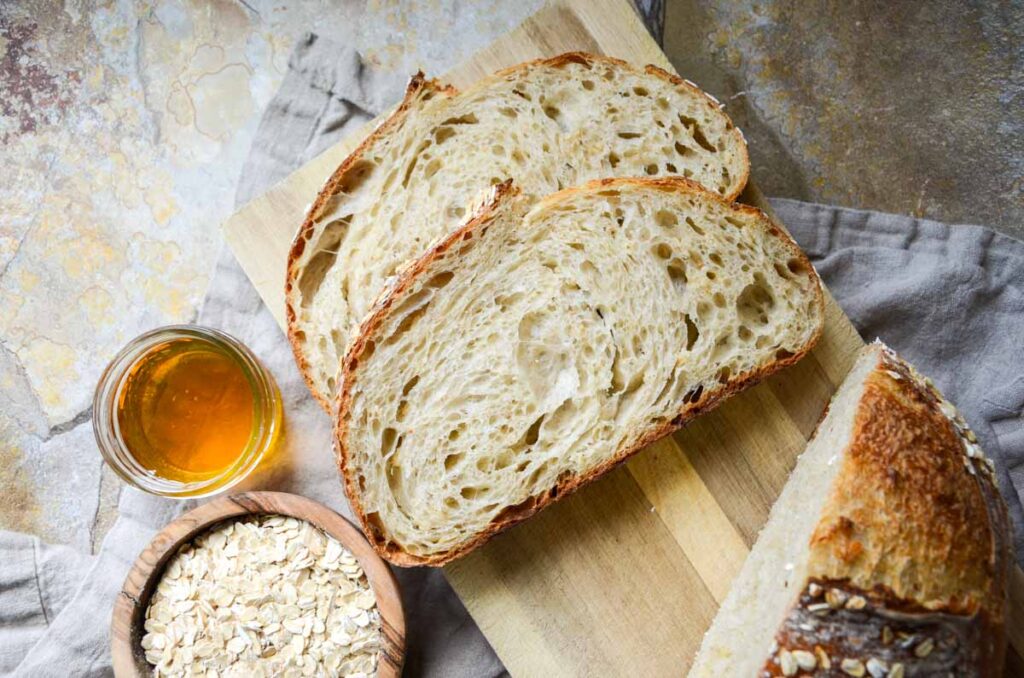
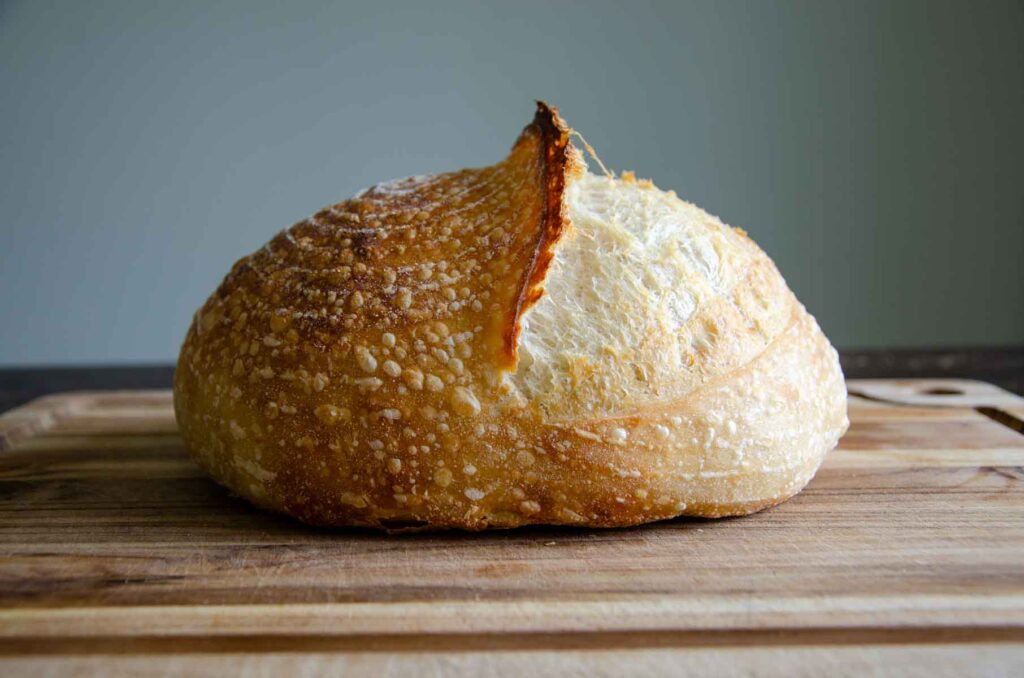
In addition, the autolyse period allows for proper dough development in a shorter time. With proper dough handling, the finished dough is stronger and holds in all of the carbon dioxide for an open crumb and better texture. So, how do you know when to autolyse sourdough bread dough?
When to Autolyse Sourdough Bread Dough
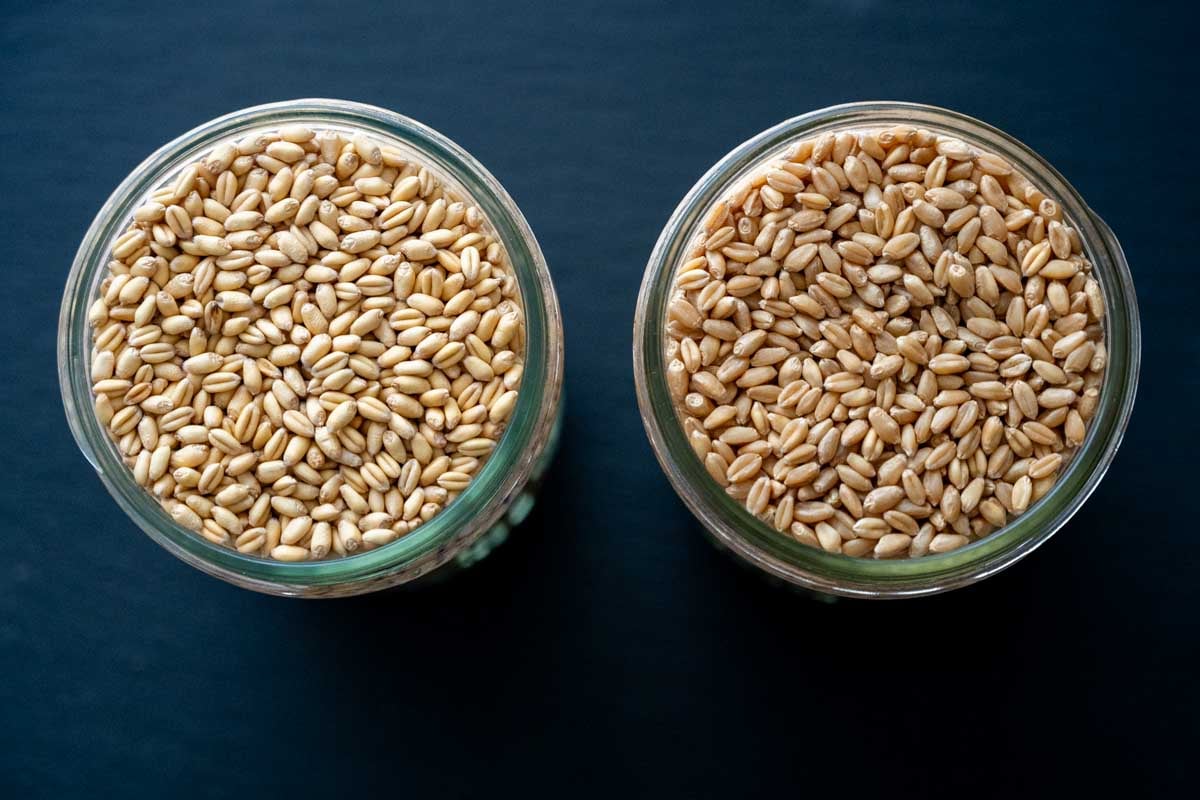
- An autolyse can help soften the mixture when working with whole grain flours.
- High-hydration doughs can benefit from autolyse. Normally higher hydration doughs are loose and slack, and the additional time to build a stronger gluten structure makes the dough easier to handle.
- Using very strong flours, like bread flour, without autolyse can lead to a final dough that’s strong, tight, and difficult to work with. An autolyse can help soften the dough.
FAQs
Do I Need to Use an Autolyse Every Time I Bake Bread?
No! My easy sourdough bread doesn’t autolyse, and it tastes delicious! There is such a wide range of sourdough baking techniques. Autolyse isn’t the only way to make good bread, and there are times when it makes sense not to autolyse. Times that it does make sense include:
- A recipe with a large percentage of freshly-milled flours.
- Working with highly extensible flours (like spelt)
- Times when you need to keep the sourdough baking process simple. This can include those who are short on time or the new sourdough bread baker.
Can Sourdough Autolyse Too Long?
How long to autolyse sourdough will vary depending on your recipe. Using different flours will require different resting times. For the best results, use a shorter autolyse, anywhere from 15 minutes up to an hour. With the exception of certain flours, like whole wheat flour, which can benefit from a two-hour autolyse.
I’ve been asked, can you autolyse overnight? In short, it’s not needed. A long autolyse using white flour can result in a sticky, weak dough that degrades with an extended autolyse.
If you want to utilize overnight in your baking timeline, a better use is to bulk ferment overnight at room temperature. Autolyse or fermentolyse earlier in the evening so the dough is ready to ferment overnight.
How Long Should I Fermentolyse Dough?
Keep the fermentolyse time short! Letting the dough rest no more than an hour before adding the salt is ideal.
If you wait too long, the dough can overproof after the stretch and folds and bulk fermentation time are done. A fermentolyse is ideal for artisan breads using white flour, with results similar to an autolyse.
Is Autolyse the Same as Proofing?
Autolyse and proofing are very different in when they occur, and in your reason for needing them. The autolyse phase happens at the beginning of the sourdough process when the flour and water are allowed to rest after mixing. Here, letting the flour and water rest improves the dough texture and kick-starts the enzyme action.
Proofing happens near the end of the sourdough process, after the sourdough has been shaped and placed in a proofing container. Proofing gives the dough one last chance to further ferment and create carbon dioxide for a well-risen loaf.


Bread-making is an art unto itself, and if you’re like me, the more I learn the more creative I feel! Take a look at my other sourdough recipes for inspiration for your next loaf, and leave your questions and comments with me!