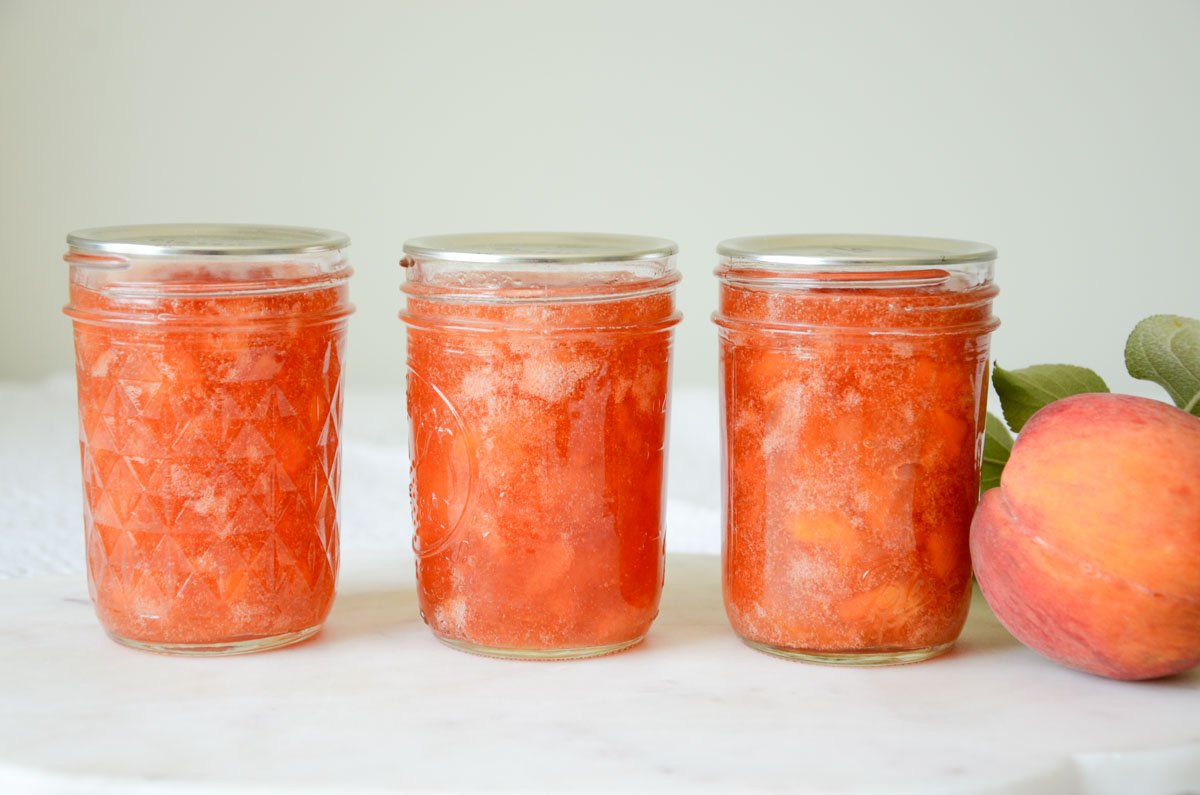
Classic Peach Jam Recipe
This classic peach jam recipe is made with 4 simple ingredients: fresh peaches, sugar, lemon juice, and pectin. Capture the flavors of summer for your pantry shelves with step-by-step canning instructions. This easy peach jam recipe with pectin is full of peach flavor and couldn’t be simpler to make, so you can enjoy it all year round.

Save This For Later!
We’ll email this post to you so it doesn’t get lost in your open tabs!
By submitting this form, you consent to receive emails from Lockrem Homestead
Peach season is here, and I’m adding fresh summer peaches to anything I can. Every time I head to the grocery store, I buy crates upon crates of peaches so we can enjoy plenty of peach ice cream, peach pie, and peach salsa. Sometimes I just add some fresh mozzarella with peach slices for an afternoon snack.
But at the top of my preserving to-do list is to make jars and jars of jam. If you’re a peach lover like my youngest daughter, it’s good to have a variety of peach jam recipes so you can customize different aspects of it. For instance, you might want a peach jam made with less sugar, a brown sugar spiced peach jam, or a small batch peach jam recipe. It might be overkill, but can you really have too many peach recipes? Not for this home!
My favorite way to enjoy peach preserves is on mypeach and sausage pizza.
New to Canning?
Canning is a great skill to learn to preserve summer’s bounty for long term storage. Become proficient and learn everything in this Water Bath Canning – A Step-by-Step Canning Guide. Soon, jams, pickles, candied peppers, and sauces will be lining your shelves.
A Note About Canning
Peaches, like most fruits, are naturally high in acid. With water bath canning, the pH needs to be acidic to create a safe environment to store peach jam and other types of jams on a shelf without refrigeration.
However, don’t use white peaches in this recipe, as they’re much less acidic than regular yellow peaches, and they’re not safe for canning. Instead, save them to make freezer jam or fresh peach jam that you store in the fridge.
Why You’ll Love This Classic Peach Jam
- Shelf stable – Filling your shelves with food is easy with this simple, classic peach jam recipe.
- Easy – Make peach jam with just 4 simple ingredients.
- Delicious – Capture the delicious, fruity flavors of summer in a jam to enjoy throughout the year. Enjoy with your morning toast or a spoonful over ice cream or in sparkling water.
Peach Jam Recipe Ingredients
 Peaches – The best jams are made from ripe fruit. However, if you wait just a bit longer, slightly overripe peaches will be even sweeter and have a more intense peach flavor. I look for freestone peaches if I’m canning peaches or making a large batch of jam. Clingstone peaches are juicier, but take more effort to prepare.
- Sugar – Although it’s tempting to cut back on the amount of sugar in this recipe, jams made with pectin need a specific amount in order for the jam to gel properly. If you want less sugar, try this low-sugar peach jam recipe that uses honey as its sweetener.
- Pectin – This peach jam recipe uses powdered pectin, a natural substance found in fruits and vegetables to help low-pectin fruits gel. I generally stay away from liquid pectin because it needs a larger amount of sugar to gel properly.
- Lemon juice – Use bottled lemon juice for a consistent acidity level to ensure your jams are safe to store on the shelves.
 Peaches – The best jams are made from ripe fruit. However, if you wait just a bit longer, slightly overripe peaches will be even sweeter and have a more intense peach flavor. I look for freestone peaches if I’m canning peaches or making a large batch of jam. Clingstone peaches are juicier, but take more effort to prepare.
Tools You’ll Need
- 6 or 8 quart saucepan
- Knife
- Half-pint jars with two-piece lids
- Funnel
- Ladle
- Water bath canner
- Jar lifter
- Chopstick or debubbler
How to Make Peach Jam with Pectin
Step 1: Prep
Fill a water bath canner half full of water and place it on the stove.
Wash jars in hot, soapy water, and add them to the canning rack. Heat over medium-high until the water comes to a simmer. Boil the canning jars for 10 minutes and then turn off the heat with the jars in the water until you’re ready to fill them.
Peel the peaches with a vegetable peeler, dice them into ½ inch pieces, and add them to a large saucepan.
Measure the sugar into a bowl and set it aside.
Peach Peeling Made Easy: To remove the peach peels, blanch them in hot water. Lift the peaches into boiling water using a slotted spoon for a minute, rotating all sides of the peaches in the water. Then transfer them to a large bowl filled with ice-cold water. The ice bath helps peel the skins peel right off!
Step 2: Cook
Add the lemon juice and pectin to the diced peaches, but don’t add the sugar yet.


Bring the peach mixture to a rolling boil over medium-high heat, stirring to help the peaches release their juices. Stir gently for a chunkier jam, or mash them with the back of your spoon or a potato masher if you want a smoother jam.
While the fruit is beginning to cook, I like to remove the jars from the water bath canner and set them next to the stove, so they’re all ready to fill. The jars will stay fairly warm, reducing the risk of cracking when filling hot jam into them. Return the water bath canner to a simmer.
Next, add the sugar and stir until it dissolves. Continue stirring and bring the mixture to a full rolling boil that can’t be stirred down. Once boiling, set the timer for 1 minute.


Step 3: Fill Jars
Remove the pot from the heat and ladle the jam into the prepared jam jars, leaving ¼ inch headspace if canning, and 1 inch if freezing.
If you’re making freezer jam, be sure to use freezer-safe containers with straight sides. Allow the jam to cool completely before freezing.
Use a chopstick or small debubbler to dislodge any trapped air bubbles. Wipe the rim of the jar with a clean, damp towel and add the two-piece canning lids, tightening to finger tight.


Step 4: Process
Lower jars into the canner. Add enough water to cover the jars by 2 inches.
Return the canner to a boil. The processing time begins when the water begins to boil. Process for 10 minutes.
Adjust the cooking time for your altitude.
Remove the jars from the canner and place them on a heat-proof surface. Leave, undisturbed, at room temperature for 12-24 hours. As the jars cool, you’ll hear a ping sound as the vacuum seal pulls the lid down. Don’t force the lid center down.
Step 5: Store
Remove the bands and wipe down the sides of the jar to remove any food debris. Check the jars and make sure each one has a good seal. I like to lift the jar by the lid an inch or two from the counter to check the seal. If it holds, it’s ready for the pantry shelf.
Place any jar of peach jam that didn’t seal into the refrigerator and enjoy immediately. Label the rest with the name and date. Store in a cool, dark place. Properly canned and sealed homemade peach jam will last for 12 months. After this, they will start to degrade in quality. Refrigerate jam after opening.
Helpful Tips on How to Can Peach Salsa Safely
- If you have little kids, keep a safe distance from the stove while you’re making the jam.
- It’s recommended not to double this pectin peach jam recipe because it can cause issues getting the jam to set. Instead, make multiple batches. It seems like a bit of extra work, but it’s worth it if you want the jam to set and not become a syrup. Trust me, I’ve tried to avoid this rule, but it’s there for a reason.
- Please be sure to cook the jam for the time that was instructed to preserve the peach flavor and color. Cooking too long can cause the jam to become discolored.
- Add hot jam to hot jars to reduce the risk of the jars cracking when lowering them into the hot canner water and during processing.
- Be sure to label the jam with the name and date. Every year, I tell myself that I’ll remember what’s in the jar and when I canned it. However, as time passes, I find that my memory isn’t as good as I think it will be! You can thank me later!
Variations
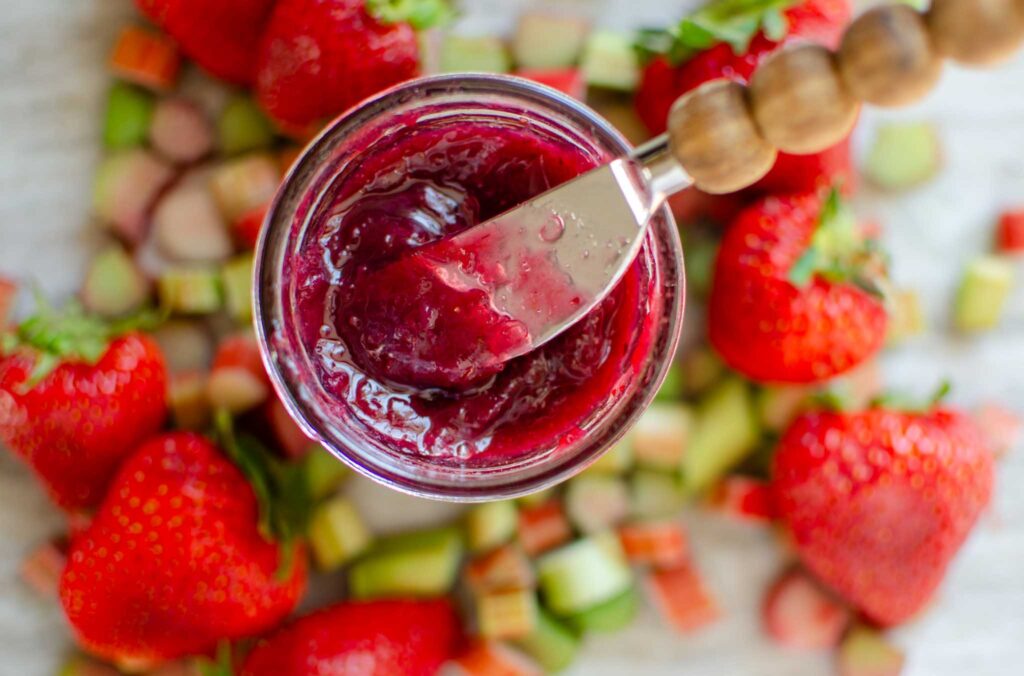
- Add berries for a mixed fruit and peach jam.
- Peel and grate a knob of ginger for a peach ginger jam.
- Drop a spent vanilla bean into the peaches as they cook for a peach vanilla jam.
- Add a pinch of red pepper flakes for a spicy peach jam.
Serving Suggestions
- Top your morning toast or homemade biscuits.
- Add to a sweet and savory pizza like my Italian sausage and peach pizza.
- Spoon some over a bowl of vanilla ice cream.
- Use as a glaze for chicken or shrimp.
- Add a big dollop to Greek yogurt and sourdough granola.
- Stir into sparkling water for a light peachy flavored drink.
FAQs About Classic Peach Jam
Do You Need to Use New Lids When Canning?
Yes! New lids ensure a safe, tight seal for long-term storage. Investing in new lids is a small cost after spending your precious time and resources canning.
Can I Use Less Sugar When Making Peach Jam?
The sugar-to-fruit ratio needs to be exact for the jam to set properly. If you want to reduce the amount of sugar in the jam, you must use a low-sugar pectin. Try my low-sugar peach jam made using Pomona’s Pectin.


I’d love to hear from you! If you tried this Classic Peach Jam Canning Recipe, please leave a star rating and let me know how it went in the comments section below. Happy Canning!

Classic Peach Jam Recipe
Want to Save This Recipe?
Enter your email & I’ll send it to your inbox. Plus, get great new recipes from me every week!
By submitting this form, you consent to receive emails from Lockrem Homestead
Equipment
- large saucepan
- sharp knife
- ½ pint jars with 2 piece lids
- funnel
- ladle
- water bath canner
- jar lifter
- chopstick or small spatula
Ingredients
- 4 cups peaches, diced into ½ inch pieces 6-8 large peaches
- ¼ cup lemon juice 60 g
- 1 box 1.75 oz (49g) box fruit pectin
- 4 cups granulated sugar 800 g
Instructions
Prep
- Fill a water bath canner half full of water and place it on the stove.
- Wash jars in hot, soapy water, and add them to the canning rack. Heat over medium-high until the water comes to a simmer. Boil the jars for 10 minutes and then turn off the heat with the jars in the water until you’re ready to fill them.
- Peel the peaches with a vegetable peeler and dice them into ½ inch pieces.
- Measure the sugar into a bowl and set it aside.
Cook
- Add the lemon juice and pectin to the diced peaches, but don't add the sugar yet.While the fruit is beginning to cook, I like to remove the jars from the water bath canner and set them next to the stove, so they're all ready to fill. The jars will stay fairly warm, reducing the risk of cracking when filling hot jam into them. Return the water bath canner to a simmer.
- Bring the peach mixture to a rolling boil over medium-high heat, stirring to help the peaches release their juices. Stir gently for a chunkier jam, or mash them with the back of your spoon or a potato masher if you want a smoother jam.
- Next, add the sugar and stir until it dissolves. Continue stirring and bring the mixture to a full boil that can't be stirred down. Once boiling, set the timer for 1 minute.
Fill
- Remove the pot from the heat and ladle the jam into the prepared jam jars, leaving ¼ inch headspace if canning, and 1 inch if freezing.
- If you’re making freezer jam, be sure to use freezer-safe containers with straight sides. Allow the jam to cool completely before freezing.
- Use a chopstick or small silicone spatula to dislodge any trapped air bubbles. Wipe the rim of the jar with a clean, damp towel and add the two-piece canning lids, tightening to finger tight.
Process
- Lower jars into the canner. Add enough water to cover the jars by 2 inches.
- Return the canner to a boil. The processing time begins when the water begins to boil. Process for 10 minutes.
- Adjust the cooking time for your altitude.
- Remove the jars from the canner and place them on a heat-proof surface. Leave, undisturbed, at room temperature for 12-24 hours. As the jars cool, you’ll hear a ping sound as the vacuum seal pulls the lid down. Don’t force the lid center down.
Store
- Remove the bands and wipe down the sides of the jar to remove any food debris. Check the jars and make sure each one has a good seal. I like to lift the jar by the lid an inch or two from the counter to check the seal. If it holds, it’s ready for the pantry shelf.
- Place any jar of peach jam that didn’t seal into the refrigerator and enjoy immediately. Label the rest with the name and date. Store in a cool, dark place. Properly canned and sealed homemade peach jam will last for 12 months. After this, they will start to degrade in quality. Refrigerate jam after opening.
My daughter adores peaches, and this jam is the perfect way to bring all of that lovely summer flavor year round! I look forward to hearing how you enjoyed it, and any questions you have!