Water Bath Canning | A Step-By-Step Beginner’s Guide
This in-depth guide to water bath canning will help you learn to preserve canned foods with confidence. If you’re new to canning but unsure how to do it safely, be sure to read through this Step-by-Step Guide to Water Bath Canning for Beginners to learn the basics and answer any questions you have.
Home canning is an easy skill to master and a great way to create shelf-stable food for long-term storage. While I have memories of visiting my grandma on the farm and watching her can many jars of food, I never learned the proper canning techniques until adulthood. Over the years, I’ve canned thousands of jars of food with success and confidence.
Save This For Later!
We’ll email this post to you so it doesn’t get lost in your open tabs!
By submitting this form, you consent to receive emails from Lockrem Homestead
What is Water Bath Canning?
Water-bath canning is a way of preserving foods by sealing them in glass jars before processing them in boiling water so the center of the jars reaches 212°F/100°C. This way of processing is only used for naturally high-acid foods or foods that have been made acidic with the addition of citric acid, vinegar, or lemon juice.
Botulism can’t survive in a high-acid environment, but it’s still important to kill any bacteria, yeasts, molds, and enzymes that can cause spoilage.
Food is packed into a canning jar before adding a two-piece lid. The jar is lifted into a large, deep pot filled with boiling water with a rack positioned on the bottom of the pot. The water is heated to boiling for a specified time. Different foods have different processing times, each based on size, acidity, starting temperature, and how dense the food is.
The Difference Between Water Bath Canning and Pressure Canning
There are two types of canning methods, water bath canning and pressure canning.
The water bath method is safe for canning foods with a pH of 4.6 or less. In certain recipes when the acid level is too low or right on the edge of safe, the addition of vinegar, citric acid, or lemon juice ensures the acid level is high enough. Bacteria can’t survive in an acidic environment. Jars of food are then placed in boiling water at 212°F/100°C for a specified amount of time.
Pressure canning is safe for canning foods with a pH of 4.6 or more. This type of canning uses a special pressure canner that seals and allows the temperature of the steam to heat to 240°F/116°C, killing all spores and bacteria. This ensures that low-acid foods can be canned safely.
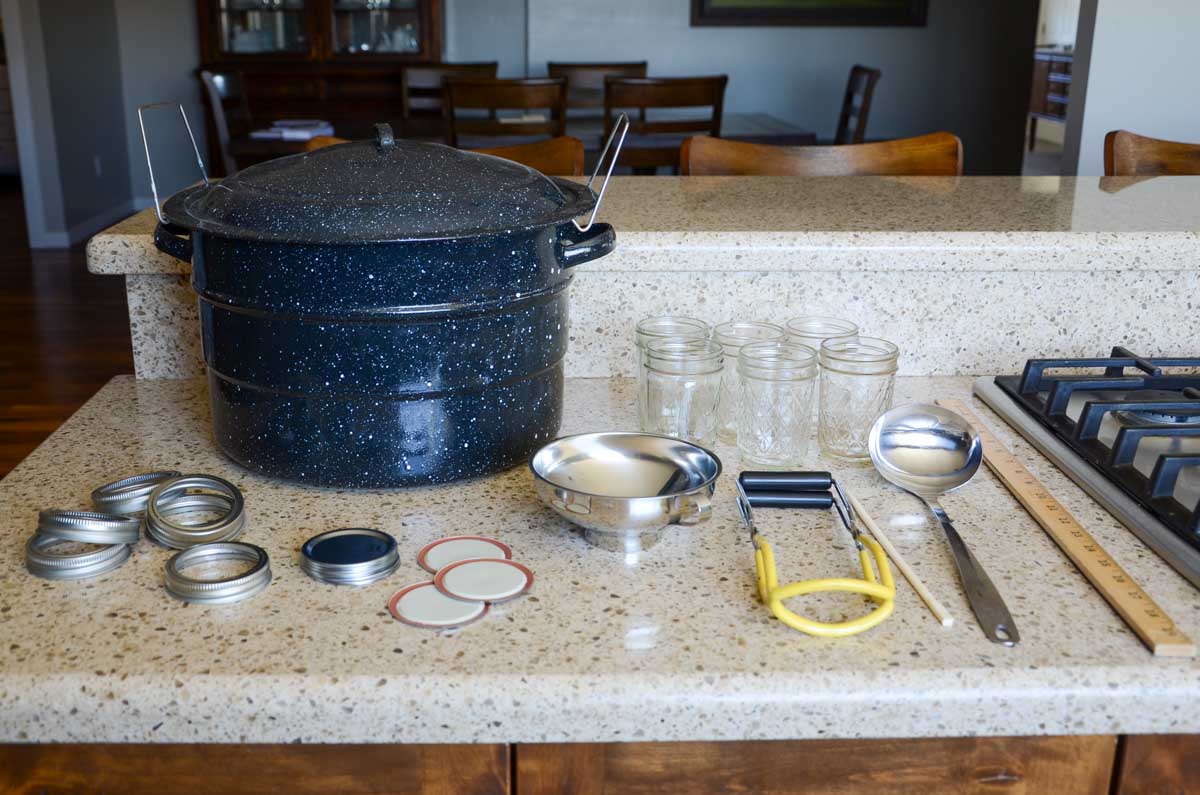
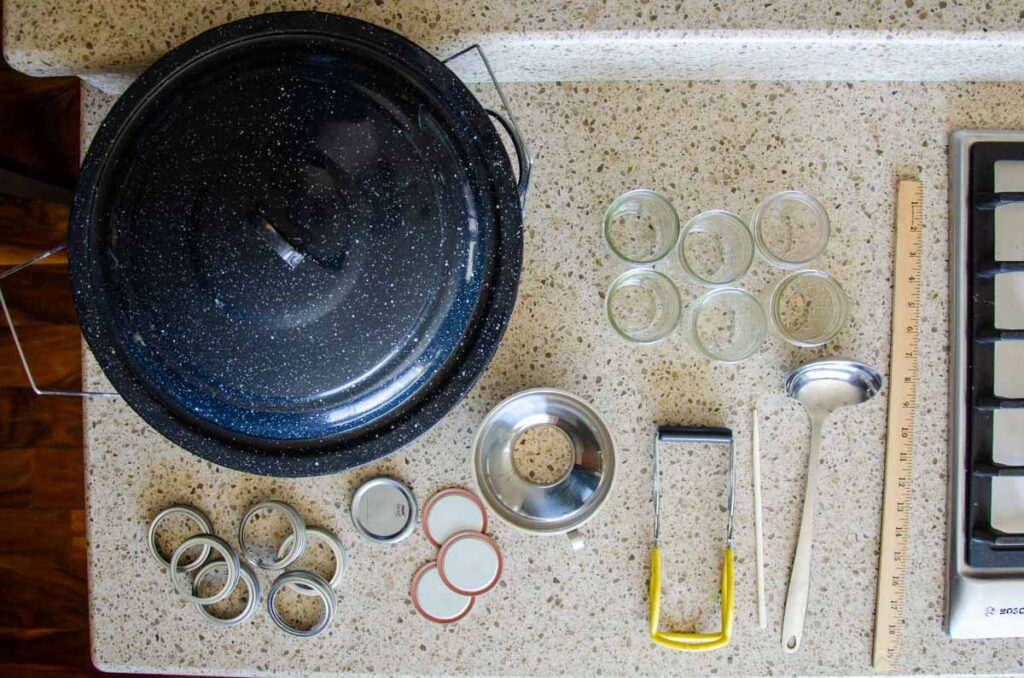
Water Bath Canning Equipment
Here is the essential equipment you need for water bath can. You may find that you already have a majority of the supplies in your kitchen, needing only to invest in a few items. The first year of gathering and investing in equipment is the most expensive. Since everything but the lids is reusable, consecutive years of canning carry little expense.
- A water bath canner or a large pot
- A rack for the canner
- Canning jars
- Two-piece lids
- Jar lifter
- A chopstick or wooden skewer
- Funnel
- Ladle
- Headspace measuring tool
- Towel or wire rack
- Clean dish cloth
- Timer
How to Fill Canning Jars | Hot Pack vs Raw Pack
There are two ways to pack food into canning jars before processing, hot pack and raw pack. Most recipes will state which method to use, although some are interchangeable.
For the hot pack method, food is pre-cooked in brine, syrup, juice, or water before placing it in the hot jars. The hot pack method is the preferred method for most fruits and vegetables. The benefit of hot packing fruits, such as pears, is that it reduces the amount of air in the food, in some cases up to 30%, which prevents the fruit from floating. This method not only allows you to pack more food into each jar but will also help reduce any pockets of trapped air in the food, which can lead to oxidation throughout the jar.
The raw pack method places food into the jars in its raw state and then boiling brine, juice, syrup, or water is added over the food, filling up the jar. I like raw packing for delicate foods that won’t handle a long cooking period.
Another type of packing called the open-kettle method, involves placing hot food into jars and sealing them without any additional heating. This method is NOT recommended because there may not be enough heat applied to destroy bacteria.
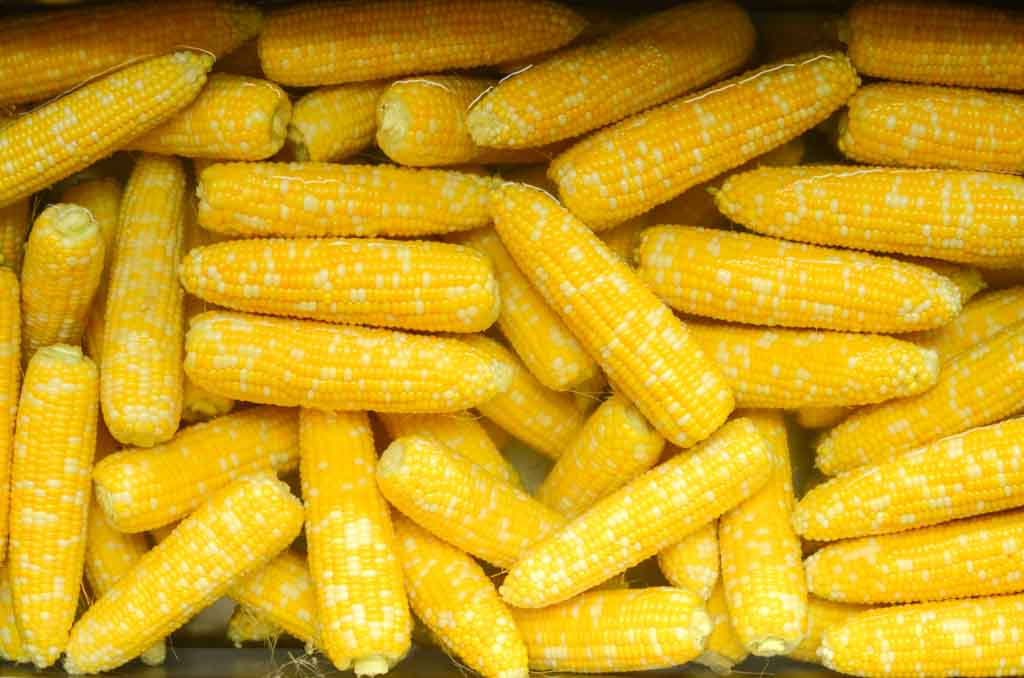
Examples of Low Acid Foods
The following list is a sample of low acid foods. These aren’t safe for water bath canning and need to be processed using a pressure canner. (Unless acidified, like in pickling.)
- Corn
- Green beans
- Potatoes
- Peas
- Carrots
- Meats
- Stock
- Beans
- Soups
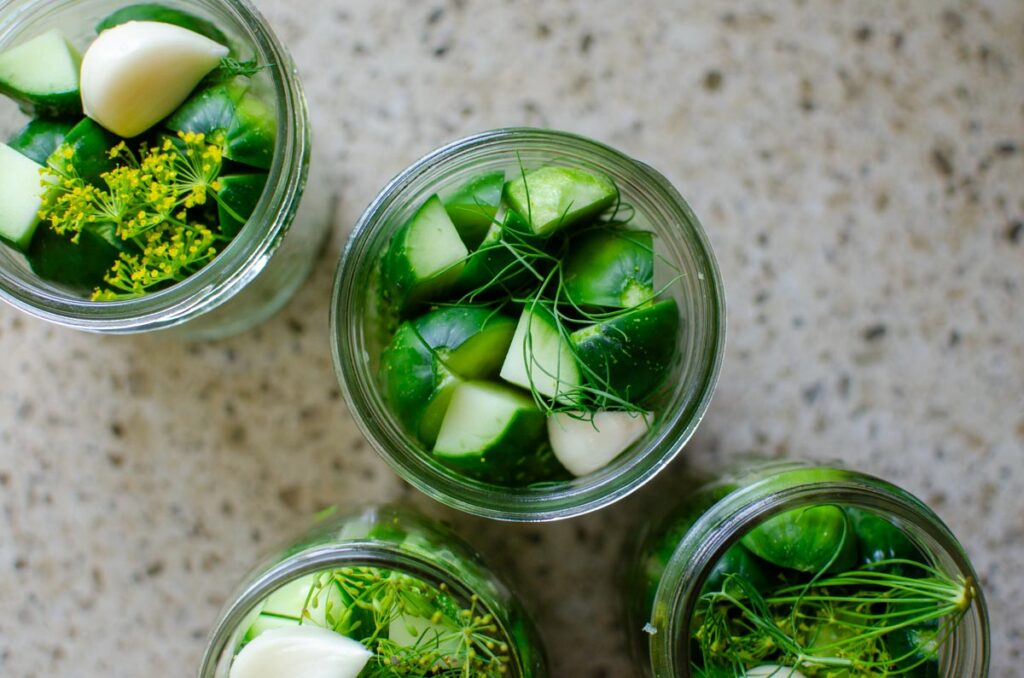
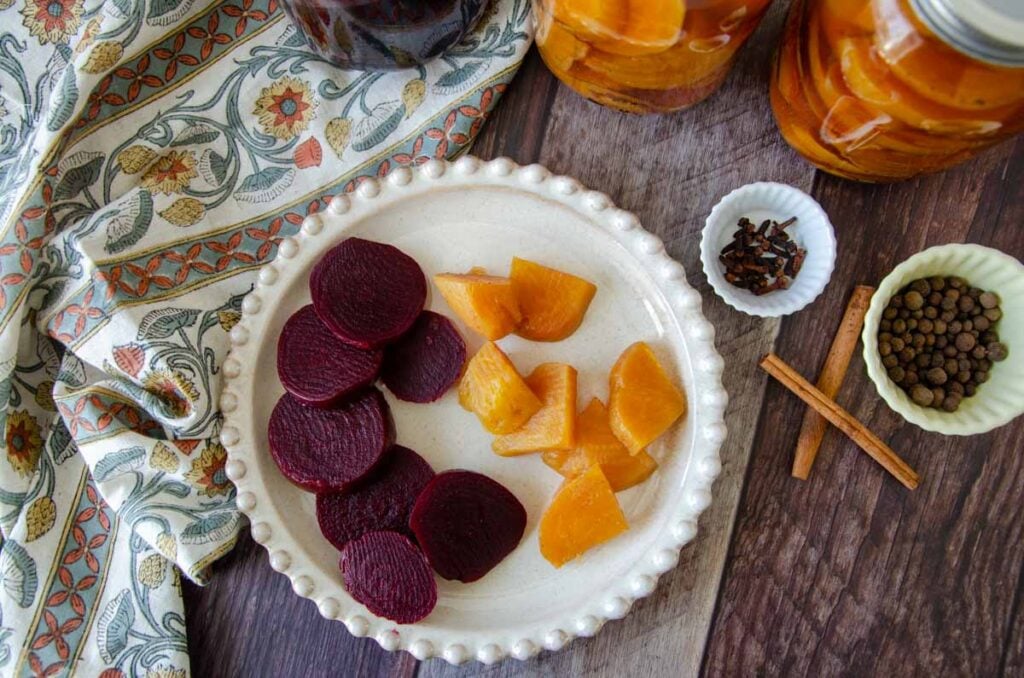
Examples of High Acid Foods Safe for Water Bath Canning
Naturally high-acid foods like fruit and berries are safe for water bath canning. Other foods that are naturally low in acid but have enough added vinegar, citric acid, lemon juice, or lime juice to become acidic are also safe for water bath canning. These include pickles, relishes, salsas, and sauces like ketchup.
- Apples
- Strawberries
- Blueberries
- Lemons
- Oranges
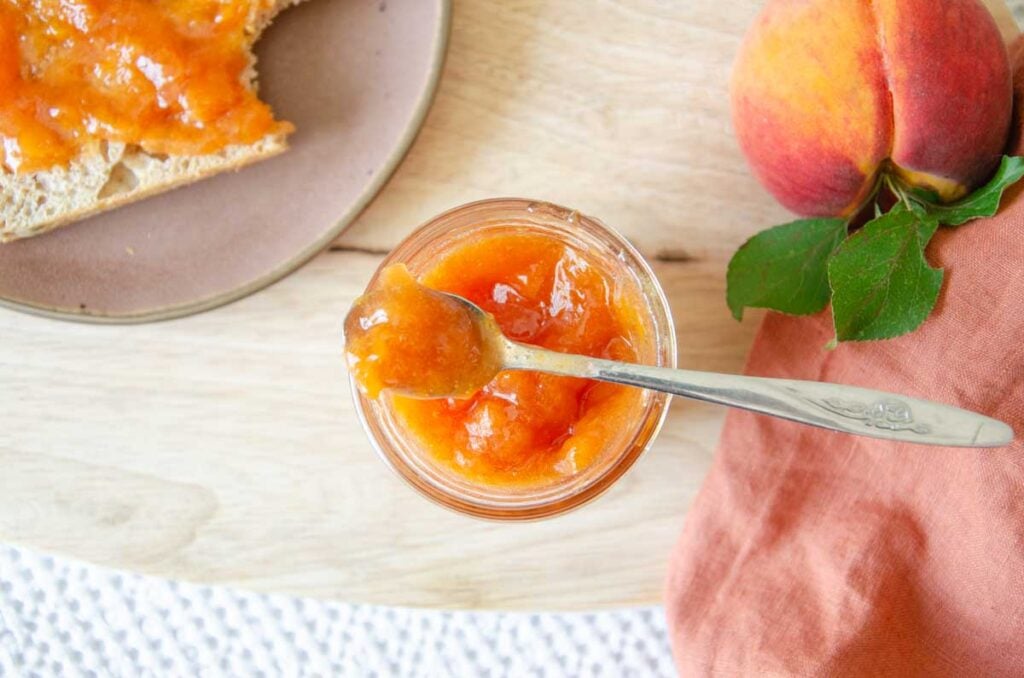
- Jams
- Jellies
- Pickles
- Salsas
- Grapes
- Cranberries

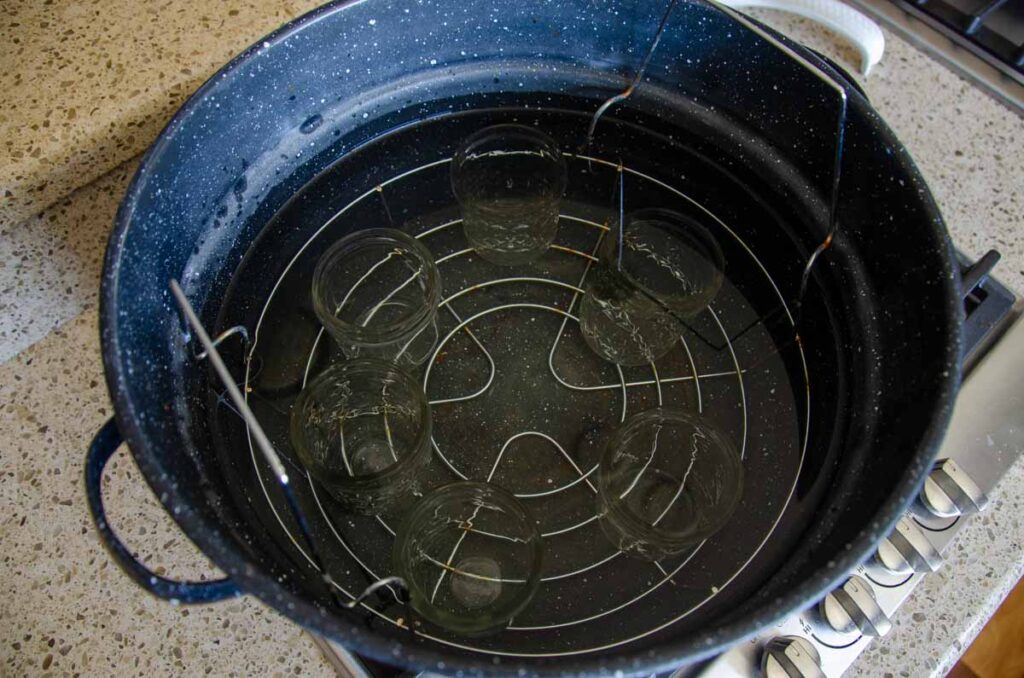
Prepare the Jars
Check the top of the mason jars to ensure they’re intact and free from cracks or nicks. I like to do both a visual inspection as well as test the rim of the jar with my finger.
The next step is to heat the jars. The exact time depends on the recipe.
Fill a water bath canner half full of water, place it on the stove, and heat it up over high heat. Start the timer once the water comes to a boil.
For food with a processing time of less than 10 minutes, sterilize the jars before adding food to them. To sterilize the jars, place the jars into the water canner with a canning rack on the bottom of the canner. Fill the canner with water until it is 1 inch above the top of the jars. Bring the water to a full rolling boil for at least 10 minutes. This kills any yeast or harmful bacteria that can cause spoilage or food-borne illnesses.
Jars don’t need sterilizing if the processing time is more than 10 minutes. but the jars do need to be hot. You can either fill the canner with clean jars and water and heat on the stove. Another option is to run the jars through a quick cycle in a dishwasher without soap and leave them there until you’re ready to fill them. Dry heating them in an oven is not recommended.
Leave the jars in the water bath canner until you’re ready to fill them.
Prepare the Lids
Be sure to check the instructions on the lid box as some have brand-specific instructions.
To understand how the lids work, look at the underside of the lid. Here, you’ll see a soft rim of colored sealing compound. As the jar and lid heat during processing, this compound softens and molds to the jar rim, forming a vacuum as the jar cools. As long as the edge of the jar is clean, this compound creates an airtight seal to the jar during the canning process preventing air and microorganisms from re-entering.
I have the memory of my grandma boiling the lids and then fishing them out of hot water before placing them on top of the jars. Today, that recommendation has changed to washing them with soapy water, drying them, and setting them aside until needed. The sealing compound performs better at room temperature rather than being heated before processing.
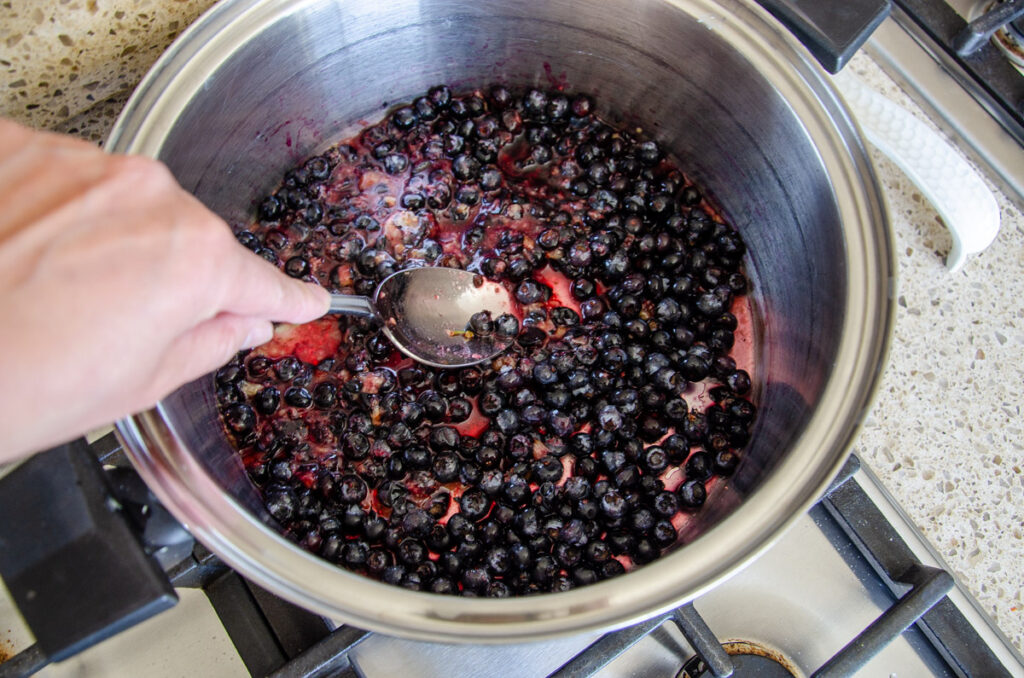
Make Your Recipe
While the jars heat, begin preparing the food according to the recipe. The method for preparing food varies between
Be sure to use tested recipes from reputable sources like the National Center for Home Food Preservation or Extension offices. These offices test and collect data that supports recipes’ food safety.
Helpful Tips for Water Bath Canning
- What’s the best type of food to can? Start with the types of food your family enjoys eating. There’s no point canning food no one will eat. I like to take inventory of what needs restocking in my pantry to help me know what to can for the season.
- Before canning season begins, check your supplies. Inspect the jars to see if they’re intact. Order more canning lids and bands if needed.
- Be sure that the water is hot, but not boiling, when you add the jars to the canner to reduce the chance of breakage.
- Label the jars with the date and the name of their contents. Trust me on this! You won’t remember. But even if you do, having everything labeled makes it easy for other members of your family to know what’s inside.
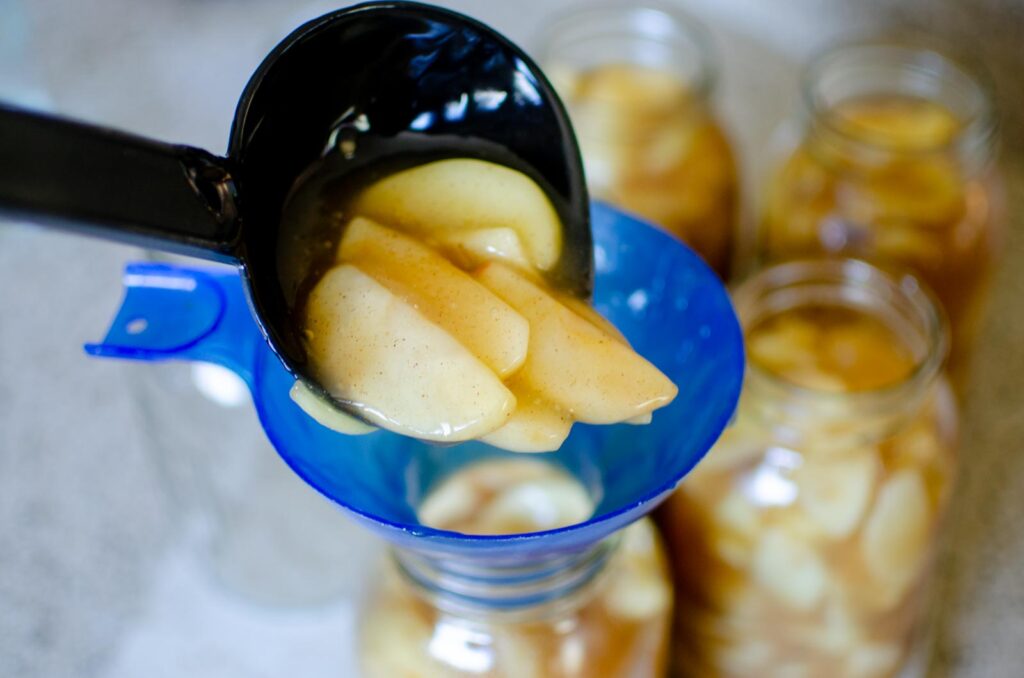
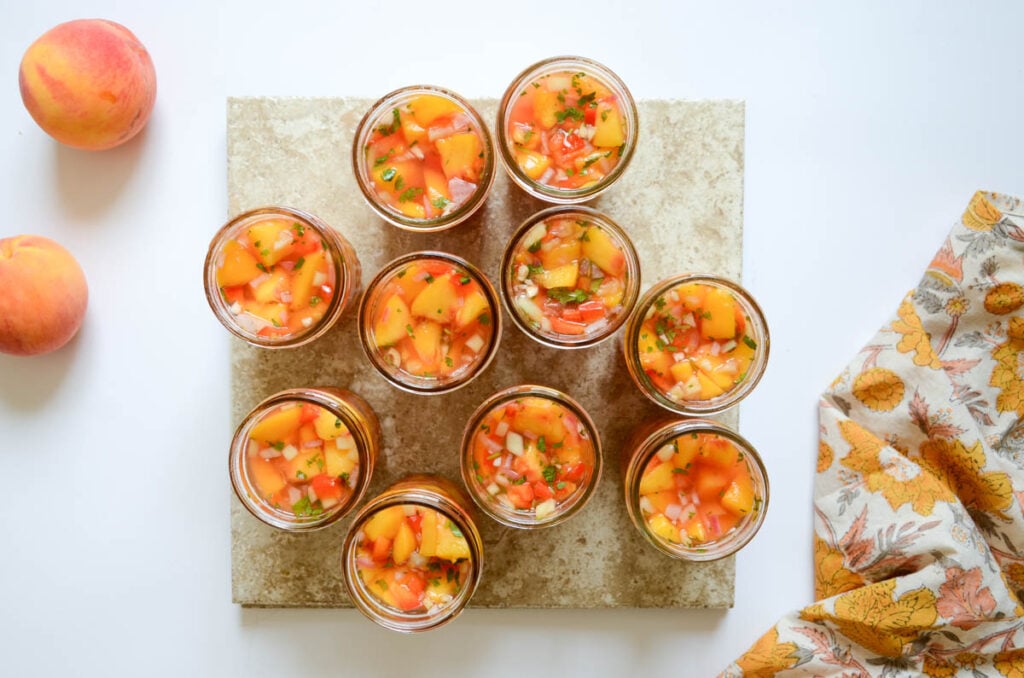
Pack Jars with Food
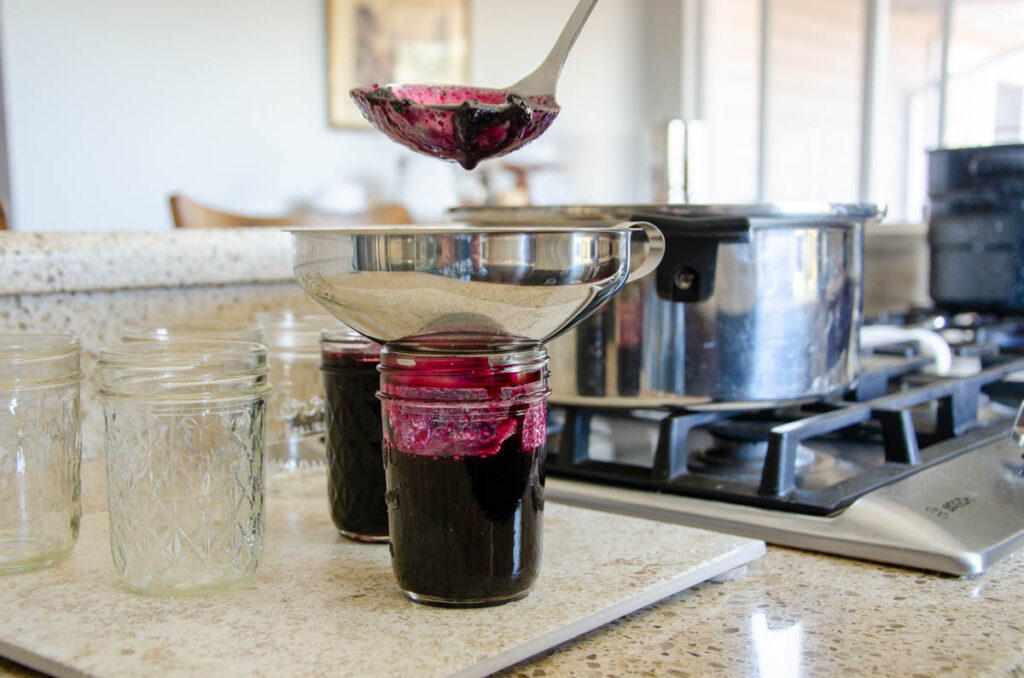
Remove the jars from the hot water and place them on a towel near the stove. Cover the water bath canning pot to preserve its heat until you’re ready to process.
Place the funnel inside of the jar and fill to the recipe head space requirements. Some recipes call for food that is mixed together like a jam or salsa (hot pack), while other recipes pack the food into jars and then ladle a hot syrup or brine over the food (raw pack) before processing.
Be sure to add hot food into hot jars, or else you run the risk of jars cracking. Even with the raw pack method, when you add uncooked food that’s at room temperature, the brine will be hot, so be sure the jar is hot too.
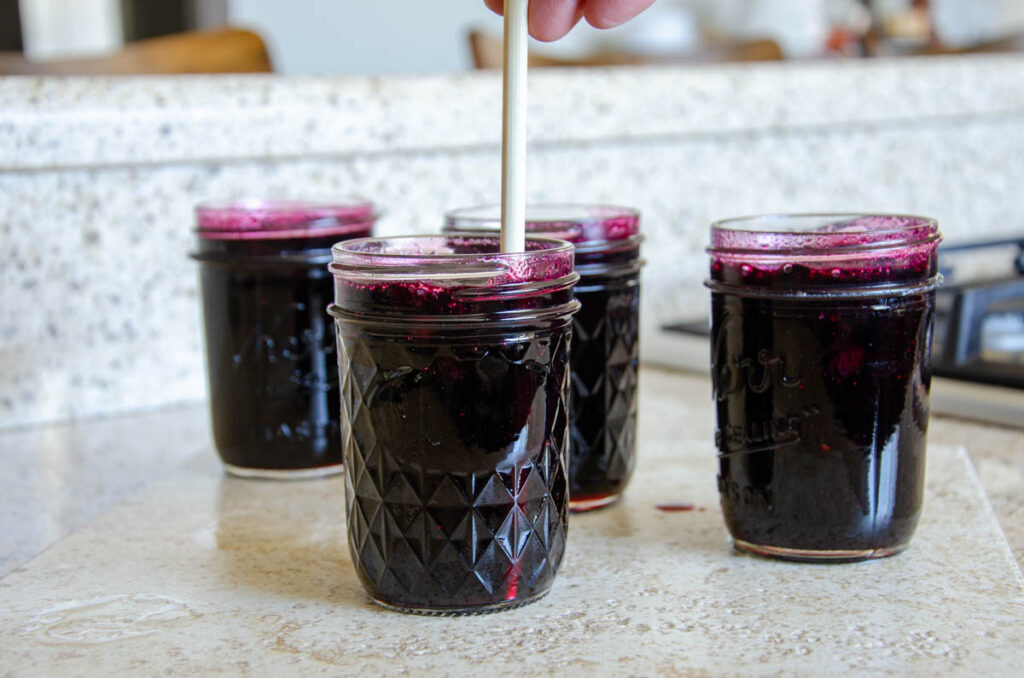
Remove Air Bubbles
Insert a long skewer, chopstick, or butterknife into the filled jar and jostle the contents around, removing any trapped air bubbles. Dislodging air bubbles allows you to fill the jars completely and also removes trapped air that can cause oxidation in the food over time. While this isn’t a safety concern, it does make the food less appealing.
Measure the headspace
The headspace is the space between the top of the food and the top of the jar. Recipes will call for a certain headspace distance to ensure a proper seal.
As a general rule, leave ¼ inch headspace for jams and jellies and ½ inch for tomatoes, fruits, and pickles. Leave 1 inch headspace for low-acid foods processing in a pressure canner. Follow the recipe if it differs from these general headspace amounts.
There are special tools that will help measure the headspace, otherwise, you can use a ruler.
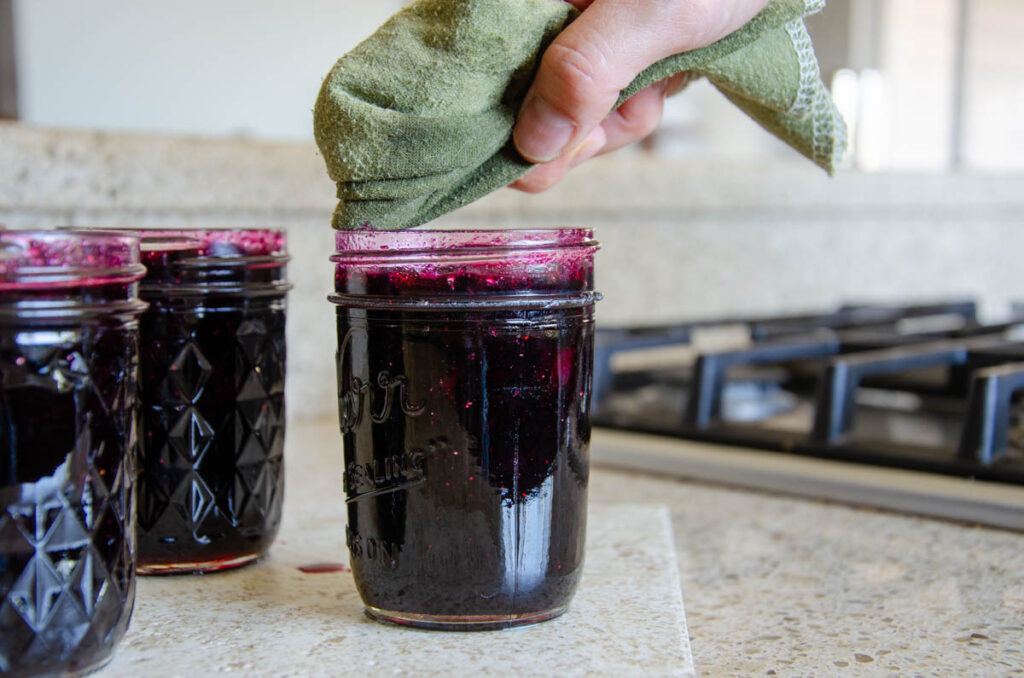
Wipe the Jar Rims
Next, wipe the rim of the jar with a clean, damp dishcloth. Use a clean cloth or paper towel moistened with a bit of water to wipe the rim of the jar clean. This helps ensure that the lid and the top of the jar create a proper seal.
I like to use hot water to wipe most of my filled jars. For anything with a greasy residue, like broth, I like to dip my cloth in a bit of white vinegar to clean the rims. This step ensures a good seal.
Add 2 Piece Lids
Place the lids onto the center of the jars and screw bands, tightening to fingertip tight. This means the band is tightened close with the tips of your fingers so the lids are snug, but not closed overly tight. This allows air to escape during processing. If the lid is too tight, the air is trapped and can cause the lids to buckle or the jars to break.


Process the Jars
Fill a boiling water bath canner half full of water and heat to a boil. If you used the water bath canner to sterilize the jars, then the water is hot and ready.
If the water is at a full boil, turn the stove off when you begin filling the jars with food, letting the water temperature adjust to a similar temperature to the food.
After the jars have their two-piece lids in place, lift them into the water. Add enough water so that the water level is 1 inch above the tops of the jars. Turn the stove back on and return the water to a boil. Start the timer once the water comes to a rolling boil.
Process jars according to the recipe, adjusting times for high altitude.
High Altitude Adjustments for Water Bath Canning
As elevation increases, water’s boiling point decreases. Therefore, to ensure that all of the bacteria are destroyed, the processing time is extended incrementally as the elevation increases.
| Altitude Feet | Increase Processing Time |
| 1,001 – 3,000 | 5 minutes |
| 3,001 – 6,000 | 10 minutes |
| 6,001 – 8,000 | 15 minutes |
| 8,001 – 10,000 | 20 minutes |
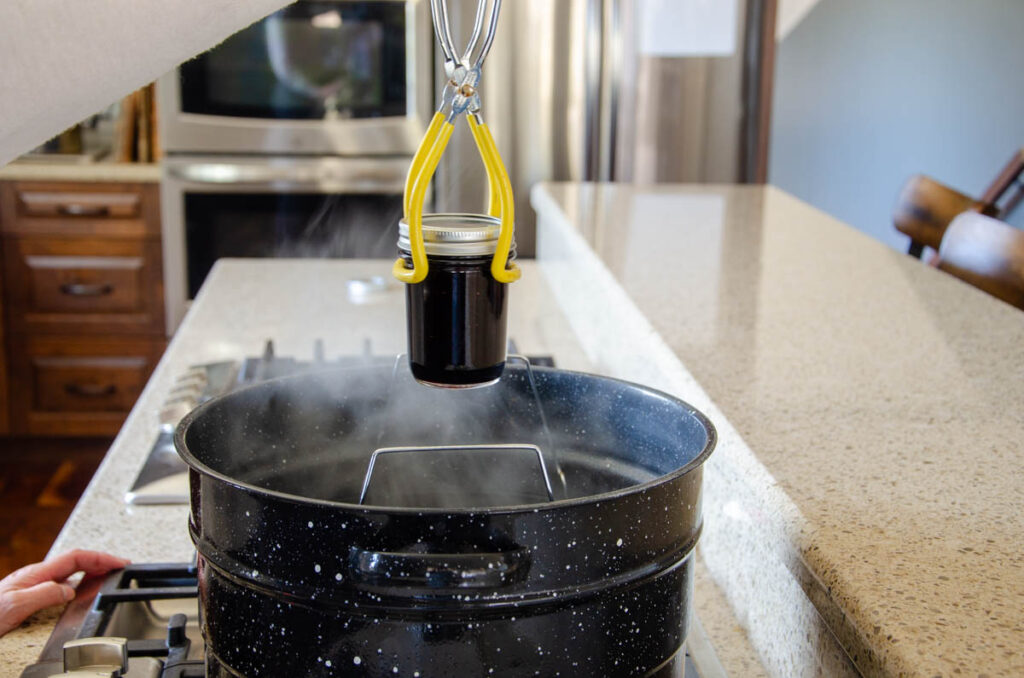
Cool the Jars
Once the processing time is done, use a jar lifter to lift the jars straight up out of the canner. Be sure to not tip the jar to remove the water from the top of the jar. Tipping the jar may cause the liquid in the jar to break the seal or keep it from forming. The residual heat from the jar will evaporate the water.
Place them onto a stable, heat-proof surface. I’ve seen hot jars on a towel to cool, but not all kitchen counters can handle the heat, which can cause them to crack. Err on the side of caution and place the hot jars on a cooling rack or trivet to cool.
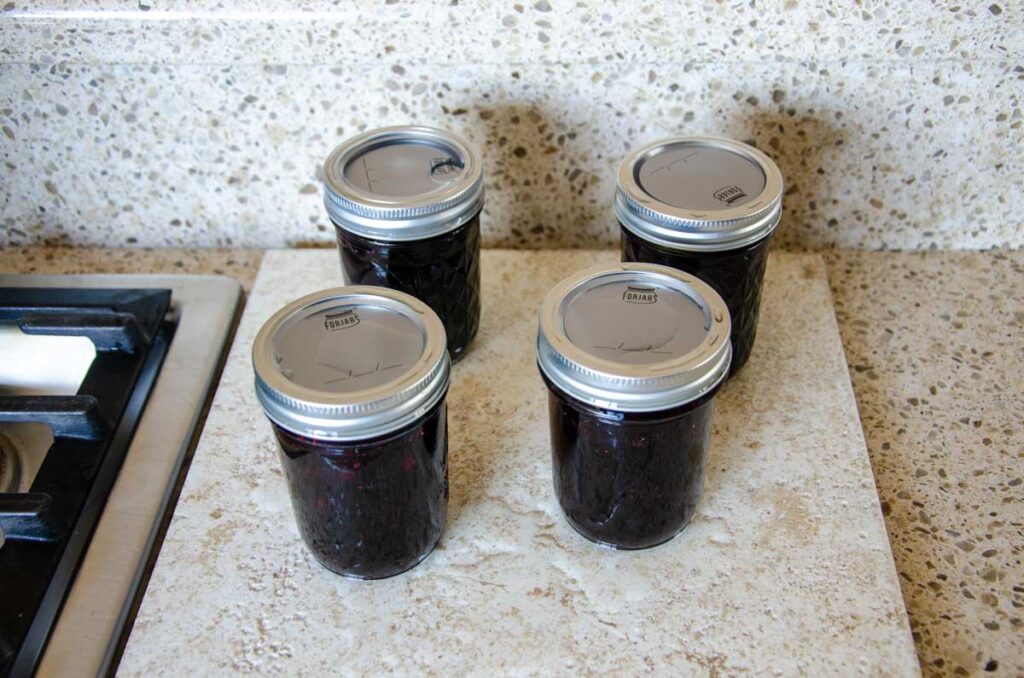
Leave, undisturbed, for 12 to 24 hours to cool completely. You’ll hear the tell-tale ping of the jar lids sealing as the jars cool. This can happen immediately or up to a few hours later. As tempting as it may be, don’t press the lids down to create a false seal. Let the vacuum seal naturally.
Storage
After the jars have sat for 12-24 hours, remove the bands and check that the lids are concave, indicating a proper seal. I like to lift the jars, holding onto the lids, to test for a proper seal.
Despite doing everything right, sometimes the jars don’t seal. Place any unsealed jars in the fridge and enjoy immediately.
Wipe the jars with a damp cloth, removing any food debris that may have leaked during processing, before placing them into storage. Label the jars with their contents and the date.
It’s important to store the jars without the bands. This makes it easier to spot a lid failure in storage. Removing the bands also prevents them from rusting or growing mold from trapped moisture.
Store jars in a cool, dark place out of direct sunlight.

FAQs
Can I Reuse Canning Lids, Jars, and Rings?
You can use canning jars and rings repeatedly so long as they’re in good working condition. Be sure to check that the rims are free of nicks and the jars are without any small cracks.
Canning lids are a single use item so it’s important to use new lids each time you can. The sealing compound on the lid becomes indented with each use and reusing them can compromise the seal.
However, you can save the lids and reuse them for other purposes, like storing leftovers in the fridge. Over time, they become rusty and need to be replaced. Lids and bands are easy to find with canning supplies.
Why Did the Jar Break In the Canner?
From time to time, a jar will break during the water bath canning process. Most often a jar has a hairline crack that’s not visible, but this weak spot can’t handle the high heat and causes breakage.
Be sure that the jars are off of the bottom of the pot, using a canning rack. If you are using a pot without a rack, place some rings under the jars to keep them off the bottom of the pot.
Like most skills, the more you practice it, the more familiar you become. Use this guide until you become comfortable with the process. Soon, each step will be like second nature and you’ll zip through the canning process without much thought!
Get ready for your to stock your shelves with home preserved food! I’d love to hear what you plan to water bath can next!

There’s no better way to learn than to start! As with anything, experience is half the knowing. Enjoy the journey, and leave your questions and comments here!