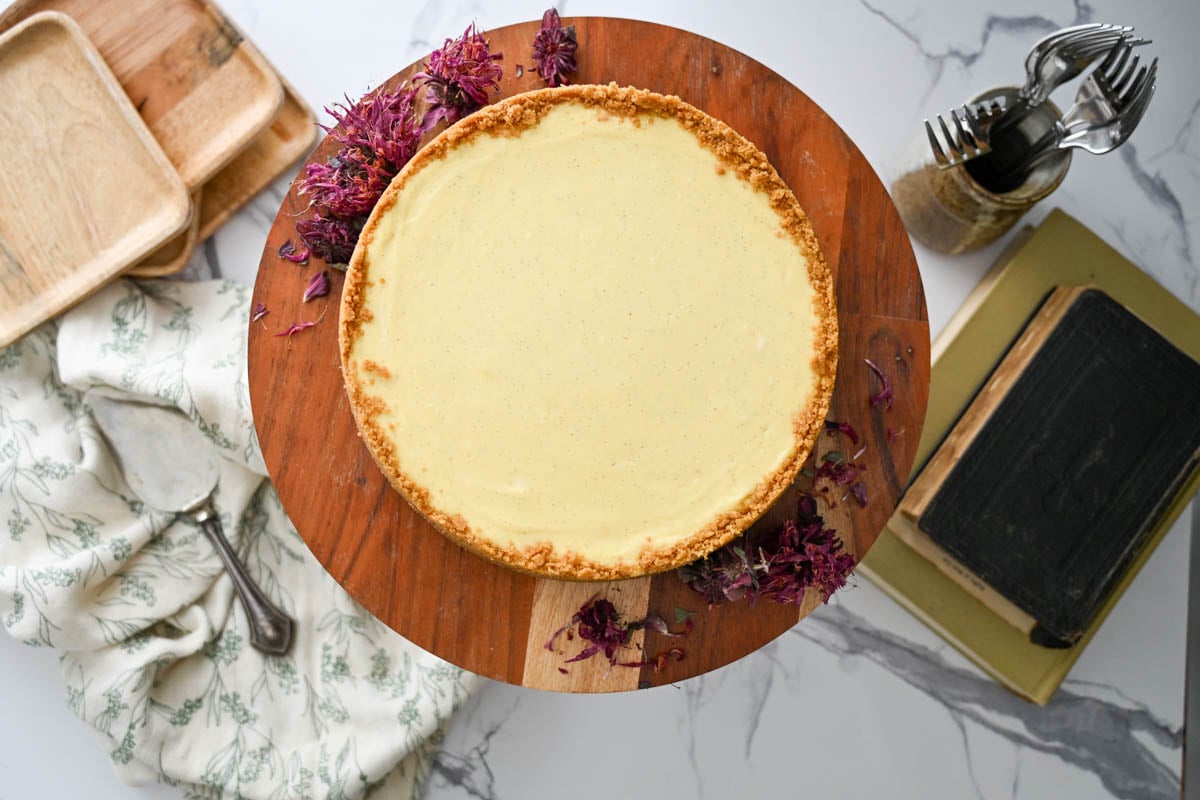
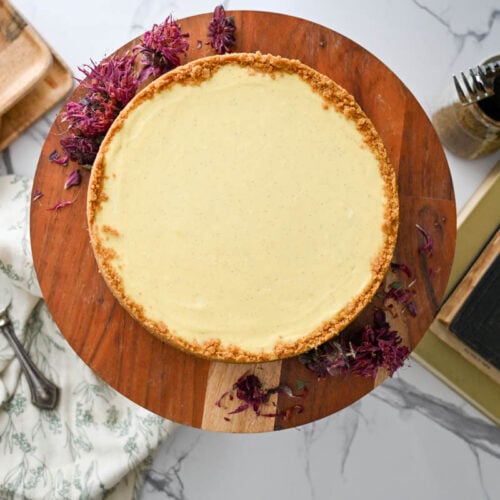
Easy Cheesecake Recipe
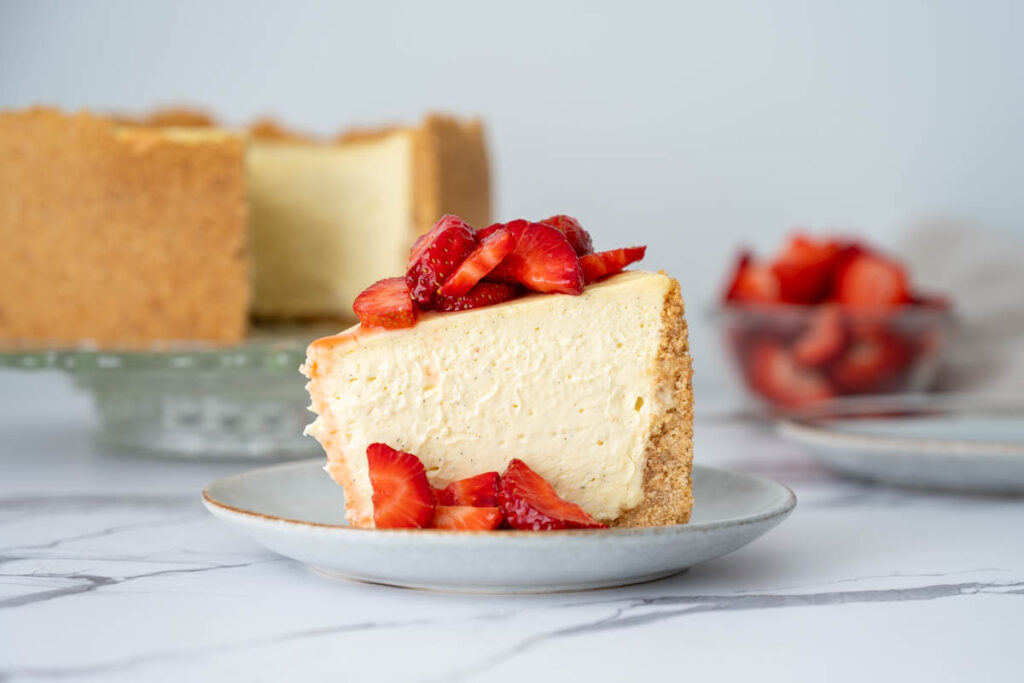
You’re going to love this easy cheesecake recipe! Simple, classic, and the only one you need. Plus, no water bath required! The filling texture is smooth, decadent, and creamy, baked in a graham cracker crust.
Save This For Later!
We’ll email this post to you so it doesn’t get lost in your open tabs!
By submitting this form, you consent to receive emails from Lockrem Homestead
Learning how to make basic cheesecake from scratch is a great skill for any home baker. It’s a decadent dessert, perfect for any special occasion.
Plus, for those hosting, it’s easy to make ahead of time and shorten your prep work.
This cheesecake recipe has been a passion project for me, knowing the recipe had to be simple with consistent results. While my lemon cheesecake recipe has a shorter bake time, it uses the water bath and its gentle baking method for a crack-free cheesecake.
For this recipe, I was willing to extend the baking time if I could not fuss with a water bath.
After many not-so-perfect cheesecakes (to which the chickens enjoyed!) I finally perfected it!
What makes this the easiest cheesecake recipe, ever? No water bath!
Baking at a low temperature results in a creamy cheesecake without the hassle of wrapping the pan in foil used for a water bath.
Tips for Baking the Perfect Cheesecake
1. Temperature Tip
Baking the cheesecake at a low temperature paired with a slow cooling process eliminates the need for a water bath, traditionally used to provide gentle baking conditions.
Drastic changes in temperature can cause the cheesecake to sink or crack, so don’t open the oven door until directed, as tempting as it may be!
2. Egg Tip
Overbeating your eggs results in a less-than-ideal texture and can cause the dreaded crack in your finished cheesecake.
The solution? Lightly scramble the eggs in a separate dish before adding to the batter. Switch from using a mixer to folding them in by hand until just combined.
3. Cream Cheese Tip
It’s important to let the cream cheese come to room temperature before mixing to prevent lumps and create a smooth, creamy texture.
For a silky smooth texture that blends easily, make sure all of your ingredients are the same temperature. Make sure that you use the brick-style cream cheese, not the spreadable version that is available in tubs.
4. Vanilla Tip
If you don’t have vanilla bean paste, you can substitute vanilla extract in its place using the same amount. However, the cheesecake won’t have the lovely vanilla bean flecks throughout.
What Type of Pan to Make Cheesecake?
Springform Pan
Often, a classic cheesecake recipe is made using a springform pan. With a hinged side, springform pans open up easily to release their contents.
These pans are ideal for thick cakes or pizzas that aren’t easily inverted. They come in a variety of sizes and can be found in almost any store with basic kitchen goods.
Because the pan comes in two pieces, it must be wrapped in a protective layer of foil if baking in a bain marie, or water bath.
Clean up is simple. Wash with soapy water and dry in the oven to remove any moisture from the hinging mechanism so it doesn’t rust.
Removable Bottom Pan
I recently discovered a tall, 8″ cake pan with a removable bottom.
Unlike the springform pan that releases the bottom with a hinge, the sides of this pan are one solid wall that curves into a thin lip, holding the bottom plate intact.
It works similarly to a tart pan, but without the fluted edges, and of course, much taller. This is my preferred pan, as it makes a tall, impressive cheesecake.
How to Make Easy Cheesecake Overview
Full instructions and exact ingredient amounts are in the recipe card below.
Crust
Preheat the oven to 350°F/177°C.
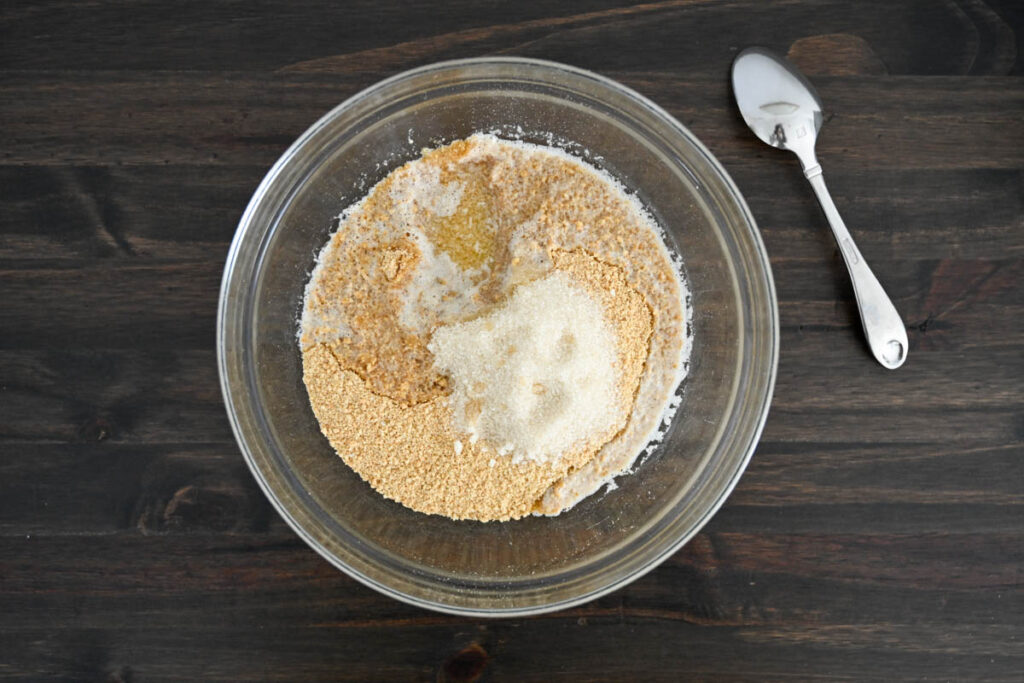
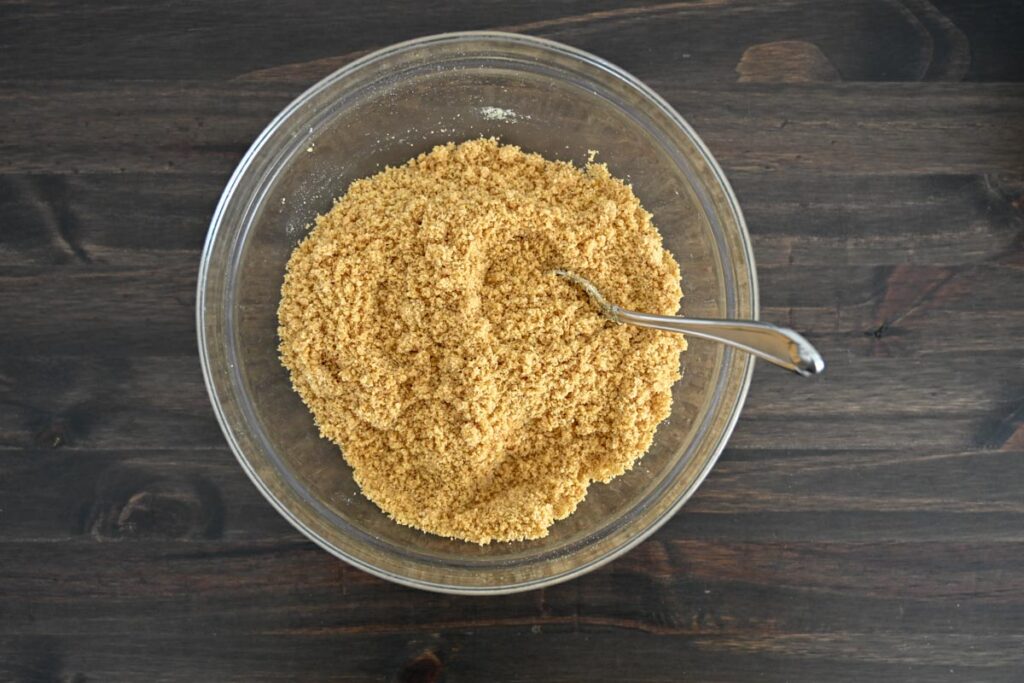
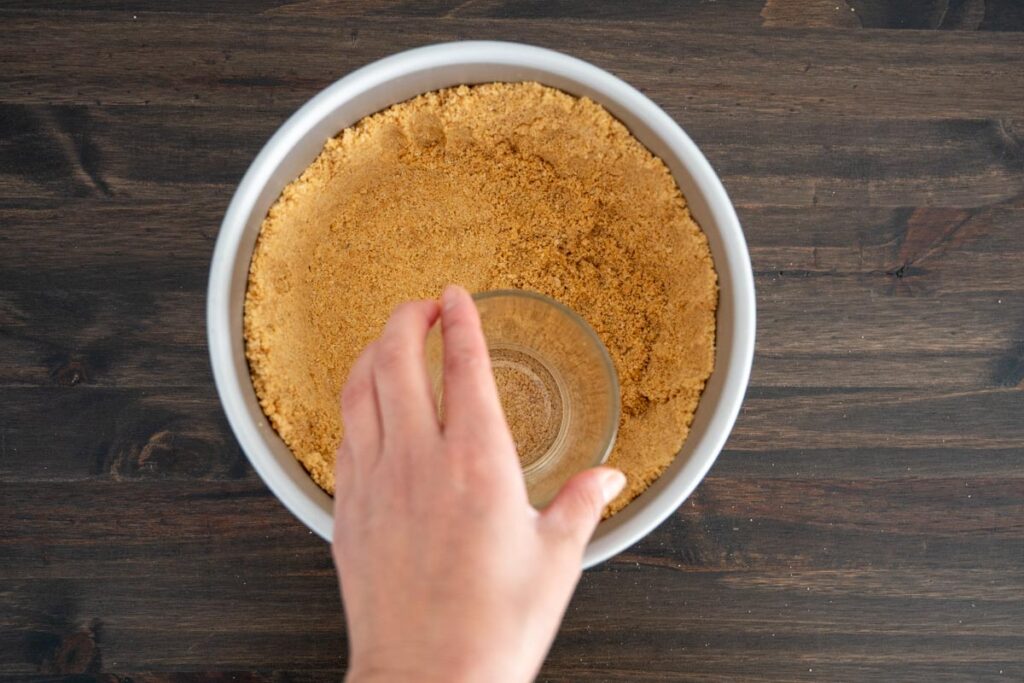
Combine the graham cracker crumbs, melted butter, and sugar into a large bowl until it resembles a sandy texture. Press into the bottom and up the sides of the springform pan. Bake for 8 minutes and set aside.
Reduce the oven temperature to 325°F/°C
Filling
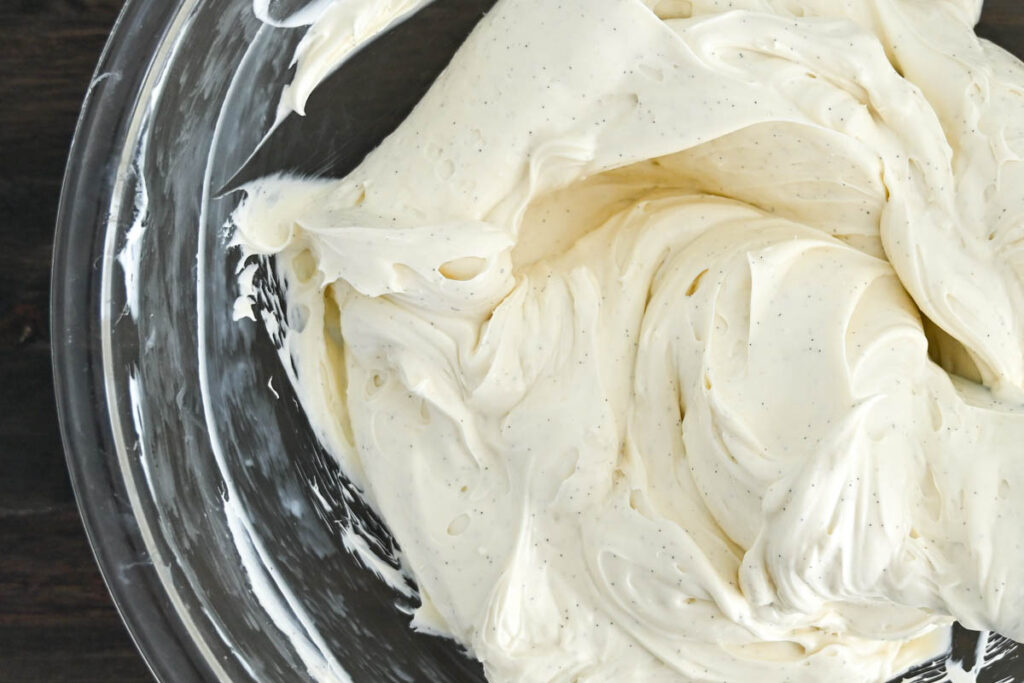
Add the cream cheese bricks to a large bowl and mix using a handheld mixer on low speed, increasing to medium speed, until it’s smooth and creamy.

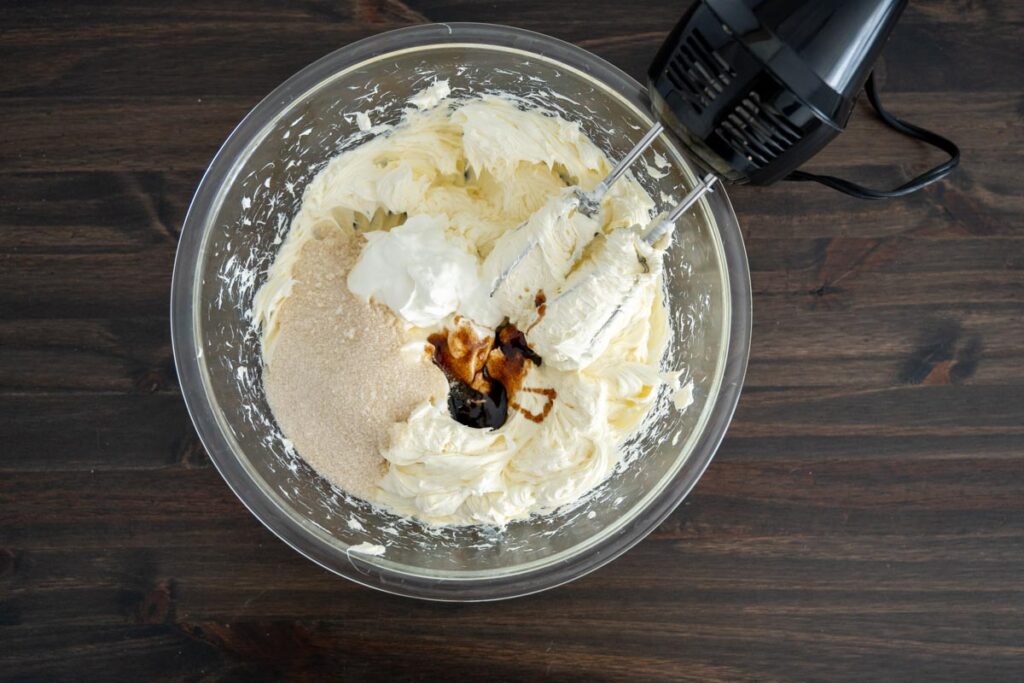
Add the sugar, sour cream, and vanilla bean paste and beat until combined, scraping the sides and bottom of the bowl as needed.
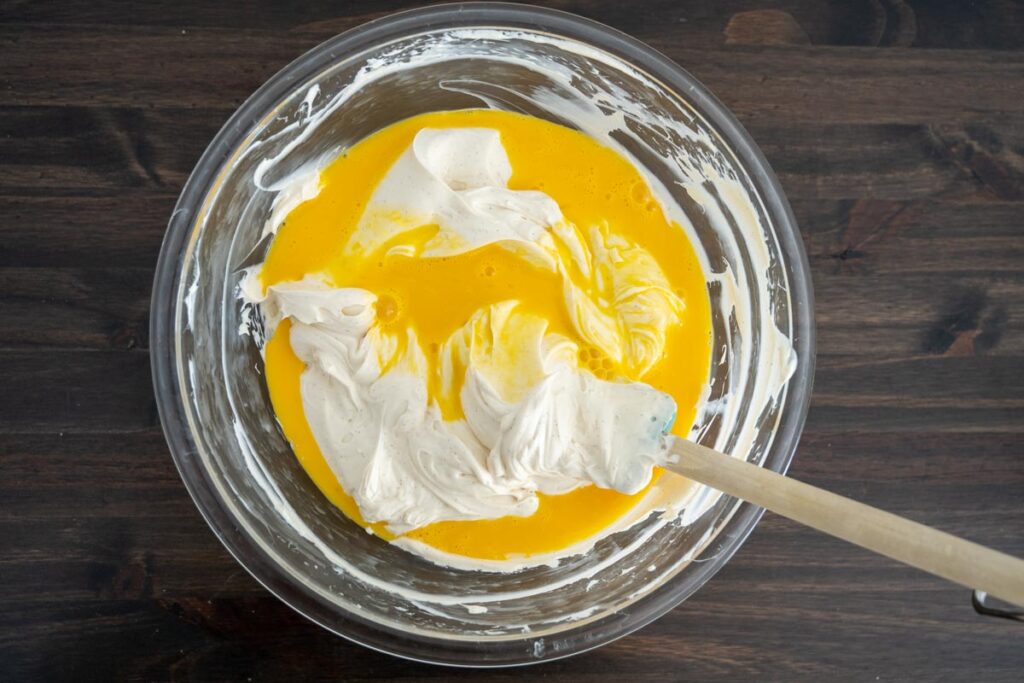
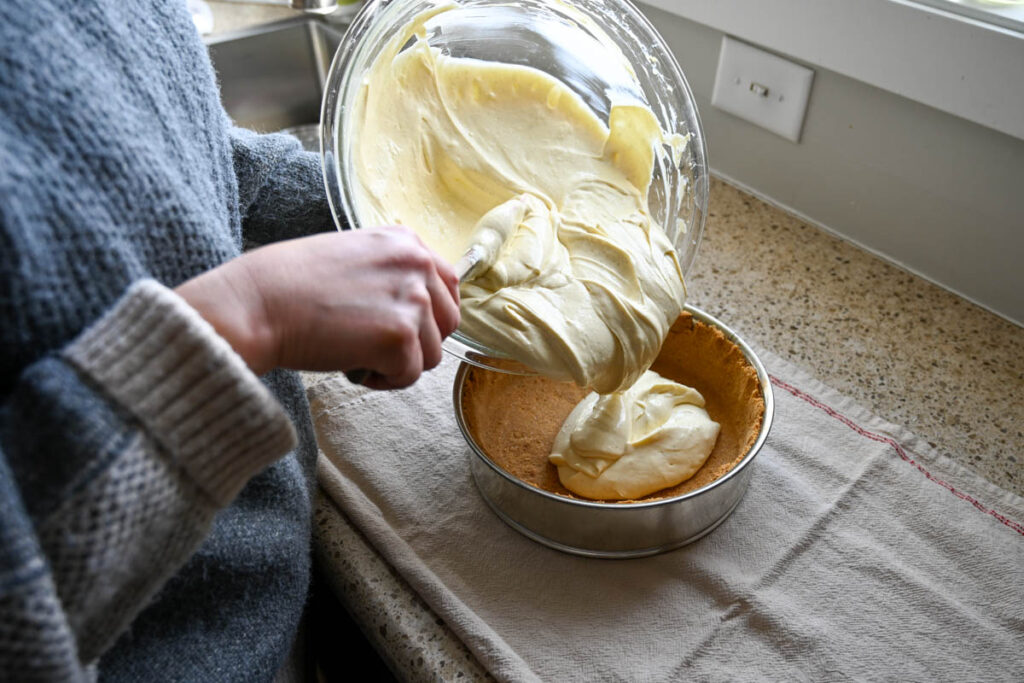
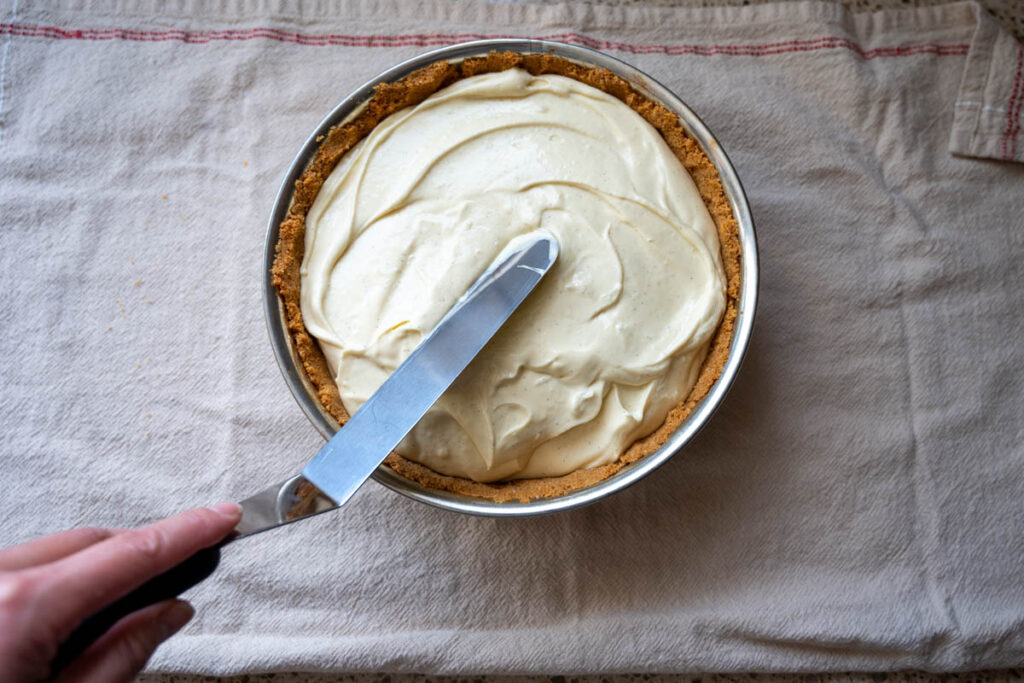
Beat the eggs in a separate bowl, and then fold by hand into the cream cheese filling mixture. Pour the cheesecake batter into the graham crust and smooth with the back of a spoon.
Bake
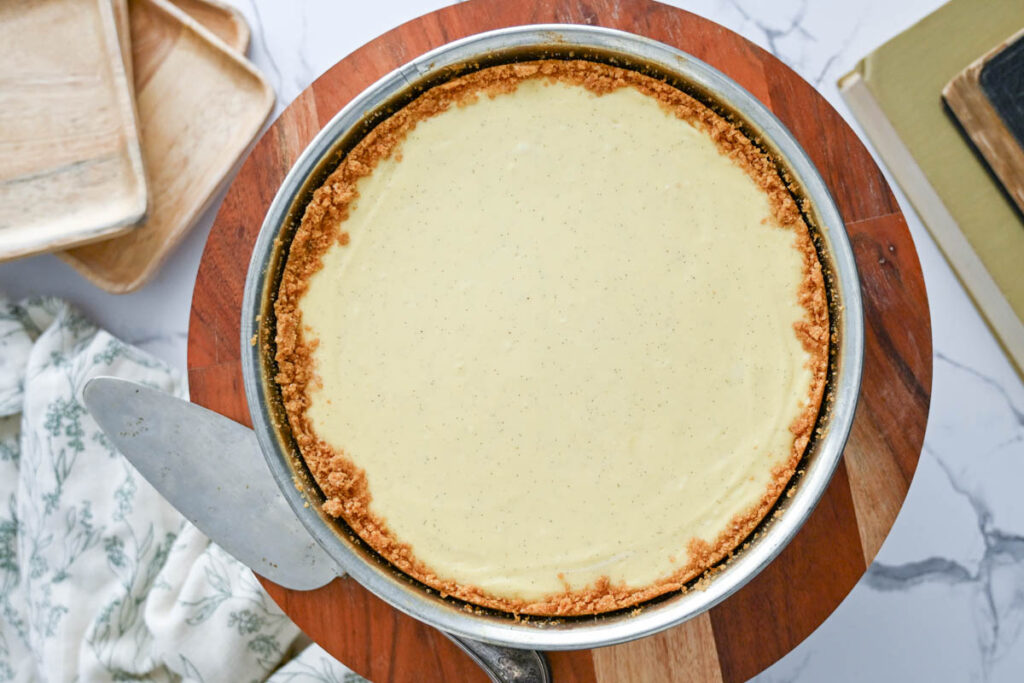
Bake cheesecake for 30 minutes at 325°F/163°C. If you’re using an 8-inch pan, increase the time to 45 minutes.
Without opening the oven door, lower the oven temperature to 250°F/121°C and bake for 45 minutes.
Turn off the oven, and leave the cheesecake in the oven for another 45 minutes.
Then, crack the oven door to release some of the heat and leave the cake in the oven for 1 hour.
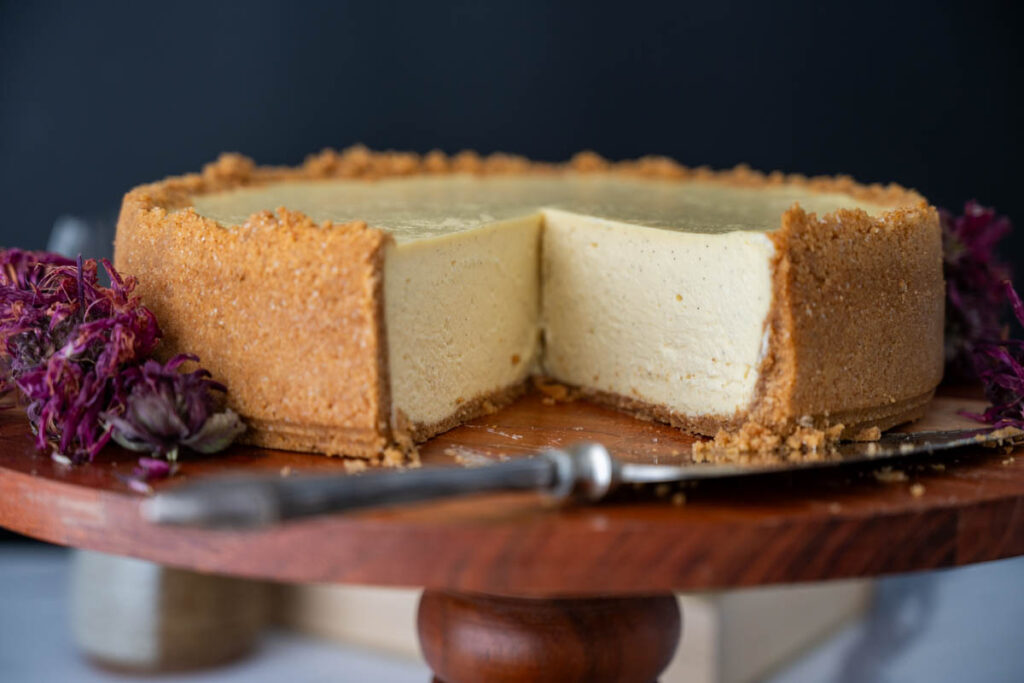
Remove the baked cheesecake from the oven and place on a cooling rack. Rest for 3-4 hours, or until the cake has cooled to room temperature.
Cover the cake and refrigerate for at least 4 hours before serving. I remove the ring of the pan just before serving, and replace it to store.
I like to serve my cakes on a pretty cake stand or plate, but it can be tricky to transfer them. To make it easy to remove the cake from the pan, line the bottom of the pan with a piece of parchment paper cut in a circle to fit the pan.
How to Store Cheesecake
Due to the cheese, the cheesecake should always be stored in the refrigerator.
I like to keep mine in the pan and place it into a large, 2-gallon plastic bag, or cover the top of the pan with foil
Cheesecake’s flavor is best served chilled. I suggest not leaving it out at room temperature for more than 2-3 hours.
FAQs
Can I Freeze Cheesecake?
Yes! Cheesecake freezes beautifully! To freeze, first allow the cheesecake to cool at room temperature and in the fridge as instructed.
Once chilled, the cake should hold firm to transfer. Remove the cake from the pan and wrap it in a few layers of plastic wrap.
If you want the cake to be more stable before transferring, place it into the freezer for 4-6 hours before removing it from the pan. Label with the name and date, and place it into the freezer.
To freeze individual pieces, slice the cake and place the pieces onto a baking sheet lined with parchment paper. Place the baking sheet into the freezer and freeze until the pieces are solid (roughly 6 hours).
Then, wrap each piece into clingwrap and place into an airtight container. Cheesecake will keep in the freezer for 1-2 months. To thaw, transfer the cake to the fridge and let it thaw overnight.
Once thawed, cheesecake should be eaten within 2 days.

I’d love to hear from you! If you tried this Artisan Sourdough Pumpkin and Pecan Bread, please leave a star rating and let me know how it went in the comments section below. Happy Baking!
Easy Cheesecake Recipe
Want to Save This Recipe?
Enter your email & I’ll send it to your inbox. Plus, get great new recipes from me every week!
By submitting this form, you consent to receive emails from Lockrem Homestead
Equipment
- hand mixer
- food processor
- silicone spatula
- kitchen scale
- 9" springform pan or 8" pan
- cooling rack
Ingredients
Graham Cracker Crust
- 2 ⅓ cups graham cracker crumbs (roughly 18 graham crackers)
- ¼ cup sugar
- 6 T butter melted
Cheesecake Filling
- 5 8 oz cream cheese softened to room temperature
- 1 ½ cups sugar
- ½ cup sour cream
- 2 T vanilla bean paste
- 4 large eggs room temperature, lightly beaten
Instructions
Crust
- Preheat the oven to 350°F/177°C.
- Make graham cracker crumbs by placing crackers, broken into quarters, into a food processor. Pulse until crackers reach a fine, sandy texture. Transfer crumbs into a large bowl. Add sugar and melted butter and stir well to incorporate.2 ⅓ cups graham cracker crumbs, ¼ cup sugar, and 6 T butter
- Pour crumbs into a 9″ springform pan and press firmly into the bottom and up the sides of the pan.
- Bake for 8 minutes. Remove from the oven and set aside.
- Reduce the oven temperature to 325°F/163°C.
Filling
- Add the cream cheese bricks to a large bowl. Use a handheld mixer to mix the cream cheese on low speed, gradually increasing the speed, until it's smooth and creamy. (Be sure no lumps remain. Once you add the remaining wet ingredients, it's difficult to achieve a smooth, creamy filling texture.)5 8 oz cream cheese
- Add the sugar, sour cream, and vanilla bean paste and mix until creamy. Make sure to scrape the bottom and sides of the bowl as needed.1 ½ cups sugar, ½ cup sour cream, and 2 T vanilla bean paste
- Crack the eggs into a small, separate bowl, and mix with a fork. Pour the beaten eggs into the cheesecake filling. Using a spatula, fold the eggs in until all of the ingredients are well combined.4 large eggs
- Pour the cheesecake batter into the graham crust and smooth with the back of a spoon.
Bake
- Bake cheesecake for 30 minutes at 325°F/163°C.If you're using an 8-inch pan, increase the time to 45 minutes.
- Without opening the oven door, lower the oven temperature to 250°F/121°C and bake for 45 minutes.
- Turn off the oven, and leave the cheesecake in the oven for 45 minutes.
- Crack the oven door to release some of the heat. Leave the cake in the oven for 1 hour.The cheesecake is done when the edges are set, and the middle 2-3 inches has a slight, Jello-like wobble when you jiggle the pan.
- Remove the baked cheesecake from the oven and place on a cooling rack. Leave for 3-4 hours, or until the cake has cooled to room temperature.
- Cover the cake and refrigerate for at least 4 hours before serving. I remove the ring of the pan just before serving, and replace it to store.
Notes
Tips
- Baking the cheesecake at a low temperature paired with a slow cooling process eliminates the need for a water bath, traditionally used to provide gentle baking conditions. Drastic changes in temperature can cause the cheesecake to sink or crack, so don’t open the oven door until directed, as tempting as it may be!
- Overbeating your eggs results in a less-than-ideal texture and can cause the dreaded crack in your finished cheesecake. The solution? Lightly scramble the eggs in a separate dish before adding to the batter. Switch from using a mixer to folding them in by hand until just combined.
- It’s important to let the cream cheese come to room temperature before mixing to prevent lumps and create a smooth, creamy texture. For a silky smooth texture that blends easily, make sure all of your ingredients are the same temperature. Make sure that you use the brick-style cream cheese, not the spreadable version that is available in tubs.
- If you don’t have vanilla bean paste, you can substitute vanilla extract in its place using the same amount. However, the cheesecake won’t have the lovely vanilla bean flecks throughout.
While some people find cheesecake to be overly rich, I find that a piece of cheesecake is timelessly delicious. Serve it with fresh fruit, a drizzle of chocolate, or simply as is! Enjoy, and leave any questions below!