Rendering Lard | A Complete Guide
Learn how simple rendering lard from pork fat is to produce a snow white, odorless, sustainable fat for baking, frying, and more!
This complete guide will teach you how to make homemade, rendered lard for a fraction of the store price. It’s not only superior for your wallet, but rendering lard yourself means it’s free of additives like its store-bought counterparts.
Read on to understand the different types of rendering lard, what type of equipment to use, how to use it, and why it’s a must-have for those wishing to live a more sustainable lifestyle, regardless of whether you raise the animals!
As our family learned more about our food system, we began growing and procuring as much food as we could. We planted gardens filled with produce and herbs, and an orchard that we patiently wait to mature to harvest from. We started to tap our maple trees and raise small animals to provide eggs and meat. For the rest of our meat needs, we transitioned our purchasing power from grocery stores to local farmers.
Not only does this change the timeline of how we think about food, needing to think and plan far in advance, but there are more cuts and animal by-products to use. One of those ‘extra’ products is all of the fat harvested from the animal, which isn’t normally used. Long ago, this fat was a valuable ingredient not only for cooking and baking. Not only that, but also to moisturize our bodies and lubricate kitchen tools!
What is Lard?
Rendered animal fat has different names depending on the animal it comes from. Lard is pure fat from the fatty tissue of a pig. As it heats, the fat melts and separates from the meat. The result is a clarified, clear fat that solidifies at room temperature.
Tip: To ensure an odorless lard, ladle out the fat as soon as it melts and before it heats up, rather than waiting until the entirety of it melts.

Where Do I Buy Lard?
Lard is a sustainable fat source, especially if you raise your own animals. However, don’t let it stop you from learning how to render lard if you aren’t raising pigs.
Inquire with your local farmer or butcher to see if they’d sell you unprocessed pork fat. Chances are, they’d be happy to sell it to you for a low nominal fee.
Since we don’t raise hogs, I called the local butcher to ask if they had any pig fat available. They didn’t have any on hand, but were willing to set some aside as it became available.
They took my name and number and the amount of pig fat I wanted to buy. Within a few days, the amount I was requesting was ready. Once I got the call, I went to pick it up. The whole process was simple and straightforward.
Tallow Vs. Lard
Before learning about how to source our food, tallow and lard were one in the same to me. Embarassingly, I often used them interchangeably. Tallow and lard are similar in that they are both rendered animal fats, with their differences in the type of animal fat.
Lard comes from the fat of a pig, whereas tallow is a type of rendered fat that comes from ruminant animals, such as cattle, sheep, and deer. Ideally, you’ll want to use the highest quality fat you can source. Pork fat from pasture-raised pork and beef tallow from grass-fed beef.
Both lard and tallow can be used beyond the kitchen, such as in soaps and natural skin care products. Lately, whipped tallow balm has been making a resurgence in natural skin care for its nourishing qualities. I use it to help my skin stay soft during the dry, winter months.
Types of Fat From a Hog
- Belly – The pork belly is a rich, both soft and firm layer of fat layered with the meat, most commonly referred to as cured bacon. Yep, bacon is just cured pork belly. (You can buy pork belly and make your own bacon.)
- Back Fat or Fatback – This fat comes from the back of the animal along its shoulder and rump, and sits just below the layer of skin. It’s typically sold in pieces, often with the skin still attached. Rendered back fat is great for sauteing and frying.
- Leaf Lard – The fat is from around the pig’s kidneys and is the cleanest fat on the animal, making it the ideal choice for flaky pie crust, biscuits, and other pastries.

Why Render Your Own Lard?
- By rendering lard yourself, you have full control over the process, resulting in a lard that’s pure, odorless, and snow white in color.
- It’s cost-effective. Rendering lard at home costs a fraction of the price of buying it from the store, for a higher-quality product. Even if you’re not going to process a whole animal, you can order pork fat from your local butcher for a small fee.
- There are so many uses for it in the kitchen. Use it for frying, grilling, or greasing your pans. In addition, you can also add it to your pastries; leaf lard has been the go-to fat for making flaky pie crusts before shortening.
- An ideal fat for those following an animal-based diet like the carnivore or paleo diet.
- Keep your cast iron skillets and flat tops well oiled to keep them from rusting.
Tips for Rendering Lard
- The most important tip is not to rush the rendering process. Low and slow is key to producing a pure white and odorless lard.
- Ask the butcher to grind the fat for you. I didn’t do this the first time, and it took me hours to dice the fat into small pieces. Having the fat in small pieces increases the surface area and allows rendering lard at a quicker pace than one large chunk of fat. (Thank you, chemistry class)
- Be sure that the lard doesn’t burn so the taste remains pure and not bitter. If you keep the heat low, then this shouldn’t be an issue.
- Strain the lard using a fine mesh strainer and cloth for a clear lard.
- Make a large batch. Because rendering lard is a longer process and it doesn’t really add too much more time if you do 5 pounds of lard or 10 pounds of lard, it’s worth rendering a large quantity because it stores so well.

Wet vs Dry Rendering
When it comes to rendering, there are two different methods, each with its pros and cons.
First, there’s wet rendering, which is my preferred method. As the name suggests, rendering the fat with the addition of water allows for a subtle distribution of the heat and prevents the fat from burning.
The wet method allows more freedom because there’s less risk of it burning. However, because you’re adding water, the chances of it spoiling go up. I like this method because it extracts more fat from the connective tissue and makes the most of my efforts. I’ve found that because the fat has a lower density than water, it rises to the top, making it easy to skim, leaving much of the water behind.
The other method is dry rendering, and as you can imagine, it involves rendering without water. Because there’s no water, this lard is pure and has a longer shelf life. However, you must watch it closely, stirring frequently, to make sure the fat doesn’t burn.
What Type of Heat Source to Render Lard Pork Fat
If you do a quick search, you’ll find that there are multiple ways to render lard, ranging from on the stovetop in a large stock pot, using an electric roaster pan, in the oven, or a slow cooker method using a crockpot.
Crock pot
A crockpot, sometimes called a slow cooker, is best if you’re rendering a small batch of lard. However, since a crockpot typically has minimal settings, you don’t have as much control over the exact temperature. It’s best to use the wet method to keep the fat from burning. However, because you can render anywhere in a crockpot, you can keep the smell out of the house.
Oven
Roasting lard in the oven not only keeps your stove free, but almost everyone has an oven, so it makes it approachable for almost everyone. The most challenging part is that it’s just more cumbersome. In order to ladle the fat, you’re constantly moving the pan in and out of the oven, or precariously trying to ladle from the oven. If you’re anything like me, this method is a recipe for disaster. Not only that, but you’ve suddenly increased the workload for the whole process!
Stovetop
Rendering fat in a large stockpot on the stove gives you the ultimate control over the heat and requires very little additional equipment, aside from a large stockpot. I would highly suggest the wet method since it can be difficult to stir all the way down at the bottom of the pot. Alternatively, you can use a Dutch oven, which often has a shallower depth, making it easier to stir.
Electric roaster pan
This is my favorite way to do a large batch of lard. The wide opening allows plenty of space to stir the fat as it melts and has more surface area of the fat touching the heat source, resulting in more melted fat at one time. And because the pan sits in water, the fat has a reduced chance of burning, making it an ideal choice if you choose to use the dry rendering method. The one downside to this method is that you have to own and store a roaster pan, which can be problematic if you have a tight budget or a small space.
Check your local thrift stores, I see them often. In our small home, I stored mine in the garage, wrapped in a garbage bag to keep it from getting dusty.
I typically begin rendering in an electric roaster pan until the majority of the lard is done. Then, I transfer the little bit of remaining fat to a Dutch oven to finish the cracklings on the stove. This lard is going to be brown because it has speckled bits of fried meat in it with a meaty flavor, which is perfect to fry my morning eggs in.
How to Render Lard Overview
1. Start with ground pork fat, or dice it into pieces.

2. Cook the fat over low heat. Add 1/4 cup of water if using the wet rendering method.

3. As the fat melts, ladle it through layers of cheesecloth into a clean glass jar.

4. Stir the fat to prevent burning, and continue to ladle the fat as it melts.

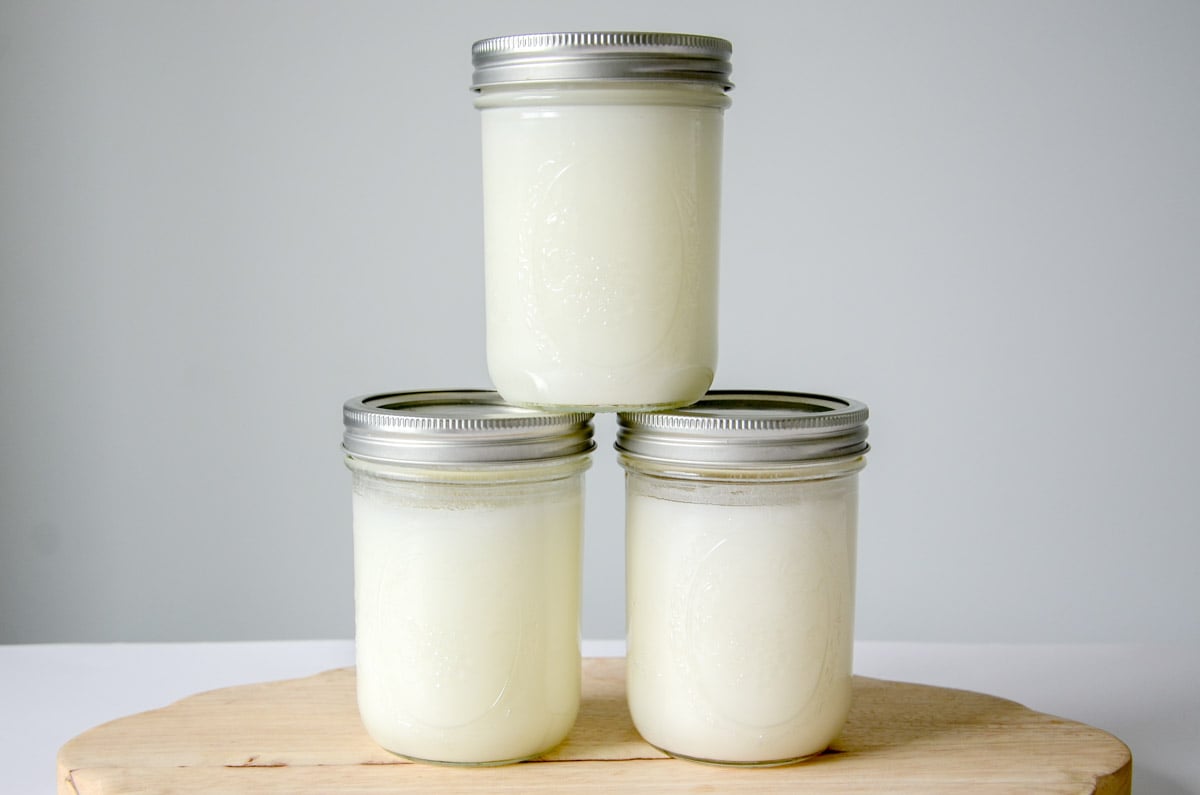
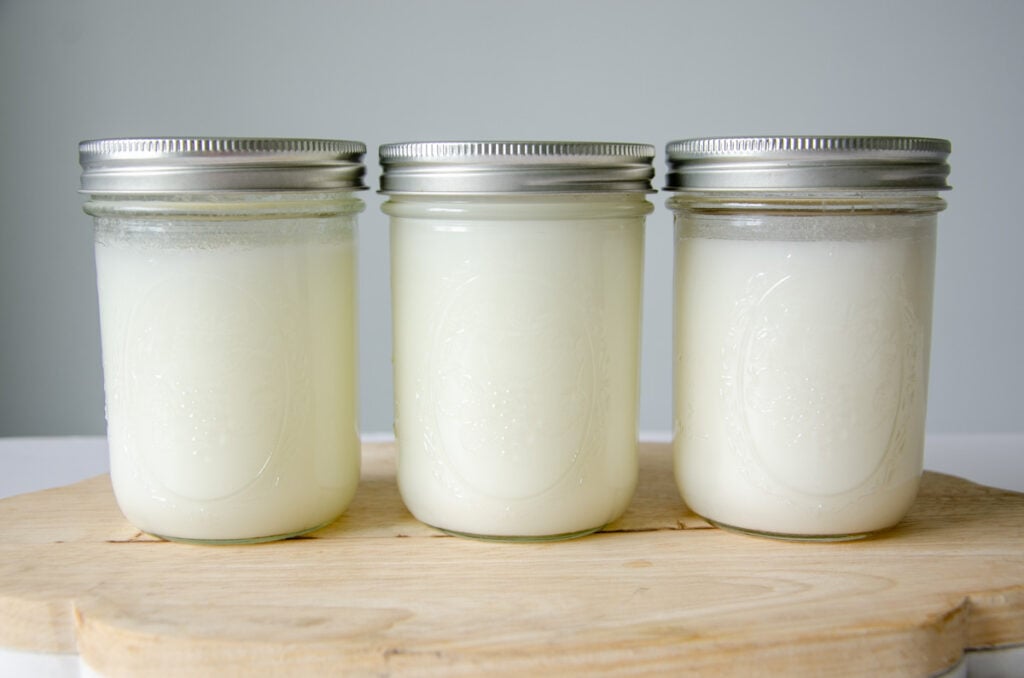
5. In its liquid state, the lard will be a light yellow before turning white as it solidifies. Add lids to the jars and allow them to cool to room temperature before labeling with the name, date, and refrigerating.


How to Store Lard
Storing lard is simple to do with a few tips to extend it’s life.
First, while lard is shelf-stable, keeping it cold or frozen will extend its life. Since we use lard as our main fat to cook and fry with, I find that I can keep it in the fridge for up to a year, with no issues. Opt for the freezer if you use it at a slower pace. Be sure to use a freezer-safe container and leave enough headspace to allow the fat to expand.
The most important tip for storing lard is to make sure that all of the water has evaporated from the lard if you use the wet rendering method.
Adding water increases the chances for bacteria to grow. It’s easy to see if your lard has water in it, as it will settle to the bottom of your jar. If this happens, transfer the lard once it’s solidified to a clean jar, leaving the watery part behind. Another option is to place the jar in the fridge and use it first.

Uses for Homemade Lard
- Baking – Use in any recipe that calls for shortening, such as pie crust, biscuits, and crackers, for a healthier, chemical-free alternative.
- Cooking – Use to fry, saute, and roast meats, vegetables, eggs, and so much more.
- Soap – Soap is made by a chemical reaction called saponification, which turns fat into soap after mixing with lye.
- Cast Iron – After cleaning, cast iron needs a protective layer of oil, such a lard, to keep from rusting.
- Wood Cutting Boards – Keep wood boards conditioned and hydrated with a thin coating of lard.
FAQs About Rendering Lard
Can I Use Bacon Fat to render into lard?
While you can use bacon fat as lard, it will have a meaty flavor and a hint of smokiness to it since bacon goes through a smoking process.
What’s the Difference Between Leaf Lard and Regular Lard?
Up until a few years ago, I didn’t realize that there are multiple types of lard. Because there are different types of fat on a pig, it makes sense that there are different types of lard, each with their own characteristics and qualities that set them apart.
Regular lard is comes from fat that typically comes from the back of the pig or pork belly and is perfect for savory applications such as sauteeing vegetables, frying meats, and cooking eggs.
The second type of lard, called leaf lard, comes from soft visceral fat found around the pig’s kidneys and loins. Bakers highly prize this delicate leaf fat because it’s spreadable and soft at room temperature. This, along with its subtle flavor, is why it’s the highest grade of lard and a great option when you need a high smoke point and a pure flavor.
Does Lard Go Bad?
Yes, lard is similar to other fats in that it can turn rancid. Good lard will be odorless or have a slight porky scent. It’s easy to know when lard is rancid because it will have an unpleasant, sour scent, and should be thrown away.
Why Did my Lard Turn Brown while rendering?
If the lard turned brown, it means that the heat was too high and there are bits of cooked meat in the lard. While it’s ok to use, it will have a more pronounced pork flavor and won’t be a neutral-tasting lard. When the majority of my fat is done rendering, I like to fry the cracklings with the bits of meat in the fat.
After straining out the cracklings, I use the remaining lard, knowing that it will have a pork flavor. I save this lard in a separate jar and label it “dirty lard’ and use it to fry eggs or meat.

Processing lard at home is a simple yet rewarding process. Not only does it give you an abundance of fat for many different uses around your home at an economical price, but it is also a good skill to know how to do.
I encourage you to try your hand at it and see how simple it is to do.
If this guide was helpful, I’d love to hear about it! Please share your experience and any other tips and tricks you have! Don’t forget to leave a star rating! It helps others find this blog and learn with you!

Rendering Lard | A Complete Guide
Want to Save This Recipe?
Enter your email & I’ll send it to your inbox. Plus, get great new recipes from me every week!
By submitting this form, you consent to receive emails from Lockrem Homestead
Equipment
- ladle
- funnel
- fine mesh strainer
- cheesecloth (can use paper towels or coffee filters)
- roaster pan (Can also use a Dutch oven, a large stockpot, or a crockpot. see post for more information)
- glass mason jars and lids (clean glass containers)
Ingredients
- 2 lbs pork fat
- ¼ cup water If using the wet rendering method
Instructions
- First, chop the pork fat into small pieces using a food processor, a meat grinder, or a sharp knife. (It doesn't have to be perfect, just smaller pieces to help the fat melt quicker.)
- If using the wet rendering method, add 1/4 cup of water to the bottom of the crockpot, roaster pan, or Dutch oven on the stove before adding the diced or ground lard.
- Turn the heat to low. For a crockpot, set to low, 200°F/93°C degrees if using a roaster pan, or the lowest setting on your oven.Remember, low and slow is key to an odorless, white lard. Continue to stir to prevent the bottom from burning.
- Within the first hour, you'll see the fat melt into a liquid state.
- Line a fine mesh sieve with a piece of cheesecloth and place it on a funnel over the mouth of the jar. As the fat melts, begin to ladle off the fat, making sure to avoid any water.
- As the lard renders, be sure to stir it to distribute the heat and allow all of the fat to heat up, and prevent the fat at the bottom of the pan from burning.
- Continue to ladle the lard until all of the fat has rendered.
- After the majority of the fat has been rendered, all that's left will be soft bits of meat. Cooked until crispy, these cracklings are delicious and crunchy, and make an excellent salad topping or snack. I highly recommend using them.
- Fasten the lids on the glass jars and allow them to cool to room temperature. Label with the date and name, and store in the refrigerator for up to a year.
- In its liquid state, the lard will be a light yellow before turning white as it solidifies.
The versatility of lard more than makes up for the process. One batch and I’m set for months! I sincerely hope you try it; it is well worth the effort. And! I look forward to reading your questions and comments below!