Fermented Honey Garlic | Recipe and Benefits
This post may contain affiliate links. As an Amazon Associate, I may receive a small commission, at no cost to you, if you make a purchase. Please read our disclosure policy.
Fermented honey garlic is one of the best things to have on hand heading into the colder months to keep your immune system at its prime during cold and flu season. Both honey and garlic have strong medicinal benefits, making this ferment a favorite to have on hand.
Fermenting garlic in honey takes time, so plan to make this natural remedy a month or two before the weather turns cold. Making a large batch at the beginning of the school year is an easy way to incorporate it into our yearly rhythm. Because of its extended fermentation period make sure to add enough garlic so that it will last throughout the season.
Did I mention it also tastes delicious? It’s worth mentioning because not all home remedies are easy on your palette. I have made a few remedies over the years that feel like a waste because I can’t convince my kids that they’re worth taking.
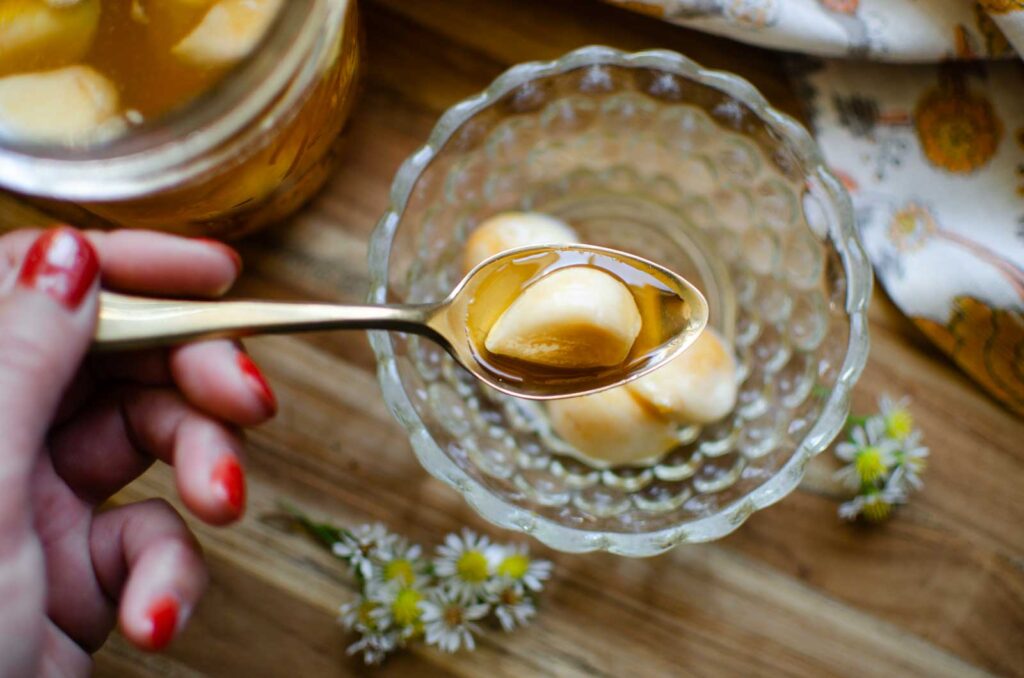
What is Fermenting Garlic In Honey Good For?
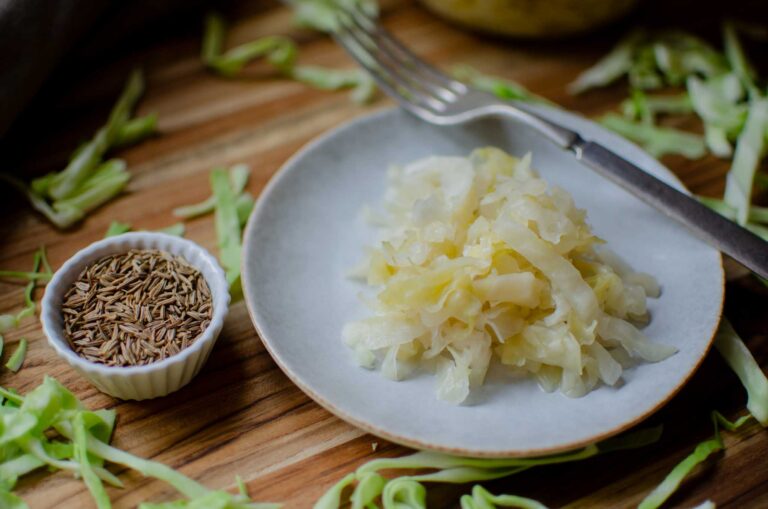
Honey-fermented garlic is at the top of the list of my favorite fermented foods. Just like my probiotic-rich sauerkraut, honey-fermented garlic taste amazing, it’s easy to make and is teeming with benefits.
Whole, raw garlic cloves are rich in sulfur compounds and other compounds with antiviral properties. In addition, the health benefits of garlic have been shown to have immune-boosting properties to help support your body in a natural way during cold and flu season.
Honey has a long history of being used as a home remedy, from wound care to soothing a sore throat. Honey is also full of vitamins, and minerals and is a good source of antioxidants. But not all honey is the same. Most of the honey you buy in a grocery store has been pasteurized. This high heat kills unwanted yeast, improving the color and texture, removing crystals, and extending shelf life.
Raw honey, on the other hand, retains its nutrients, natural yeasts, and antibacterial properties, but it also runs the risk of carrying bacteria. This is the reason honey should never be given to children under 1 year old.
Manuka honey is a specific type of honey originating from New Zealand and Australia that have unique antimicrobial properties. It comes with a special rating system that denotes the intensity of 3 kinds of compounds. While you could use this type of honey in your ferment, for most people it’s not a cost-effective option. I like to take a small spoonful of Manuka honey in addition to the fermented honey garlic when I’m feeling under the weather.
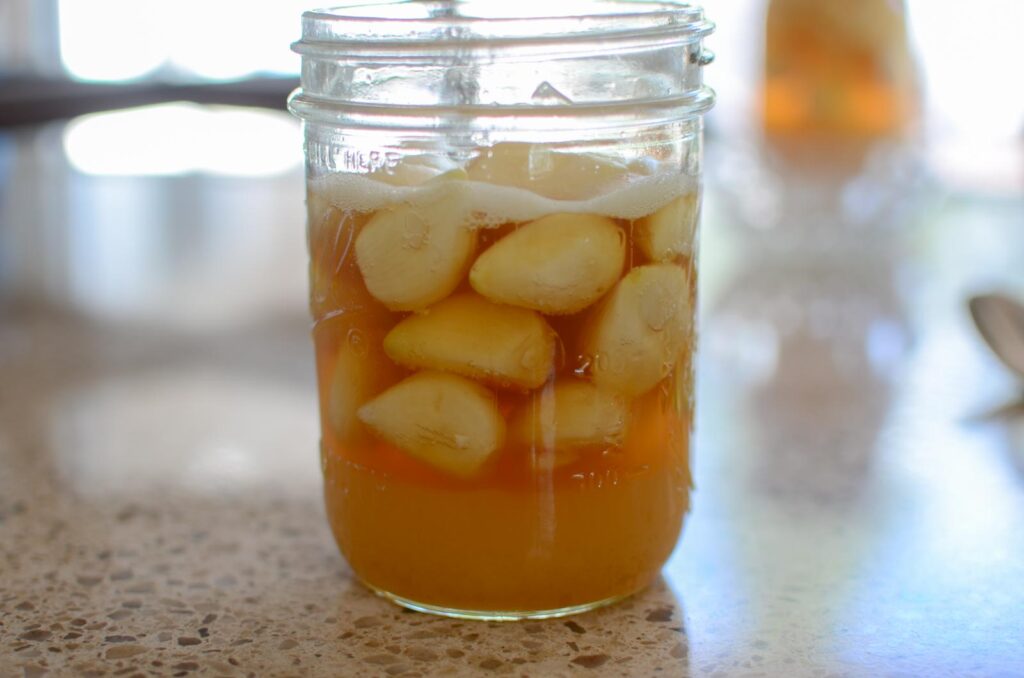
Ingredients
- Honey – Use raw, unpasteurized honey when fermenting. It’s full of the wild yeast and bacteria that are needed in the fermentation process. Pasteurized honey has been heated to kill all of the bacteria and won’t ferment.
- Garlic – Garlic is a part of the Allium family and is known for its antiviral properties.
Fermented Garlic Honey Instructions
Making fermented honey garlic is so simple that it hardly needs a recipe.
Start with clean equipment. A sterilized jar makes the perfect container, but any clean, non-metal container will work.
Prepare the Garlic
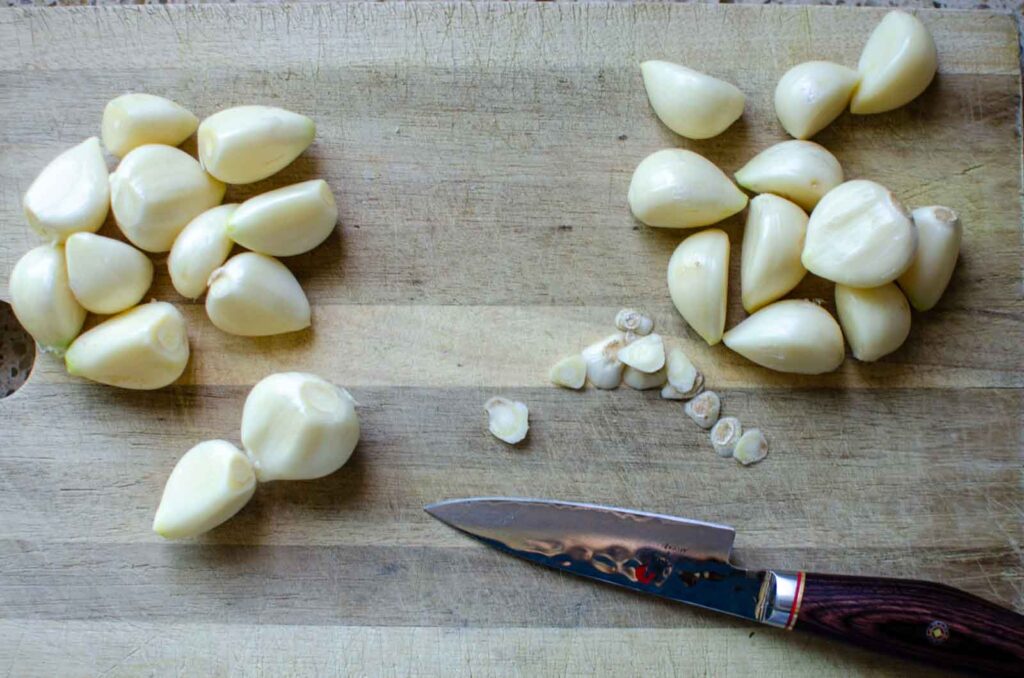
The longest and most labor-intensive part of preparing the ingredients is peeling the garlic. First, separate the heads of garlic into individual cloves of garlic. Then, peel the garlic cloves and trim the ends with a sharp knife. Rinse off any remaining paper from the garlic cloves and pat dry.
If you are cautious about botulism, coat the garlic with a few splashes of apple cider vinegar before adding it to a clean jar. (Read below why I’m not)
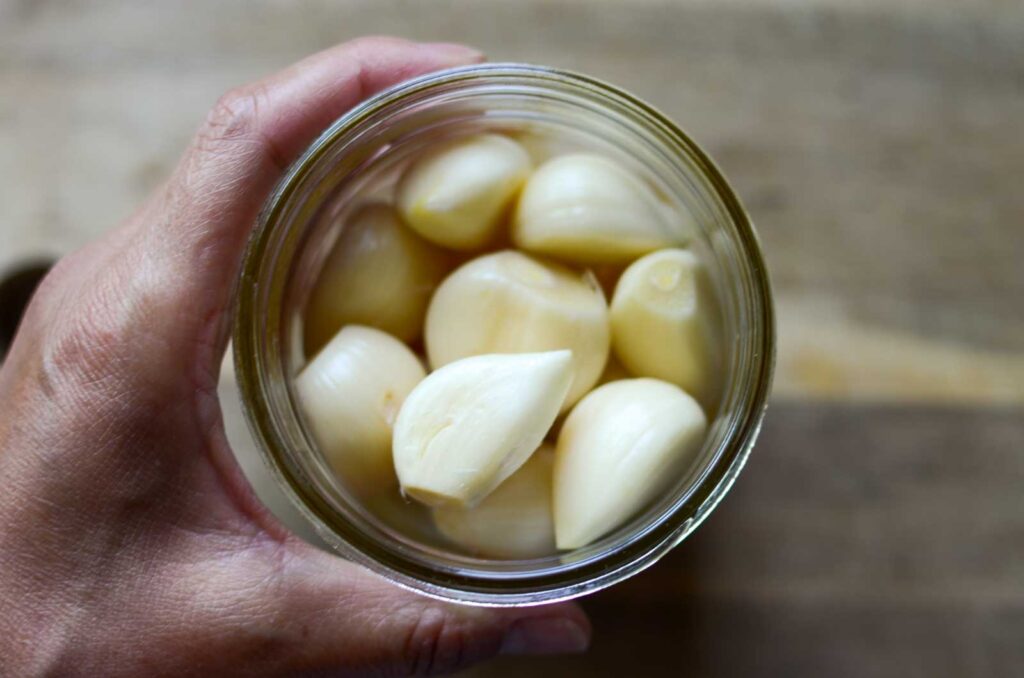
Fill the jar 2/3 of the way full with a bunch of garlic cloves, leaving enough room at the top for the ferment to expand.
Add the Honey
Pour enough honey over the fresh garlic cloves to cover completely. Stir the honey to release any air bubbles caught amid the garlic cloves, adding more honey if needed.
Cover
Loosely place a lid on the jar and move it to a dark place at room temperature to let the garlic and honey ferment. Don’t screw the lid on tight so the carbon dioxide can escape.
Stir
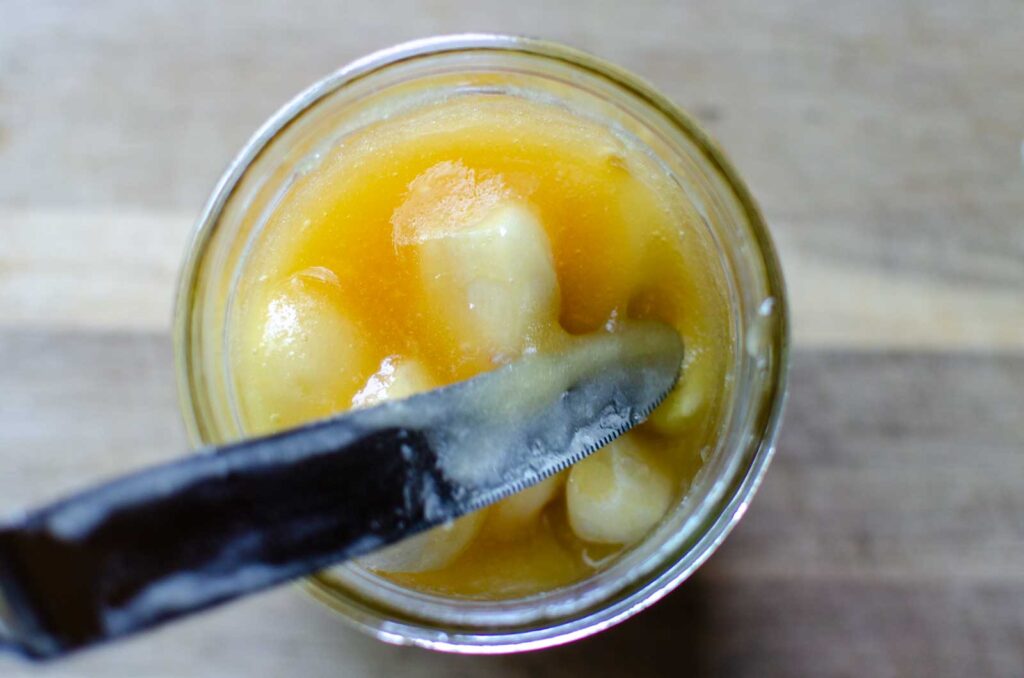
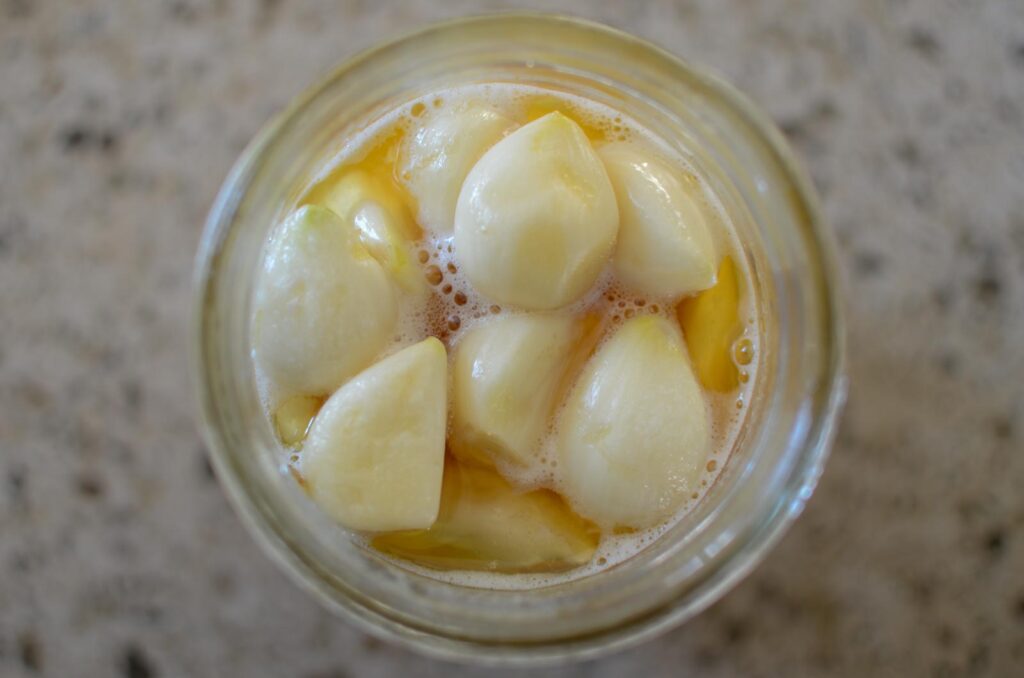
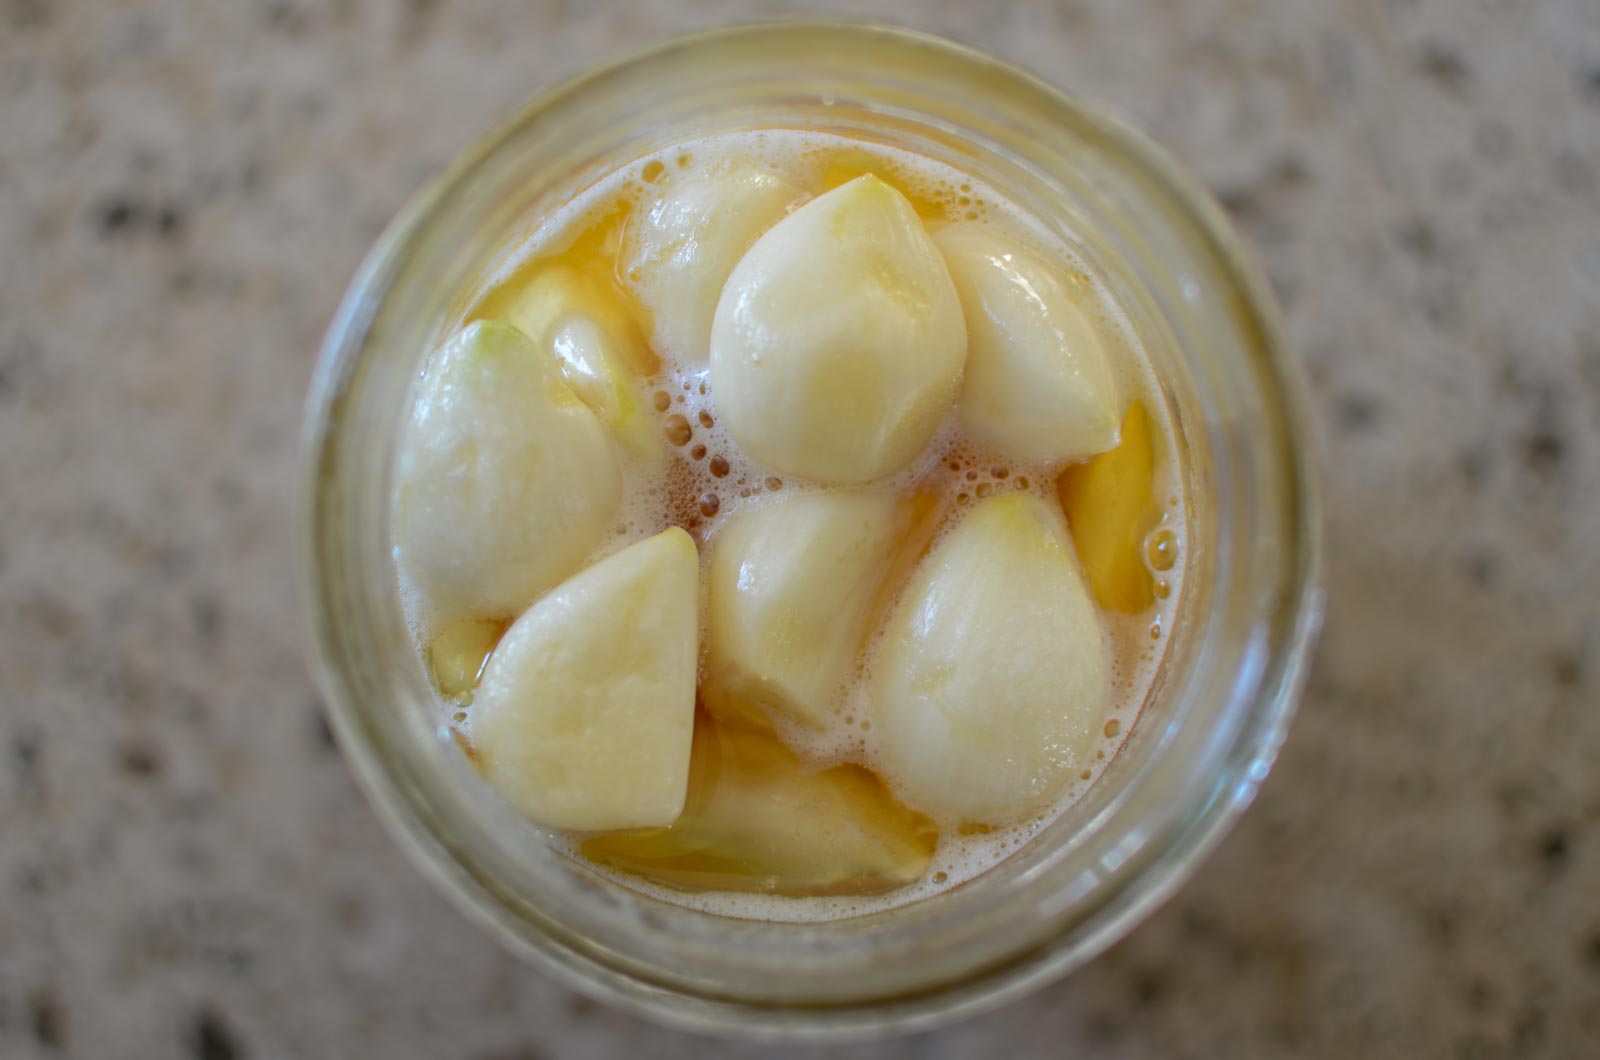
Over time, you will notice evidence of the fermenting process doing its thing with tiny bubbles forming in the honey. In addition, the garlic cloves will float to the surface of the honey. If left alone for an extended period, exposure to the air will create the right environment for mold to grow. To ensure this isn’t an issue, stir the honey daily, pushing the garlic cloves beneath the surface of the honey. They will bob back up, but this little bit of disruption is enough to prevent mold from growing. This is my preferred way because once you’re done stirring, you get to lick the spoon. Just no double dipping!
The other method is to screw the lid on tightly and flip the jar upside down so that all of the garlic stay coated with honey. Then return to its upright position and loosen the lid. The challenge with this method is that you MUST make sure the lid is on tight, otherwise you have a sticky mess. Plus, you need to circle back to readjust the lid.
I’d rather stir the honey, get a little taste of honey, and be done.
Ferment and Store
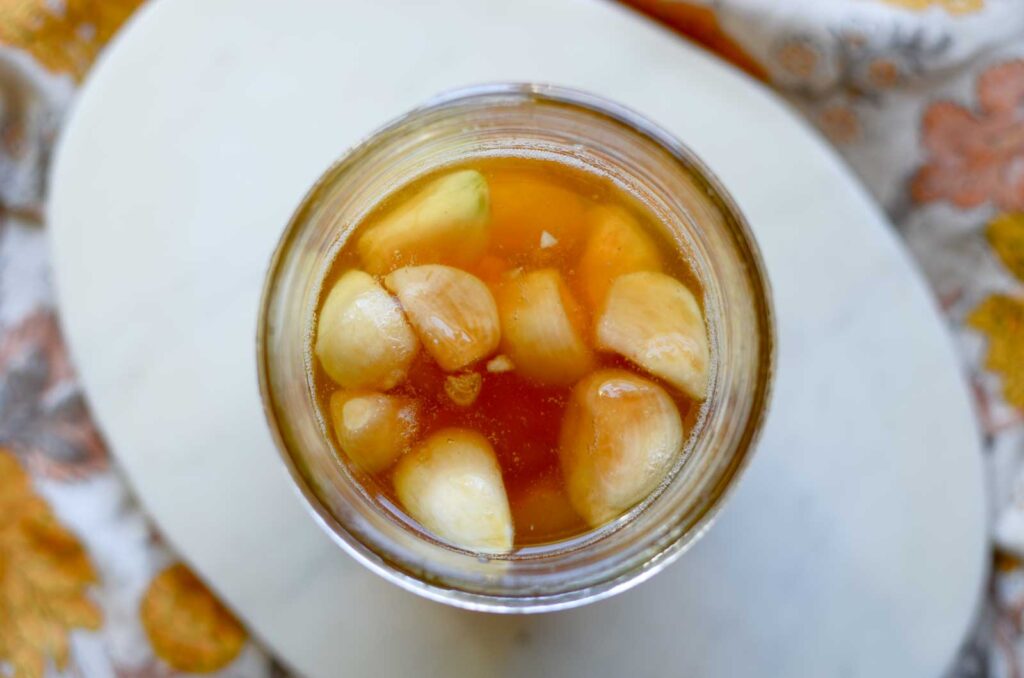
Let the garlic ferment for 4-6 weeks out of direct sunlight, continuing to stir or flip daily. It’s normal to see the garlic cloves transform into a softened, darker clove of garlic by the end of the fermentation time.
After the garlic is done fermenting, wipe off any sticky residue from the outside of the jar and place it in the refrigerator for up to 12 months.
How to Use Fermented Honey Garlic
There are a variety of ways to use fermented garlic honey.
- Sauces – The savory combination of garlic infused with the sweet honey makes for a flavorful addition to salad dressings, dipping sauces, or marinades.
- Tea – Add a bit to a cup of tea, just be sure that the tea’s temperature isn’t scalding hot so the heat doesn’t destroy all of the fermentation benefits.
- Drizzle – Top your favorite pizza, flatbread, vegetables, or toast for a sweet garnish.
- With crackers or on a crostini – Whenever I’m feeling under the weather, I eat a clove or two throughout the day to help support my immune system. If the idea of eating a clove of garlic alone sounds like too much, try eating it with a cracker or crostini paired with a slice of cheese.
Is Botulism a Concern in Fermented Honey Garlic?
When preserving foods at home, the one risk to avoid is botulism. With some basic understanding of what botulism is, how it survives, and more importantly, how to ensure your home-preserved foods are safe from it, you can move forward with confidence.
Botulism is a rare, but serious illness caused by toxins that affect the nervous system. The bacteria that make the toxins are found all around us in nature, but it’s rare for them to make people sick. These bacteria make spores, helping the bacteria to survive in the environment. When preserving foods at home, the goal is to eliminate the risk of botulism spores remaining in the food. The two main ways are heating food hot enough for an extended length of time or acidifying the food.
To safely ferment foods, start with clean equipment, like a clean mason jar. The pH of honey is naturally acidic, making it an ideal environment to ferment garlic. If you are concerned, you can toss the raw garlic cloves in a bit of apple cider vinegar before adding to the honey, killing any remaining spores on the garlic.
To bring confidence, test the fermented honey garlic with these pH strips so you know for certain. When the garlic has fully fermented, refrigerate for long-term storage.
Can I Use Crystalized Honey?
Yes, it doesn’t change the benefits of honey. Either scoop the honey into the jar, pushing it down to press out any air bubbles, until the honey is covering the garlic. As the garlic cloves ferment, they will release liquid and liquify the honey. The other option is to gently warm up the honey using warm water. Avoid direct high heat and instead, use a warm water bath.
How Long Does Garlic Fermented Honey Last?
Because honey is shelf stable and garlic has many antibacterial and antimicrobial properties, fermented honey garlic has a long shelf life. I like to keep my ferments in the fridge to extend their life. It’s recommended to keep honey garlic for up to 12 months. Although, I’ve enjoyed honey garlic that has been in my fridge for 18 months with no issues.
The content on this website is for educational purposes only and not for medical advice. Although I try my utmost to provide useful and accurate information, you are responsible for researching and verifying information before relying on it. I am not a licensed or registered healthcare practitioner.
The information we provide is not intended to be a substitute for medical treatment. Please consult your medical care provider before using herbal medicine, particularly if you have a known medical condition or if you are pregnant or nursing. You are responsible for your own health.
Fermented Honey Garlic | Recipe and Benefits
Want to Save This Recipe?
Enter your email & I’ll send it to your inbox. Plus, get great new recipes from me every week!
By submitting this form, you consent to receive emails from Lockrem Homestead
Equipment
- 1 pint jar
Ingredients
- 4 bulbs garlic cloves
- 1½ cups raw honey
Instructions
- Start with clean equipment. A sterilized jar makes the perfect container, but any clean, non-metal container will work.
Prepare the Garlic
- The longest and most labor-intensive part of preparing the ingredients is peeling the garlic. First, separate the heads of garlic into individual cloves of garlic. Then, peel the garlic cloves and trim the ends with a sharp knife. Rinse off any remaining paper from the garlic cloves and pat dry.
- If you are cautious about botulism, coat the garlic with a few splashes of apple cider vinegar before adding it to a clean jar. (Read the text above why I'm not)
- Fill the jar 2/3 of the way full with garlic cloves, leaving enough room at the top for the ferment to expand.
Add the Honey
- Pour enough honey over the fresh garlic cloves to cover completely. Stir the honey to release any air bubbles caught amid the garlic cloves, adding more honey if needed.
Cover
- Loosely place a lid on the jar and move it to a dark place at room temperature to let the garlic and honey ferment. Don't screw the lid on tight so the carbon dioxide can escape.
Stir
- Over time, you will notice evidence of the fermenting process doing its thing with tiny bubbles forming in the honey. In addition, the garlic cloves will float to the surface of the honey. If left alone for an extended period, exposure to the air will create the right environment for mold to grow. To ensure this isn't an issue, stir the honey daily, pushing the garlic cloves beneath the surface of the honey. They will bob back up, but this little bit of disruption is enough to prevent mold from growing. This is my preferred way because once you're done stirring, you get to lick the spoon. Just no double dipping!
- The other method is to screw the lid on tightly and flip the jar upside down so that all of the garlic stay coated with honey. Then return to its upright position and loosen the lid. The challenge with this method is that you MUST make sure the lid is on tight, otherwise you have a sticky mess. Plus, you need to circle back to readjust the lid.
Ferment and Store
- Let the garlic ferment for 4-6 weeks out of direct sunlight, continuing to stir or flip daily. It's normal to see the garlic cloves transform into a softened, darker clove of garlic by the end of the fermentation time.
- After the garlic is done fermenting, wipe off any sticky residue from the outside of the jar and place it in the refrigerator for up to 12 months.

I know you’re going to LOVE this recipe! It’s one of our family favorites. Plus, don’t forget that you can leave a comment or ask me a question here, and I’ll get back to you!