How to Make a Sourdough Starter from Scratch
This post may contain affiliate links. As an Amazon Associate, I may receive a small commission, at no cost to you, if you make a purchase. Please read our disclosure policy.
Have you wanted to jump in and learn all about sourdough? But you don’t know where to start? Then you need to join in the conversation and learn how to make your very own sourdough starter from scratch with two simple ingredients that I’m sure you have on hand already! This is super exciting because this starter will be the foundation of creating beautiful baked loaves of bread, bagels, desserts, and more.
What is a Sourdough Starter?
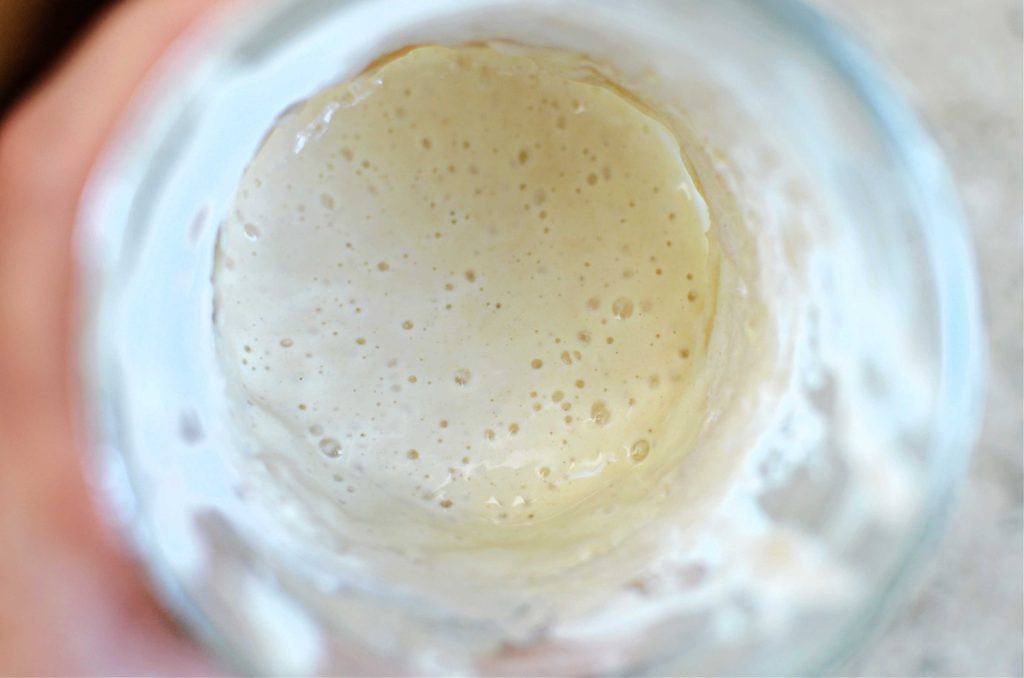
To begin understanding what a sourdough starter is, first, we need to know that wild yeast is in the air naturally all around us. Because of this, the sourdough starter is a mixture of flour and water that sits out long enough to capture wild yeast present in the air. Since the starter houses yeast, you can now use it to replace conventional yeast. Because this starter is alive with bacteria and yeast, and you will need to be care for it. Like all living things, it will require oxygen, food and water.
How Long Does It Take to Make a Sourdough Starter?
The sourdough starter takes just a few minutes of hands-on time spread over many days. From start to finish, this process can take 5-7 days. Sometimes it takes longer, especially in cooler climates, sometimes it goes really quickly. But more than the time outline, you’re looking for the starter to behave a certain way to know when it’s ready to make bread.
How to Start and Feed a Sourdough Starter
Day 1:
- Mix equal parts flour and water in a clean quart size jar. I used 2 tablespoons of each.
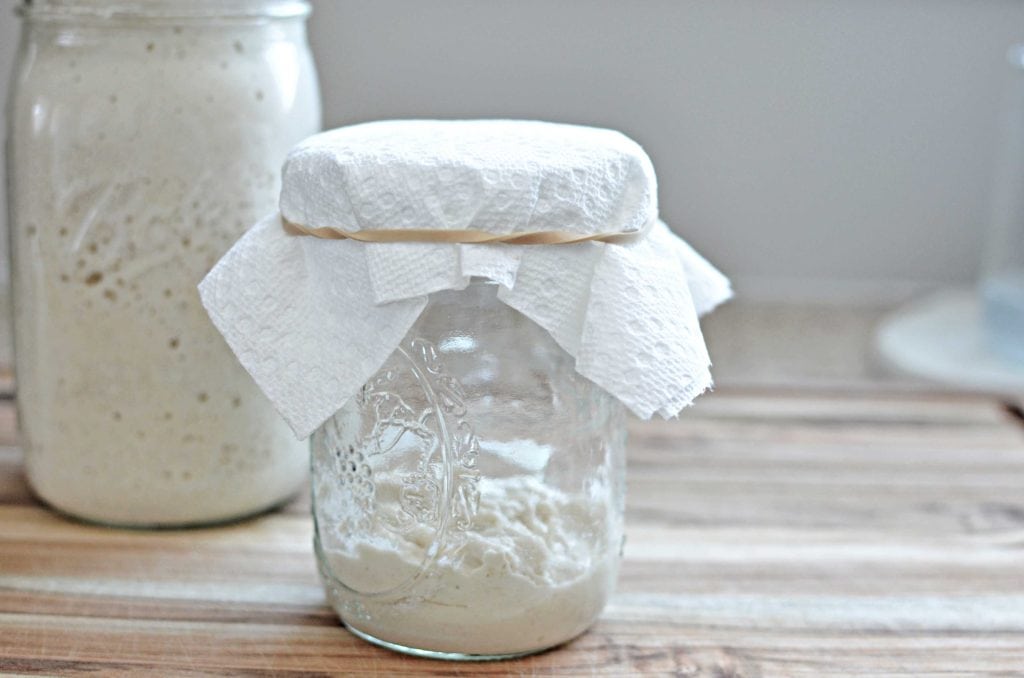
- Cover the jar with a paper towel, held in place with a rubber band. You’ll want something that allows the jar to breathe, but keeps it covered to keep dust and debris out of.
- Let the starter rest at room temperature of 70 to 72 degrees for 24 hours. For best results, place in a warm, draft-free spot.
Day 2-4:
- Continue to feed with equal parts of flour and water. For example, I used 2 tablespoons of each.
- Then, cover the jar with a paper towel, held in place with a rubber band.
- Continue to let the starter rest at room temperature of 70 to 72 degrees for 24 hours. A warm, draft-free spot is best.
- By this time, you should start to notice some activity, bubbles or a faint smell, by this point. If there isn’t, no need to be concerned, just keep feeding and letting it rest out in the open.
Day 5-7:
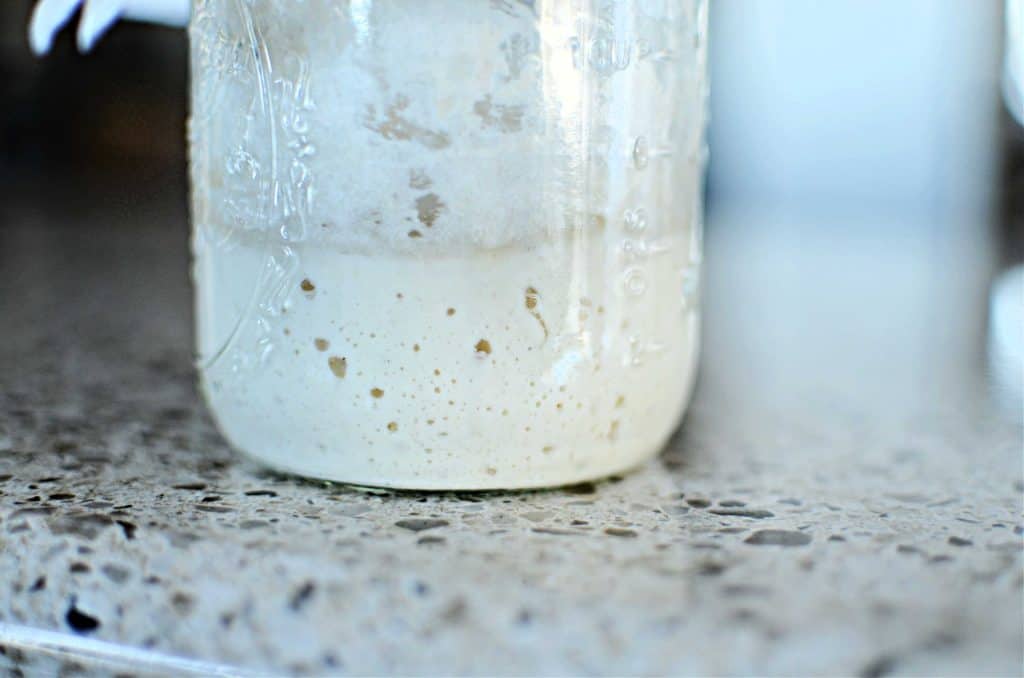
- By this point, the starter has grown to be quite substantial in size. Continue to discard half of the starter, and then add equal parts of the flour and water. Again, I keep to the 2 tablespoons of each. Why discard? With the mass of starter that’s there, it would take quite a bit of flour to keep up with enough food for that size. By reducing the starter size, it uses much less flour to maintain feeding it.
- Afterwards, cover and continue to let rest in a warm environment.
- By day 7, test the starter using the float test below. If it’s not ready by day 7, continue to discard and feed daily. Sometimes the environment isn’t quite right and it just takes longer. Don’t lose heart, keep persevering!
How Do I Know If My Starter is Ready to Bake With?
There are two great indicators to know that the starter is ready to bake with.
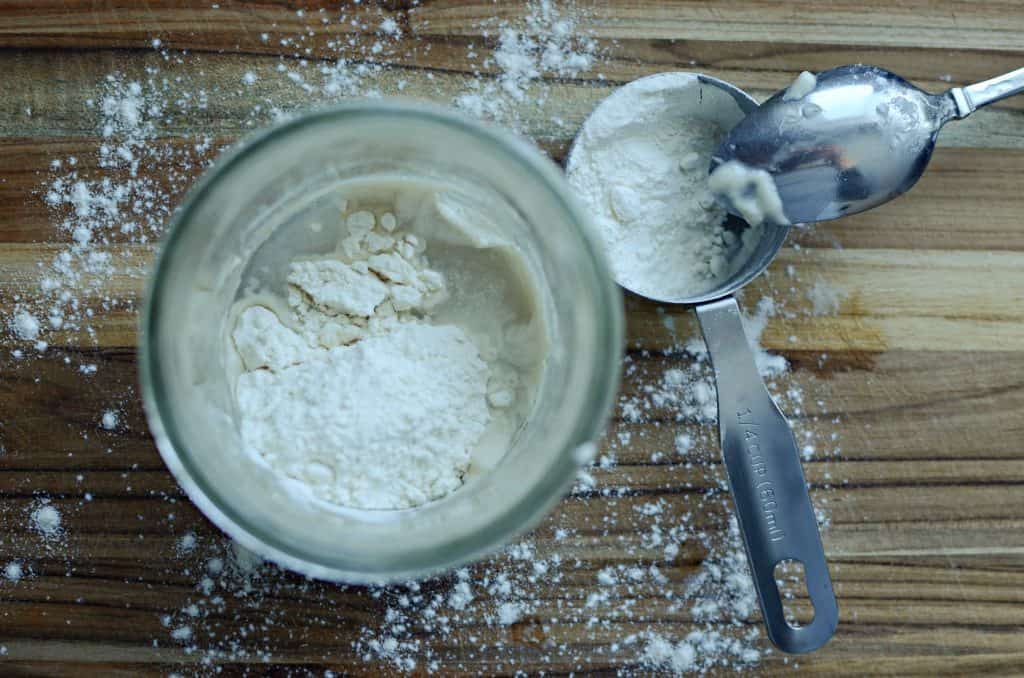
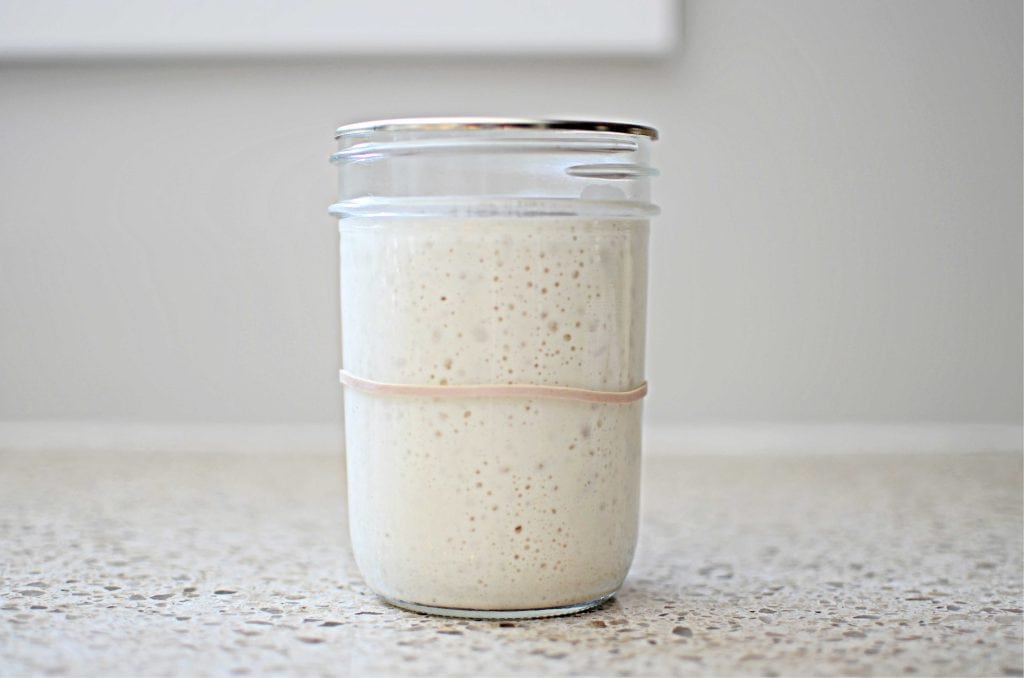
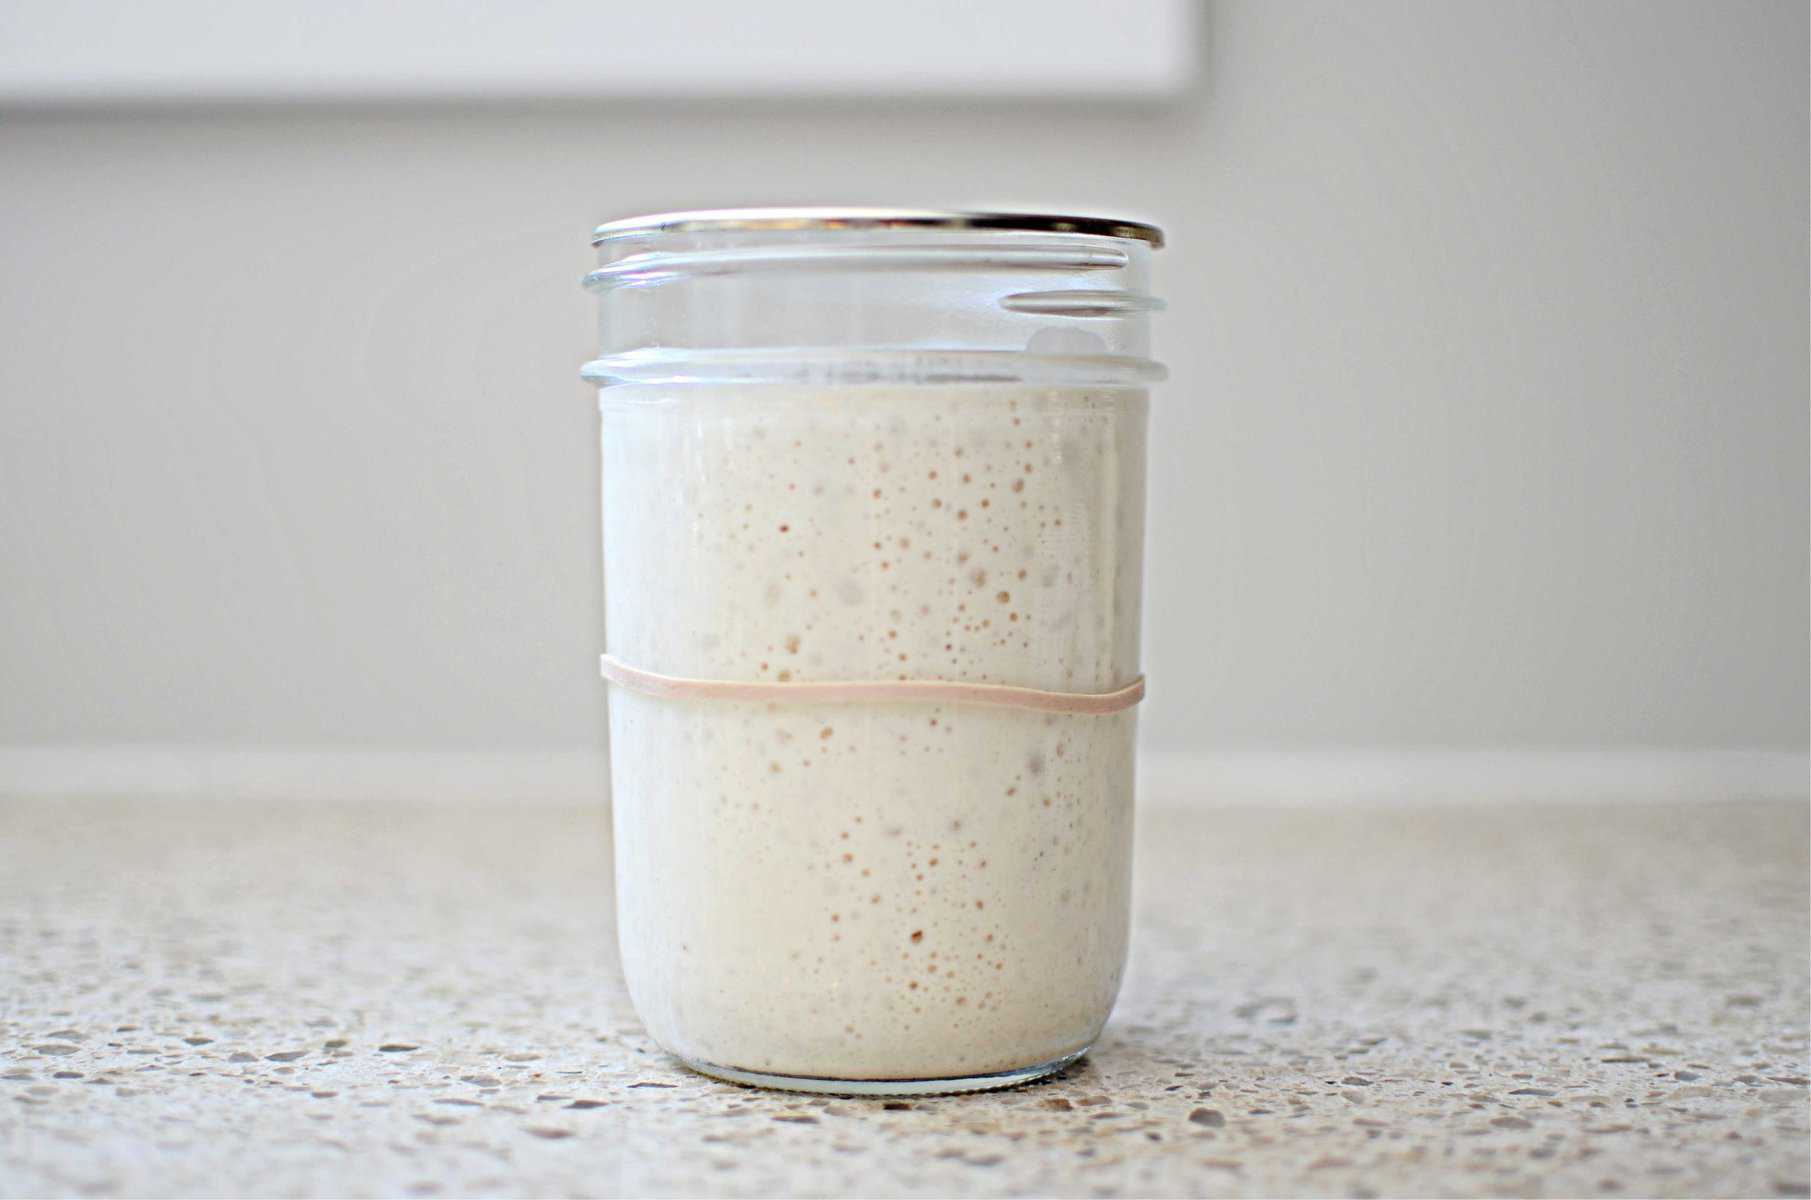
First, the starter doubles in size 4-6 hours after a feeding and you’ll see activity in the starter, meaning that there will be many tiny bubbles appearing in the starter. I use a rubber band to mark the starting point on the jar after it has been fed, allowing to easily see the growth.
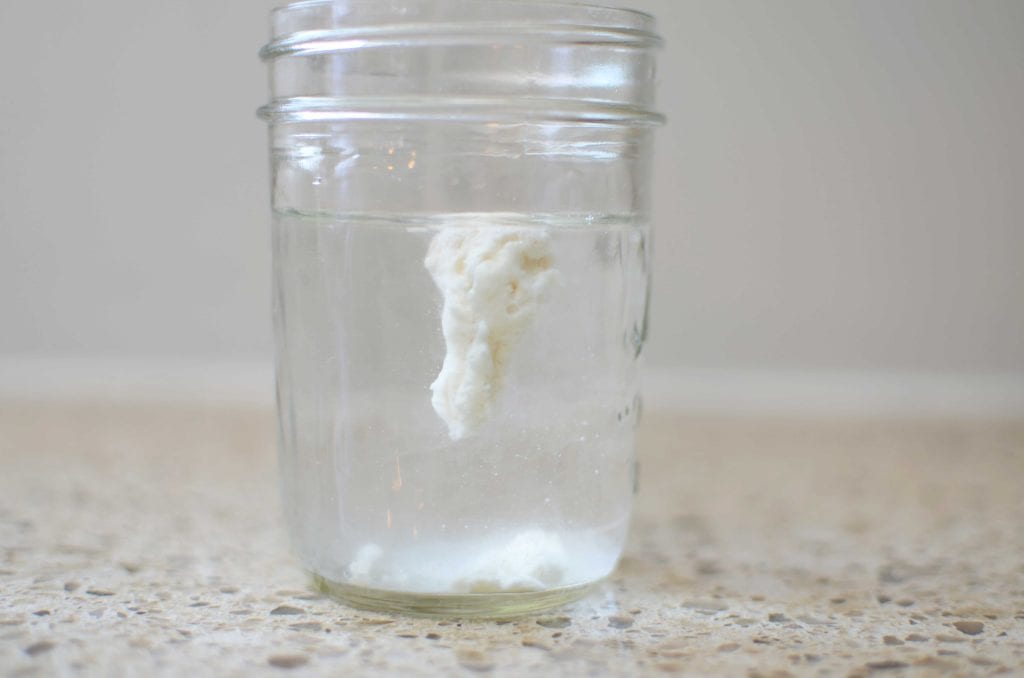
Second, the starter will pass the float test. What is a float test? Often this is how you determine if the starter is ready to bake with. To perform the float test, place a small amount of starter in a cup of water. The carbon dioxide present in the starter will cause the starter float to the top when its ready. But then if it sinks to the bottom, it needs more time.
What if My Starter Never Got Bubbly?
You may find that a brand-new starter takes more time than the time recommendation to show signs of life. This than is more common in cold environments. When I made my first starter, it was the middle of winter, and therefore our house was so cold! It can be discouraging if what’s was happening in your kitchen wasn’t lining up with the directions that you are reading. Little did I know how much temperature would play a part in the timeline. I finally found that keeping the starter in the oven with the light on was the ideal climate.
If you happen to see any orange or pink streaks, this is a sign that the starter has gone bad and needs to be thrown out.
Starter Cycle
When I first started to learn about all things sourdough, I kept reading about the steps to take, but was quickly frustrated when the result didn’t match the directions. Once I finally understood what was happening, and what result I was looking for, I was able to create a timeline that worked well for our family’s schedule.
Because the sourdough starter is a colony of bacteria that will eat, digest and create carbon dioxide, the effect is that the starter grows. Meaning, more air, more volume.
Temperature effects the rate of activity of the starter. Hence, the colder the starter’s environment, the slower they eat and digest their food. Whereas, the warmer the environment, the faster they move through this process.
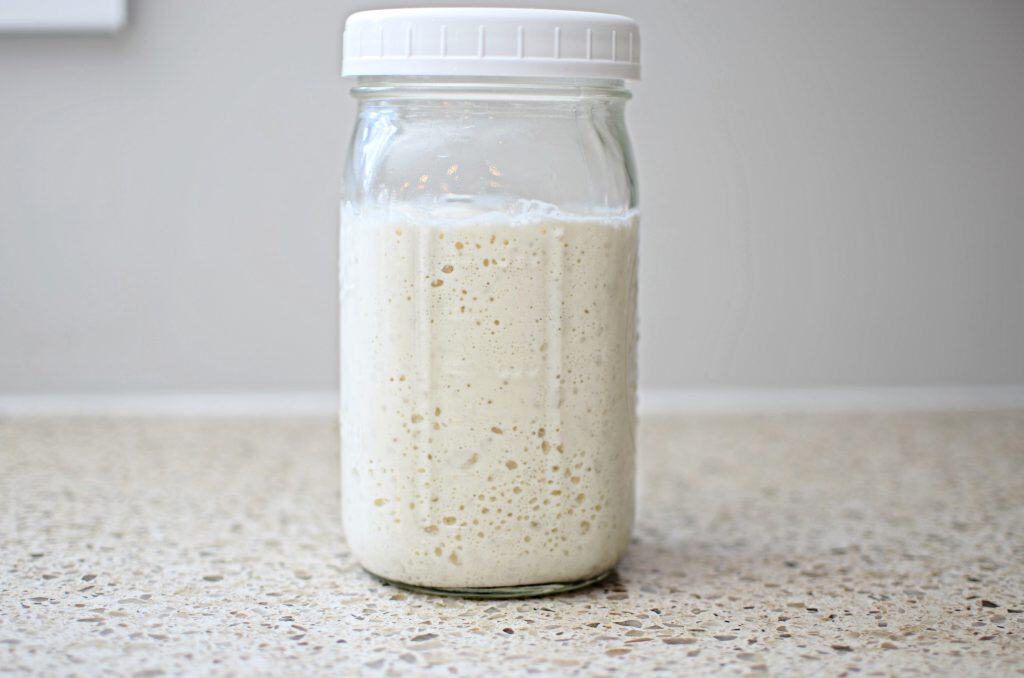
When the starter has eaten much of their food supply, this is what we refer to “at its peak” and is the optimal time to use. I suggest feeding the starter in a tall, clear glass container, wiping the sides as clean as you can so you can study this process to learn. The starter will have a slightly domed top as it grows.
When the bacteria have eaten through all of their food supply, the next stage is one of declining. The starter will slowly start to fall back down when the starter stops producing carbon dioxide because of the lack of food.
I Have a Living, Bubbling Starter. Now What?
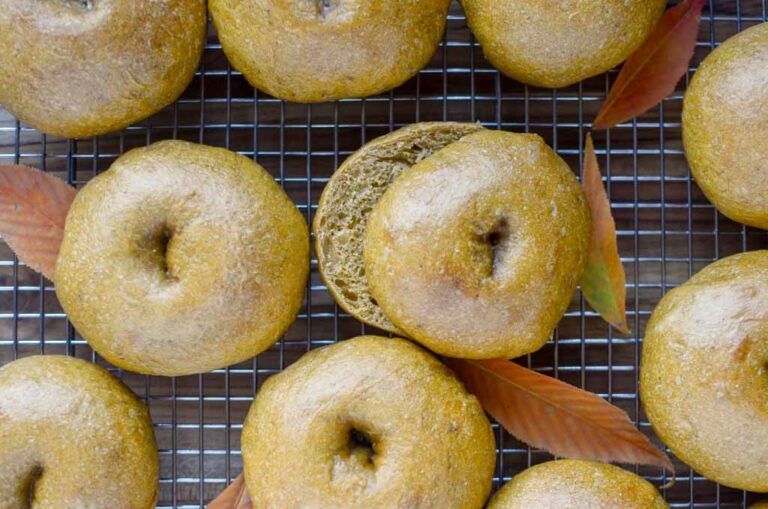
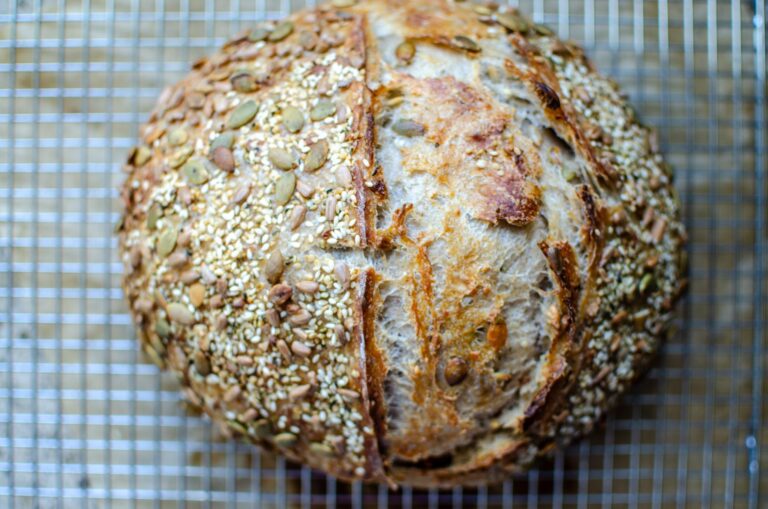
Congratulations! You’ve past the first step in your sourdough journey. Now that the starter has passed the float test, you’re ready to jump into creating something delicious! You can dive right into making beautiful loaves, my family’s staple sourdough loaf recipe is here. Otherwise, try your hand at bagels or English muffins. Just remember to keep up with your regular feeding schedule.
How Do I Keep My Starter Alive?
Once the starter is established, schedule your feedings once a week. When storing the starter in the fridge, the cold temperature slows the rate in which it consumes the flour. For maintenance feedings, mix in 1/2 cup of flour and 1/2 cup of water.
About 4-6 hours before you’re ready to bake, take the starter out of the fridge, feed with equal parts flour and water and stir well. Next, let it rest on the counter with a lid loosely covering the top. As it warms up, it will wake up, become more active and start to feed on the flour. As the bacteria feeds, it will produce carbon dioxide, those little bubbles, and continue to grow.
When you are done with the starter, there are two options of how to store it until the next time you plan to use it. Remember how we said that temperature affects the rate of how fast the starter eats through the food?
If you place the remaining starter into the fridge, it’s going to slow down the rate it eats. Therefore, it doesn’t need to be fed as often, once a week is adequate.
If the starter is left out at room temperature, it needs to have daily feedings. This is a great option if you bake daily.
Ooops, I Forgot to Feed My Starter. Is it Dead?
A really common question! But these starters are pretty resilient, and it really takes a lot for them to die. Ultimately, forgetting a feeding or two won’t hurt the health of the starter.
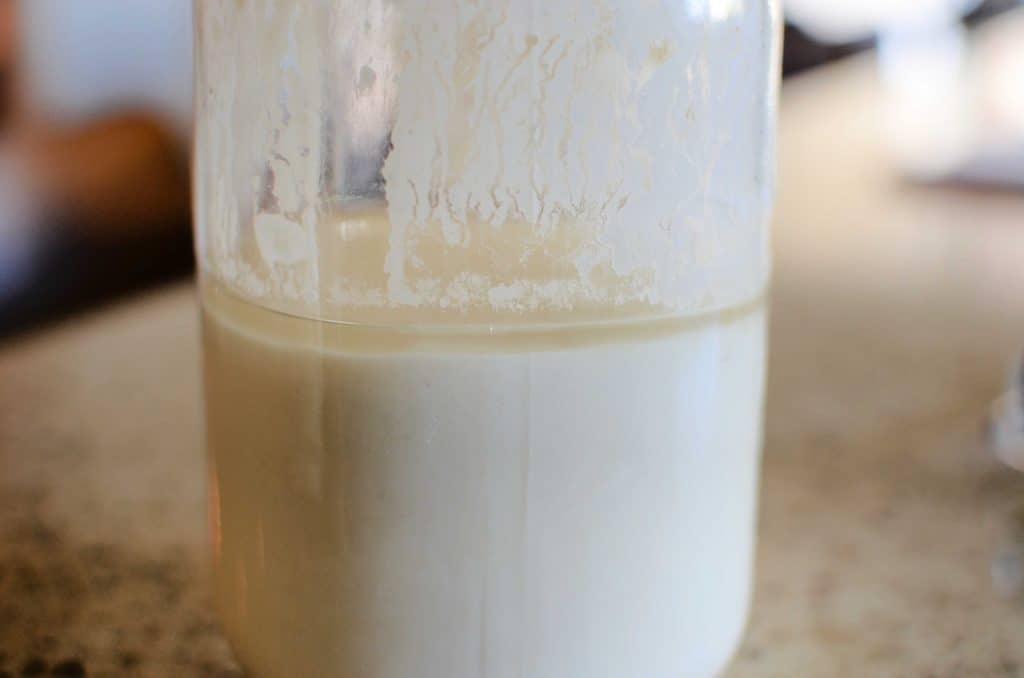
You might notice a watery substance on the top of the starter, which is called hooch. Don’t panic, all that this means is that your starter is hungry. When this happens, you can either pour it off, or simply stir back in when the starter is fed. Exposure to high heat or extended periods of neglect at room temperature can cause your starter to die. If you notice funky colors in your starter, throw it away and start a fresh one.
What do I do With a Freeze-Dried Starter?
If you have a freeze-dried starter that needs to be reconstituted, the process is much like making a starter, with a bit of a jump start on the process.
Day 1: Add freeze dried starter to clean pint size jar, along with 50g water and 50g flour. Stir and cover with paper towel fastened with rubber band. Rest at room temperature or someplace warm.
Day 2: There may be some activity starting, but don’t worry if you don’t see any activity yet. Add another 50g water and 50g flour. Stir, cover and let sit at room temperature.
Day 3-5: You should start to see small bubbles in the starter by this point. If not, just keep going. By this point, you have a bit of starter. In order that so much flour is used, you are going to discard half of the starter, and then feed again 50g water and 50g flour. Cover, and sit at room temperature. By the end of day 5, the start should have plenty of activity and your starter is ready to bake with!
What Do I Do if I Got a Starter From a Friend?
If the starter has been fed recently, it can be stored in the fridge until you’re ready to bake with it. It may be helpful to ask who you got the starter from when the last time the starter was last fed. If you don’t have this information, a good rule of thumb is to feed the starter with equal weight of starter, flour and water.
You are now ready to make your own sourdough starter from scratch!
What will be the first thing you make once your starter is ready? Please leave me a comment, I can’t wait to hear what you will make. Don’t forget to tag your photos #lockremhomestead on Instagram!



Hi! I met you yesterday at the Groves’ gathering 🙂 and bought one of your freeze dried starters. A question… Can I use whole wheat flour? I thought I’ve read somewhere that it interacts with the starter differently that white flour does? 🤷♀️. Thanks!
Hi! Yes, it was great to meet you! Yes, you can use whole wheat flour, but I would use all-purpose flour to get the starter going just because that’s what it is used to. Once the starter is awake and bubbling, you can transition the starter to a whole wheat flour. From what I’ve read, there will be an adjustment period when switching flours, but I don’t have personal experience with this. Please keep me posted on how it goes.
Sure! We’ll be in touch 🙂
Thank you for sharing this! I will take any and all sourdough tips from you Leisha. You are the sourdough queen.
Thanks, Brenda! I can’t wait to taste your sourdough!