Probiotic Rich Homemade Sauerkraut – Lacto Fermented Cabbage
This post may contain affiliate links. As an Amazon Associate, I may receive a small commission, at no cost to you, if you make a purchase. Please read our disclosure policy.
Learn how simple it is to make this probiotic-rich homemade fermented sauerkraut recipe with this simple method that takes just a few minutes of prep time. Watch how the microscopic world that’s teeming with good bacteria can transform two simple ingredients, cabbage and salt, into one of the richest sources of live probiotics. The fermentation process is an ancient way of preserving food that also increases its nutritional value.
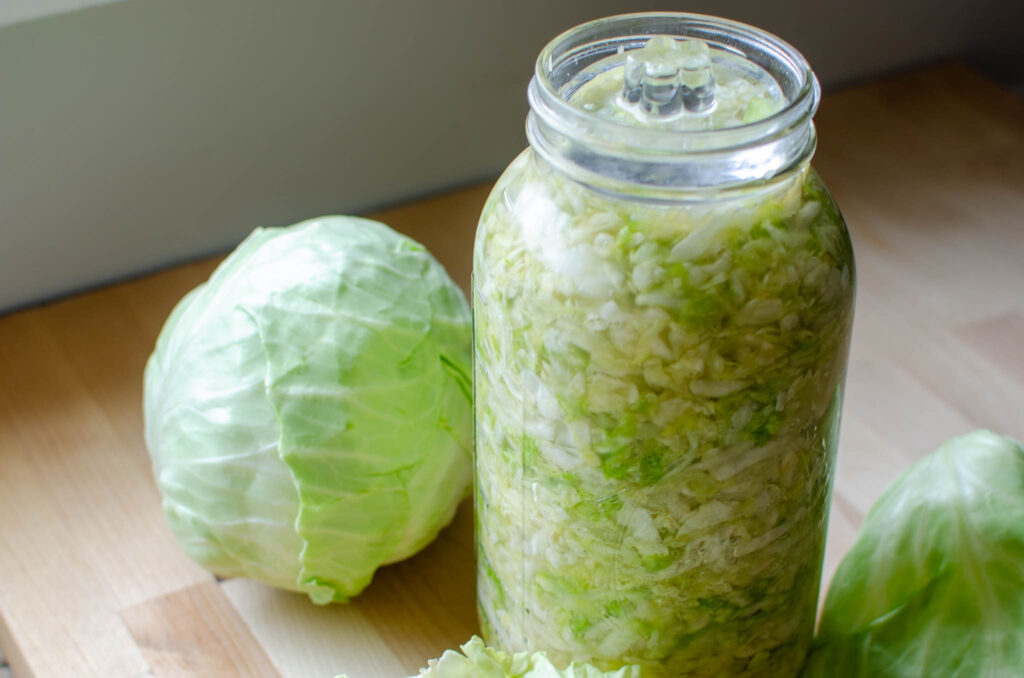
Being able to learn how to turn cabbage into sauerkraut is a great introduction to fermenting foods if this is your first batch, as it’s one of the easiest to master. Know that you won’t be eating immediately after making it. Fermenting takes time, so plan accordingly.
Sauerkraut is full of probiotics to support a healthy gut, supports your immune system, and improves digestion. In addition to the benefits of probiotics, sauerkraut is a low-calorie food packed with fiber and a good source of antioxidants. Eating as little as a tablespoon or two provides more benefits than a probiotic pill or powder.
Enjoying fermented foods is my favorite way to support my gut health and boost my immune health.
What is Sauerkraut?
Sauerkraut is a fermented food that translates to “sour cabbage” in German.
Raw cabbage is shredded and submerged in a salty brine, creating an anaerobic environment. When allowed to hang out in this oxygen-free space, the beneficial Lactobacillus bacteria that occur naturally in fruits, vegetables, and even on our skin, can survive compared to many other types of bacteria that can’t survive in the salt or without oxygen. In short, lactic acid fermentation allows the friendly bacteria to grow while eliminating the bad bacteria.
During the fermentation process, billions of beneficial bacteria are formed. And since we are making it ourselves and not pasteurizing it like in the stores, this bacteria is still there when we eat it and thus, help our gut flora.
When we ferment foods, we not only stop the food from spoiling and make it shelf stable, but we also increase the nutritional value of the food. Each ferment creates vitamins unique to the specific kind of bacteria present. Fermenting foods has been done for many years in almost every culture as a way of preserving foods, ensuring that the food harvested in the fall lasts through the winter months. You can read more about it here.
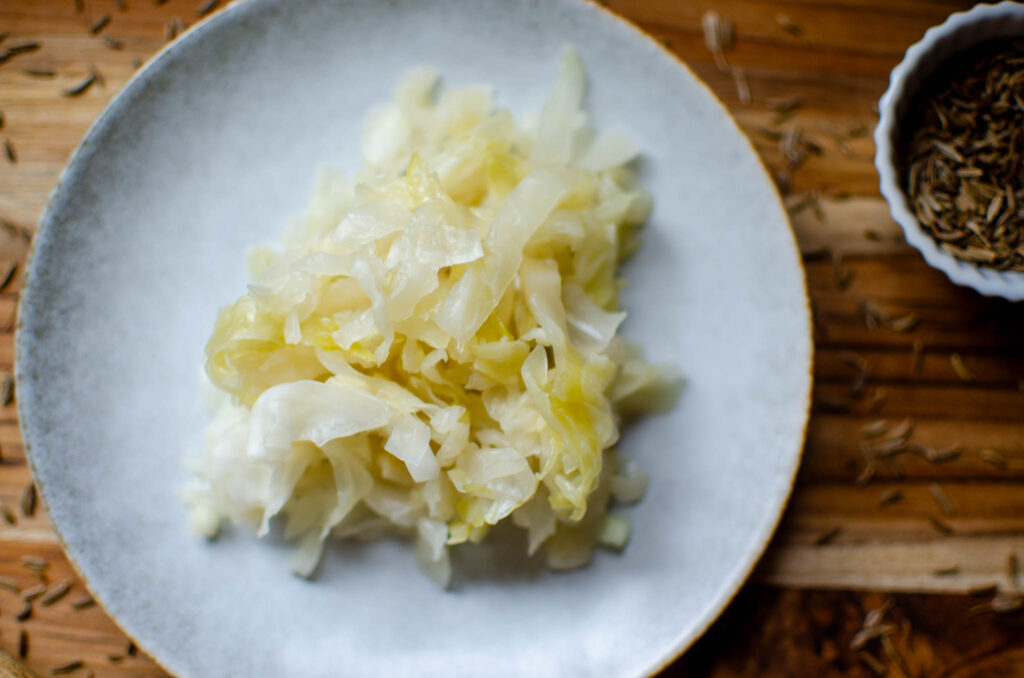
Why Make Sauerkraut Homemade?
First, it’s so easy to make your own ferments! It’s a worthwhile skill to have, and in my opinion, there’s much value in that alone. Additionally, being able to make your sauerkraut allows you to have full control over the quality of the ingredients in the sauerkraut. Most store-bought sauerkraut is cooked, killing the beneficial bacteria. However, there are some great options that are rich in probiotics in the grocery stores, but they are spendy. Making kraut is one of the best budget-friendly real food to make, costing a fraction of the cost for a large batch.
Equipment
Fermenting sauerkraut is pretty simple and hard to get wrong. Just like any job, having the right tools can make the job easier. Though you may find you have most of the tools in your kitchen already.
Mason Jar
The most basic method to make kraut is to use a large glass jar. Quart-size mason jars will work, but I find that a half-gallon mason jar is the ideal size to make a large batch with fewer jars to manage at once.
Crock
A fermentation crock not only looks beautiful but is a more traditional vessel with a design to meet the specific needs that come with fermenting. Some have a water seal to allow the gas to escape, but keep air from entering.
If you are new to making kraut, start with a mason jar. If you find that you enjoy making fermented foods and you want to continue, it may be worth investing in a crock.
Weights
Glass weights keep the foods submerged under the brine to keep the food from spoiling. You can also use a smaller glass jar filled with water that fits inside the mouth of the jar that will sit on top of the food, holding it down. A simple plastic bag filled with water can act as a weight too, but I feel better about using glass.
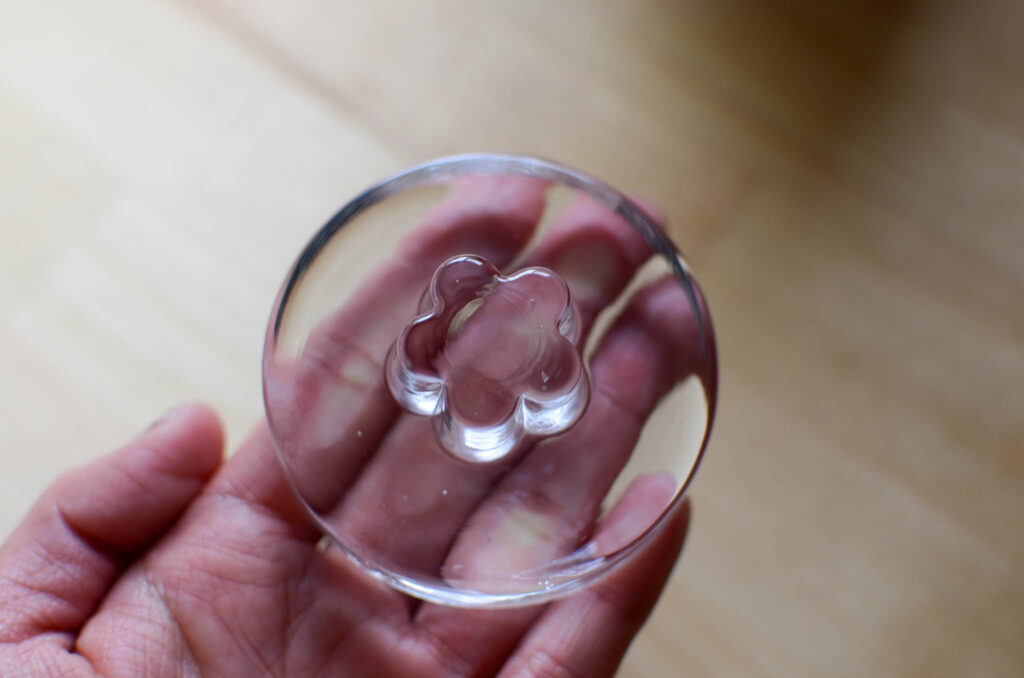
Fermentation Lids
Special airlock lids or pickle pipes work with mason jars to allow carbon dioxide to escape but prevent any air from entering.
Sauerkraut Step-by-Step Instructions
Clean
Make sure you start with clean equipment and clean hands. Wash all equipment, work surfaces, and hands with warm, soapy water.
Fresh
Use the freshest cabbage you can source. You will have an easier time producing enough liquid brine as well as having a final product that is more crisp than mushy. While green cabbage is the most popular, feel free to use purple cabbage.
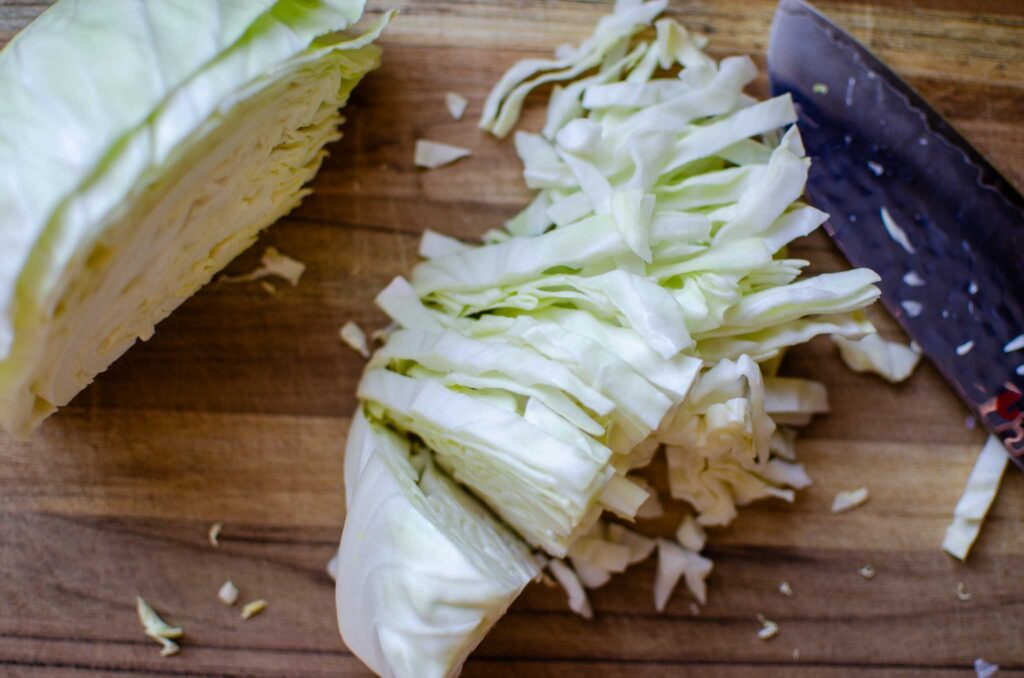
First, remove the outer leaves. With the cabbage on a large cutting board, cut the cabbage into quarters and then cut out the core. Use a sharp knife, food processor, or mandolin to shred the cabbage into thin ribbons.
Salt
Does the type of salt you use matter? Yes! Himalayan salt and sea salt are my salts of choice for fermenting. Both are natural and unrefined with high mineral content. Avoid iodized salt, or table salt as the iodine interferes with fermenting and is highly refined.
The recommended salinity for sauerkraut is 1.5%-2.5%. I use 2% salt. For example, for 1000g of cabbage X .02 salt equals 20 grams of salt.
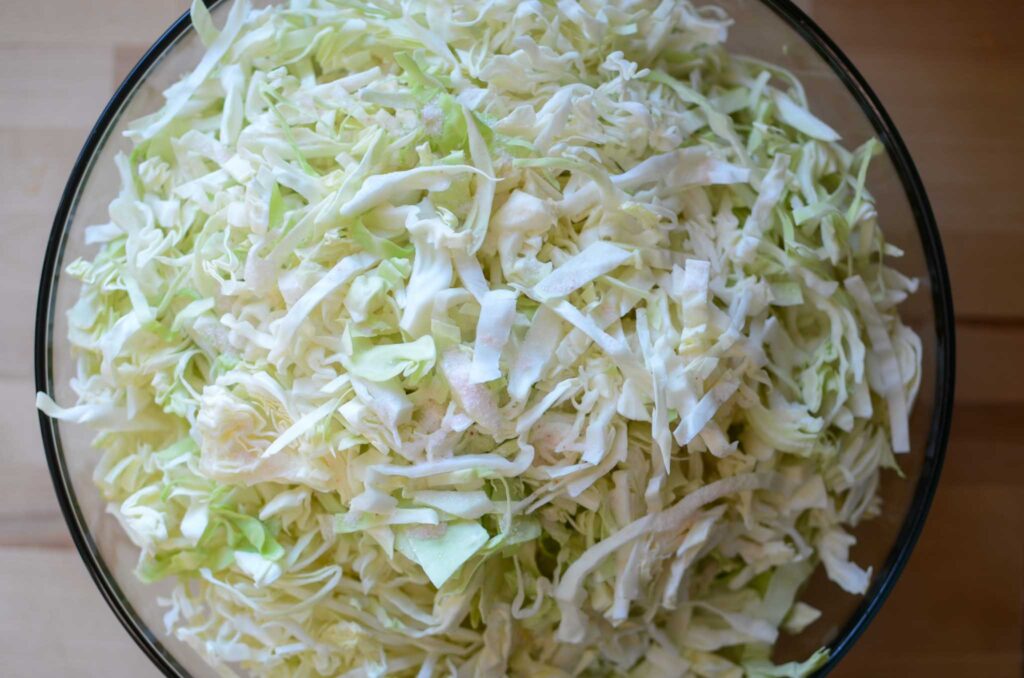
Add the shredded cabbage into a clean, large bowl. Sprinkle the salt over the top of the cabbage. Using a large wooden spoon, toss the cabbage to incorporate all of the salt evenly over the cabbage. Let sit for 10 minutes.
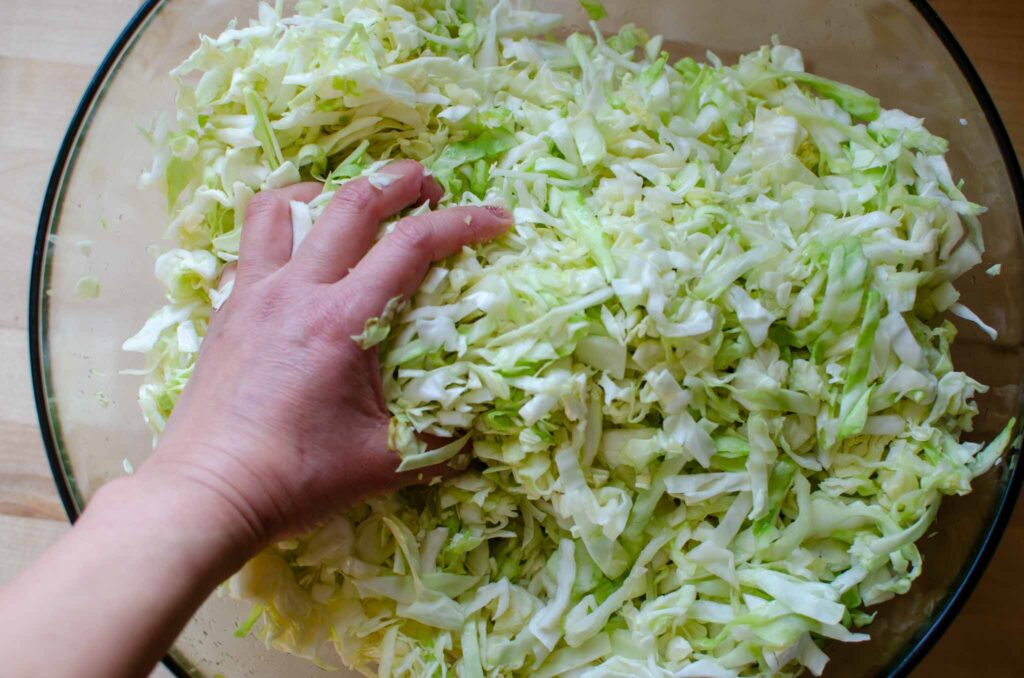
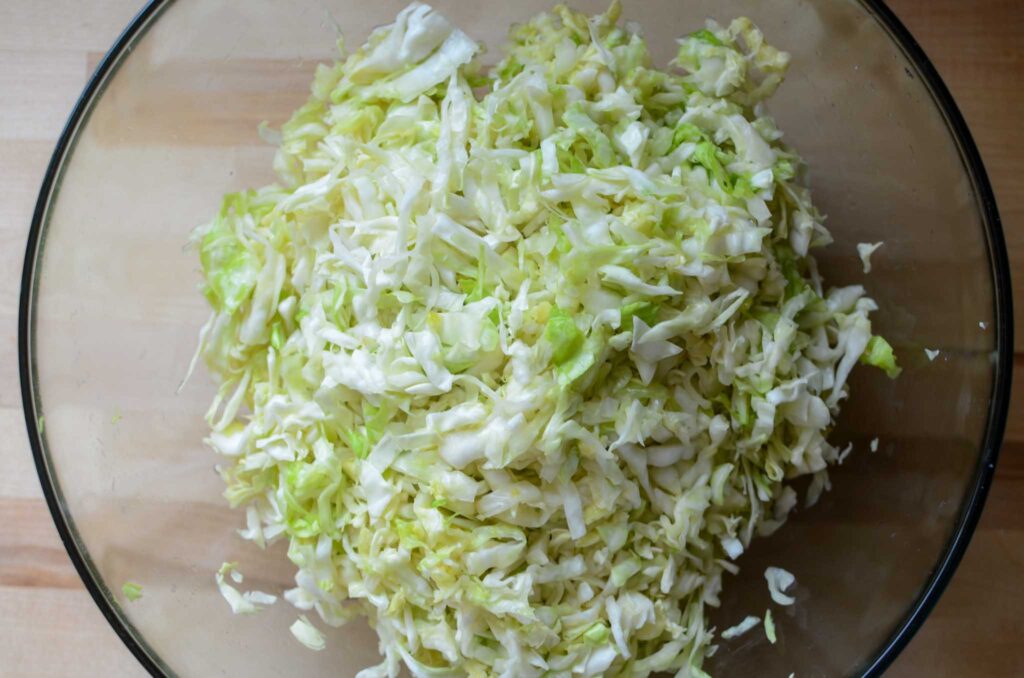
You will notice the cabbage begin to soften and there will be a bit of liquid in the bottom of the bowl as the salt draws out moisture from the cabbage. Use both hands to massage and knead the cabbage. You may not see much happening at first, but soon you will see the cabbage wilt down and release enough liquid to cover the cabbage.
Vessel
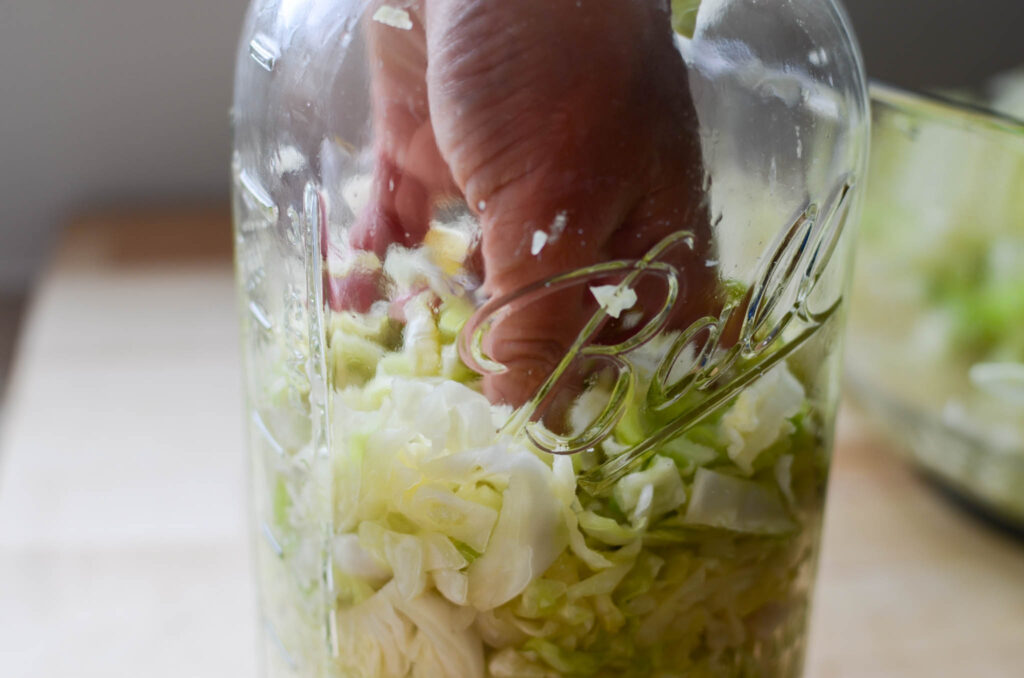
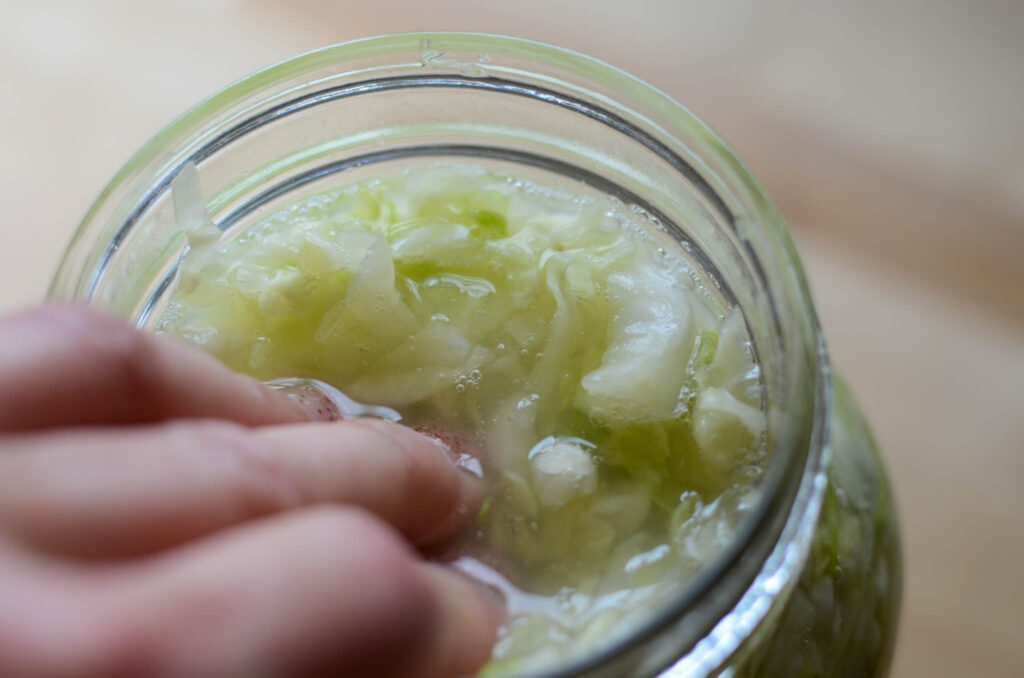
Next, move the cabbage into the vessel of choice. Working with small amounts at a time, pack the cabbage tightly, pressing down to compact. Some fermenting kits will come with a tamper, but I keep it simple and use clean hands.
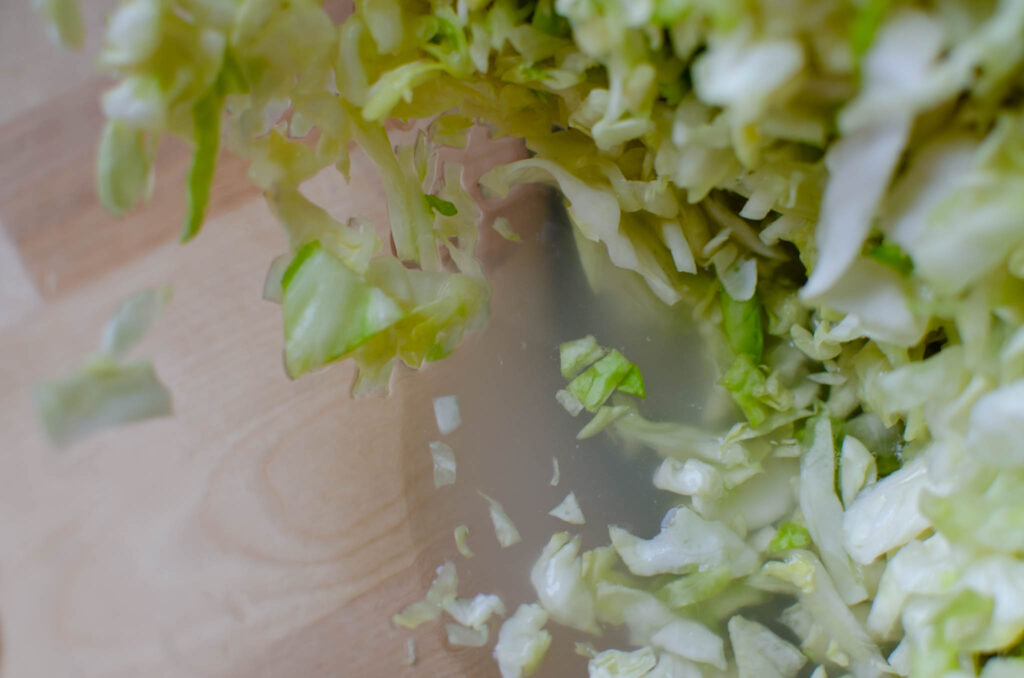
Fill 3 inches from the top of the jar. Once the jar is full, pour the liquid brine from the bowl into the jar. To create an anaerobic environment the cabbage should be covered completely with liquid. If you find that yours isn’t, add just enough water so the brine level covers the cabbage completely.
Cover
Hold the cabbage under the brine using glass fermenting weights or a small jar. Then cover the jar with a cloth napkin or paper towel held in place with a rubber band to keep dust out. I found that using a clean canning lid and band loosely screwed on held the glass weight in place. You don’t want to twist the band closed tightly or else the pressure will build and could erupt.
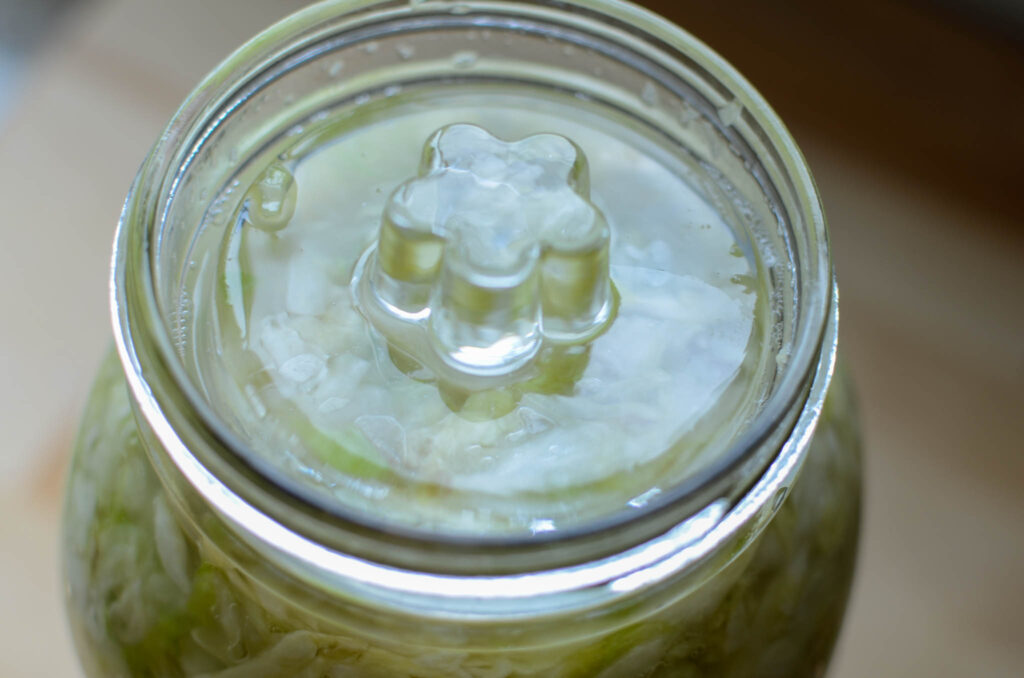
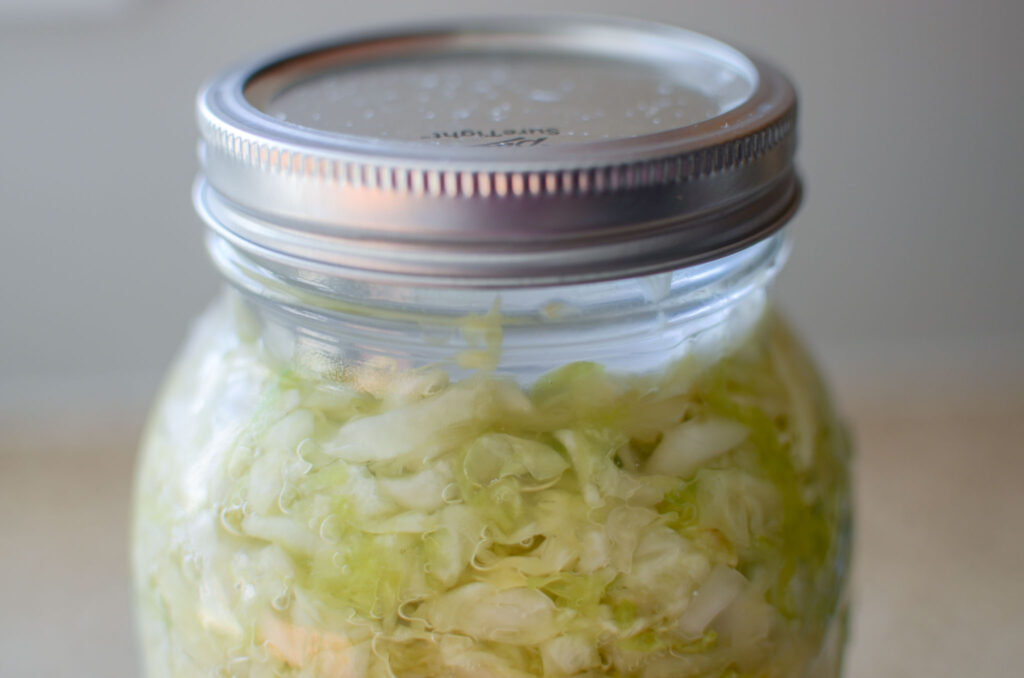
No need for additional cover if using a fermentation lid or fermenting crock.
Ferment
Most of your hands-on work is done. Now it’s time to let those tiny microbes do their thing.
Place the jar or crock in a cool, dark place out of direct sunlight and on a plate or shallow dish. A dark cool corner on the kitchen counter is good. The ideal temperature is be between 65-75 degrees. Much cooler and the fermenting process can be very slow. Much higher and you run the risk of the kraut becoming mushy, lacking flavor, or developing mold.
The first 7 days of fermenting are the most important to leave alone until enough lactic acid bacteria have been produced to ensure that you’re not introducing any additional bacteria and potentially contaminating your ferment.
Within a day or two, you will notice tiny bubbles starting to form and move throughout the sauerkraut. Depending on the sugar content of your cabbage, you may see enough activity that the brine solution starts to spill out of your container. This is why the jar is on a plate. These bubbles should subside by the 5th day.
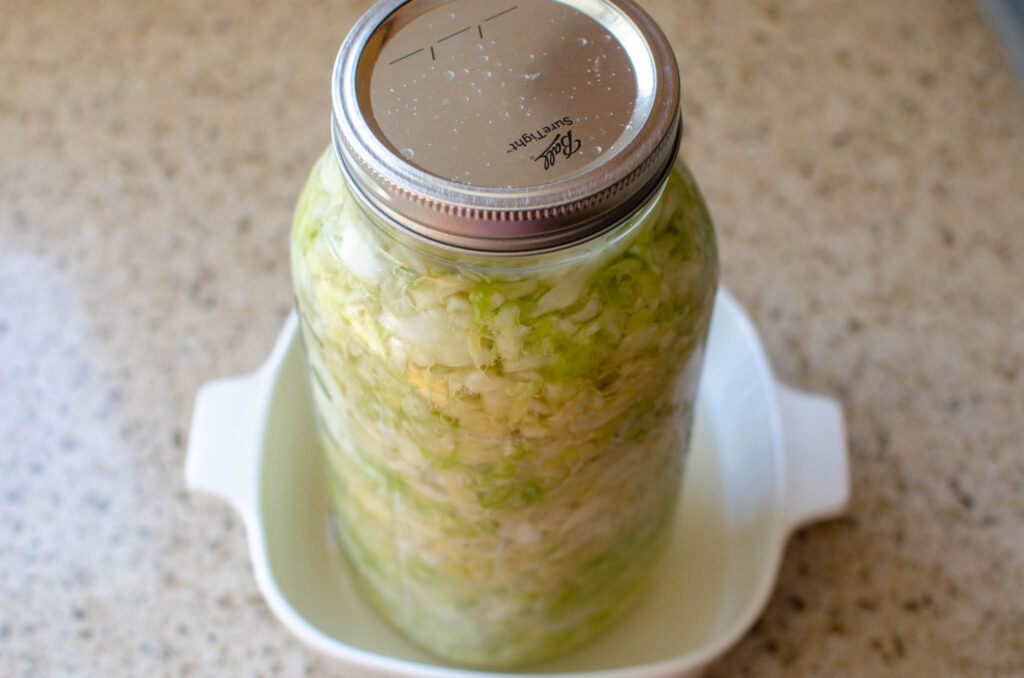
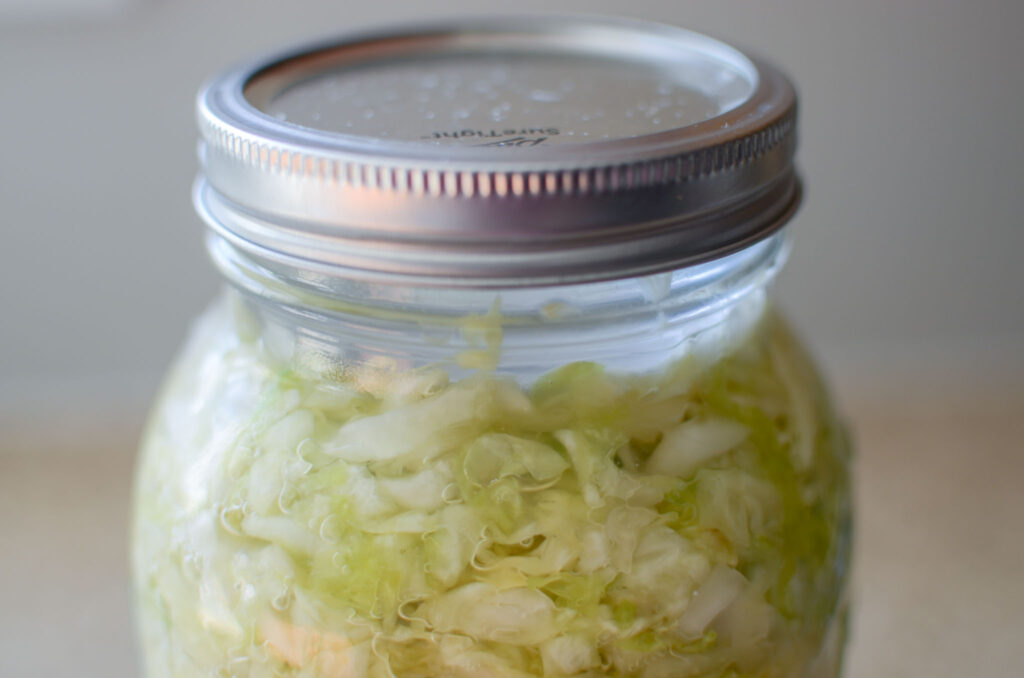
By day 7, the lactic acids will have reached a high enough level to have taken care of the bad bacteria, making it ok to open the jar and test taste the sauerkraut. If it’s to your desired level of sour, then it’s done. Depending on the temperature the sauerkraut is stored, this can take anywhere from 3-6 weeks to ferment.
You may notice a white film on the top of the solution, this is Kahm yeast and is completely harmless. Mold, on the other hand, is raised and fuzzy and black, blue, green, white, or pink. If you see mold, you have two options. One, toss out all of the ferment and start a new one. Second, scrape the moldy part off and use the food sitting under the brine. If you are sensitive to mold, I would throw it out. As painful as it is, especially when you consider the time and effort of growing the food, it’s not worth it for me personally to risk eating moldy food.
Stop
When the sauerkraut is to your liking, rinse off the outside of the jar if it’s dirty, label it with the date, and place it in the refrigerator. The sauerkraut will continue to ferment in the fridge, although much slower than before. Over time, the flavors will continue to develop and become more complex. Kept under the brine, sauerkraut can last up to a year.
Flavoring
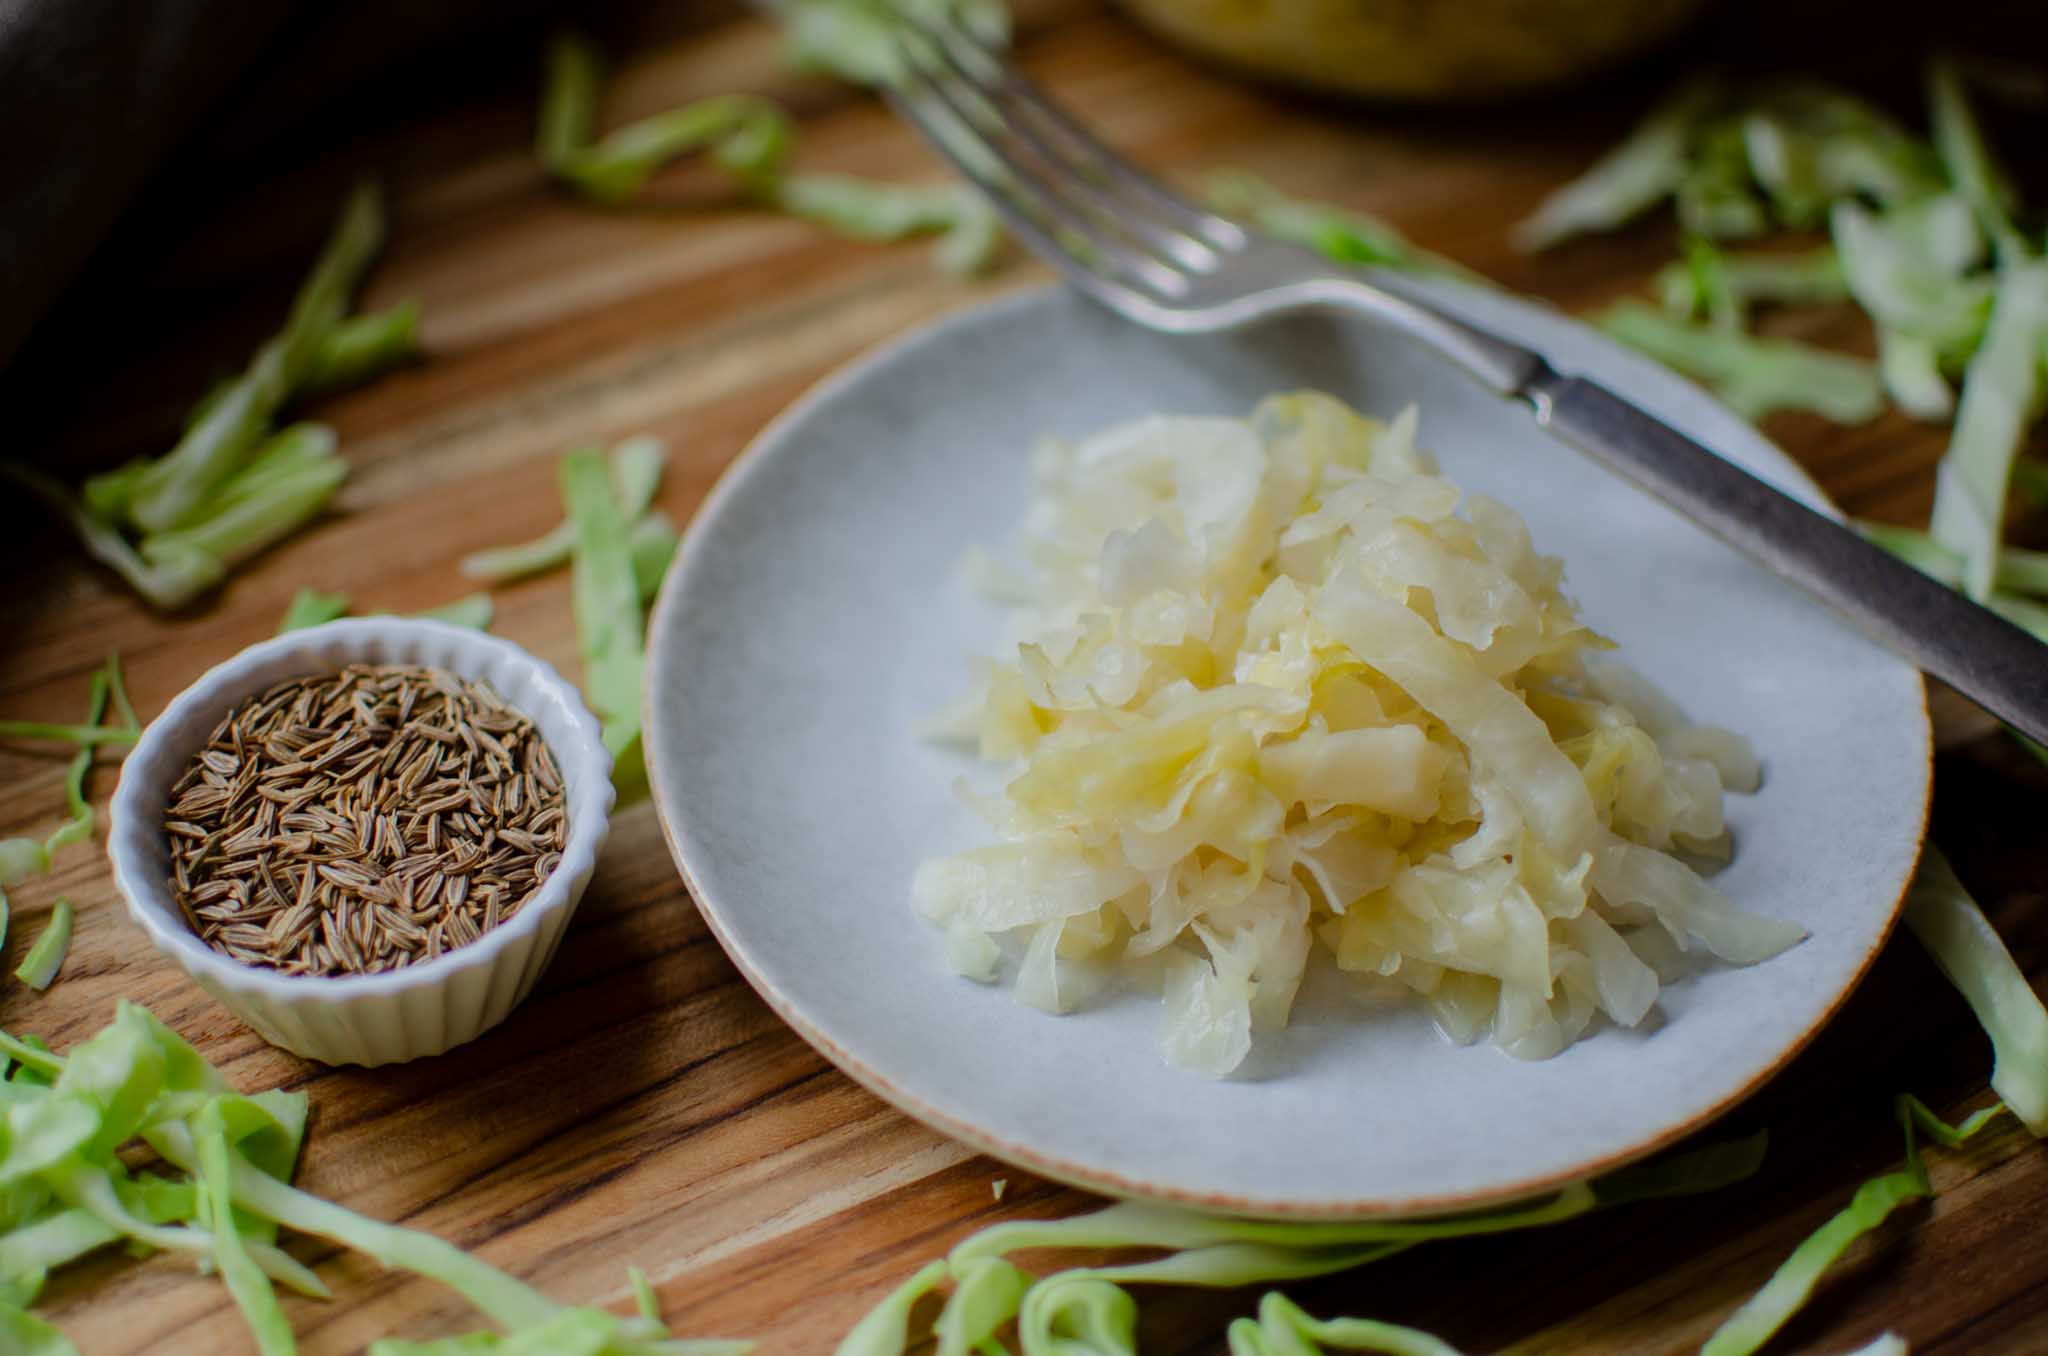
Feel free to add flavorings to your sauerkraut. The most popular are caraway seeds but also try dill, fresh ginger, fresh onion, shredded carrots, or garlic cloves. You can also add other vegetables such as shredded carrots, beets, celery root, or fennel.
How Do I Know When the Sauerkraut is Fermented?
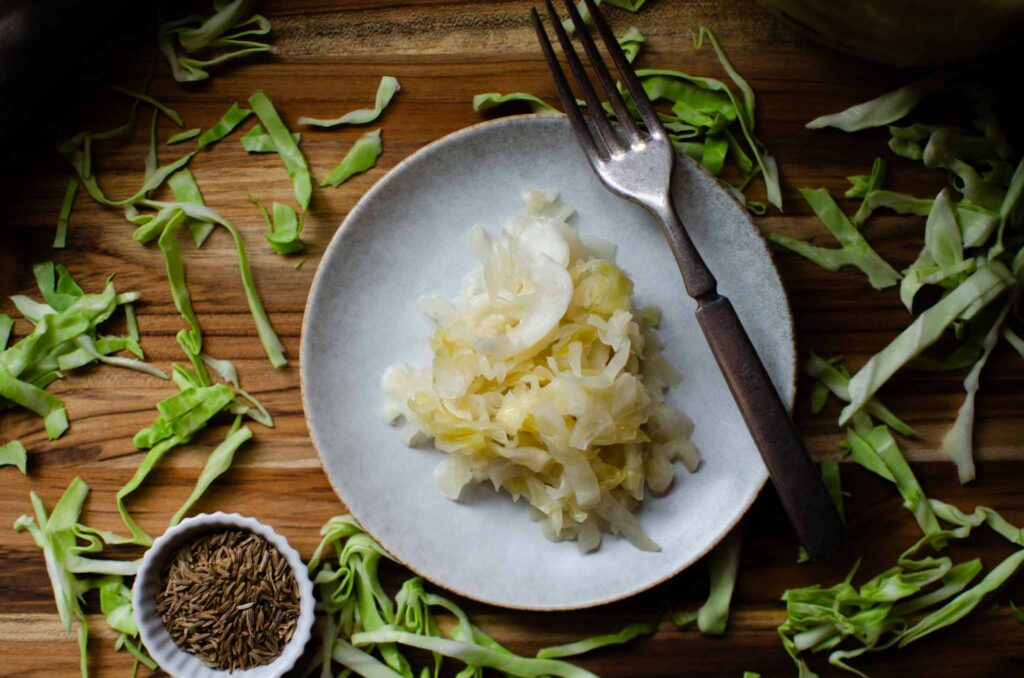
The most obvious sign is the taste and smell. It will have a slightly sour scent and a lightly pickled flavor with a firm, but crunchy texture.
I’d love to hear from you! Please leave a comment and rate the recipe. Tag photos #Lockremhomestead over on Instagram to share pictures of your Probiotic-Rich Homemade Sauerkraut!
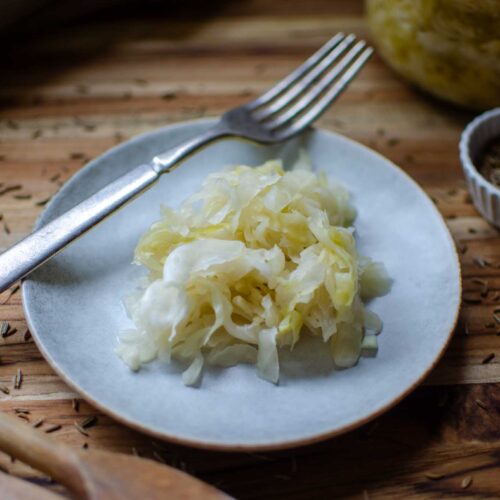
Probiotic Rich Homemade Sauerkraut – Fermented Cabbage
Equipment
- 1 half gallon mason jar
- 1 glass fermenting weight
- 1 Knife
- 1 wood cutting board
- 1 large bowl
Ingredients
- 1 head green cabbage 1000 g
- 3½ tsp Himalayan salt 20 g
Instructions
Sauerkraut Step-by-Step Instructions
- FreshUse the freshest cabbage you can source. While green cabbage is the most popular, feel free to use purple cabbage. First, remove the outer leaves. With the cabbage on a large cutting board, cut the cabbage into quarters and then cut out the core. Use a sharp knife, food processor, or mandolin to shred the cabbage into thin ribbons.
- CleanMake sure you start with clean equipment and clean hands. Wash all equipment, work surfaces, and hands with warm, soapy water.
- SaltDoes the type of salt you use matter? Yes! Himalayan salt and sea salt are my salts of choice for fermenting. Both are natural and unrefined with high mineral content. Avoid iodized salt, or table salt as the iodine in it interferes with fermenting and is highly refined. The recommended salinity for sauerkraut is 1.5%-2.5%. I use 2% salt. For example, for 1000g of cabbage X .02 equals 20 grams of salt. Add the shredded cabbage into a clean, large bowl. Sprinkle the salt over the top of the cabbage. Using a large wooden spoon, toss the cabbage to incorporate all of the salt evenly over the cabbage. Let sit for 10 minutes. You will notice the cabbage begin to soften and there will be a bit of liquid in the bottom of the bowl as the salt draws out moisture from the cabbage. Use both hands to massage and knead the cabbage. You may not see much happening at first, but soon you will see the cabbage release enough liquid to cover the cabbage.
- VesselNext, move the cabbage into the vessel of choice. Working with small amounts at a time, pack the cabbage tightly, pressing down to compact. Some kits will come with a tamper, but I keep it simple and use clean hands. Fill 3 inches from the top of the jar. Once the jar is full, pour the liquid brine from the bowl into the jar. To create an anaerobic environment the cabbage should be covered completely with liquid. If you find that yours isn’t, add just enough water so the brine level covers the cabbage completely.
- CoverHold the cabbage under the brine using glass fermenting weights or a small jar. Then cover the jar with a cloth napkin or paper towel held in place with a rubber band to keep dust out. I found that using a clean canning lid and band loosely screwed on held the glass weight in place. You don’t want to twist the band closed or else the pressure will build and could erupt. No need for additional cover if using a fermentation lid.
- FermentMost of your hands-on work is done. Now it’s time to let those tiny microbes do their thing. Place the jar or crock in a cool, dark place out of direct sunlight and on a plate or shallow dish. A dark cool corner on the kitchen counter is good. The ideal temperature is be between 65-75 degrees. Much cooler and the fermenting process can be very slow. Much higher and you run the risk of the kraut becoming mushy, lacking flavor, or developing mold. The first 7 days of fermenting are the most important to leave alone until enough lactic acid bacteria have been produced to ensure that you’re not introducing any additional bacteria and potentially contaminating your ferment. Within a day or two, you will notice tiny bubbles starting to form and move throughout the sauerkraut. Depending on the sugar content of your cabbage, you may see enough activity that the brine solution starts to spill out of your container. This is why the jar is on a plate. These bubbles should subside by the 5th day. By day 7, the lactic acids will have reached a high enough level to have taken care of the bad bacteria, making it ok to open the jar and test taste the sauerkraut. If it's to your desired level of sour, then it's done. You may notice a white film on the top of the solution, this is Kahm yeast and is completely harmless. Mold, on the other hand, is raised and fuzzy and black, blue, green, white, or pink. If you see mold, you have two options. One, toss out all of the ferment and start a new one. Second, scrape the moldy part off and use the food sitting under the brine. If you are sensitive to mold, I would throw it out. As painful as it is, especially when you factor in growing the food, it’s not worth it for me personally to risk eating moldy food.
- StopWhen the sauerkraut is to your liking, rinse off the outside of the jar if it's dirty, label it with the date, and place it in the refrigerator. The sauerkraut will continue to ferment, although much slower than before. Over time, the flavors will continue to develop and become more complex. Kept under the brine, sauerkraut can last up to a year.
- FlavoringFeel free to add flavorings to your sauerkraut. The most popular are caraway seeds but also try dill, fresh ginger, fresh onion, shredded carrots, or garlic cloves.





I’m not sure exactly why but this site is loading incredibly slow for me Is anyone else having this issue or is it a problem on my end? I’ll check back later and see if the problem still exists
Thanks for reaching out and checking about the site. I’m not sure what could be causing the slow speed, but I’ll look into it. Hopefully you’re able to read the recipe still!