The Best Homemade Sourdough Cinnamon Rolls Recipe
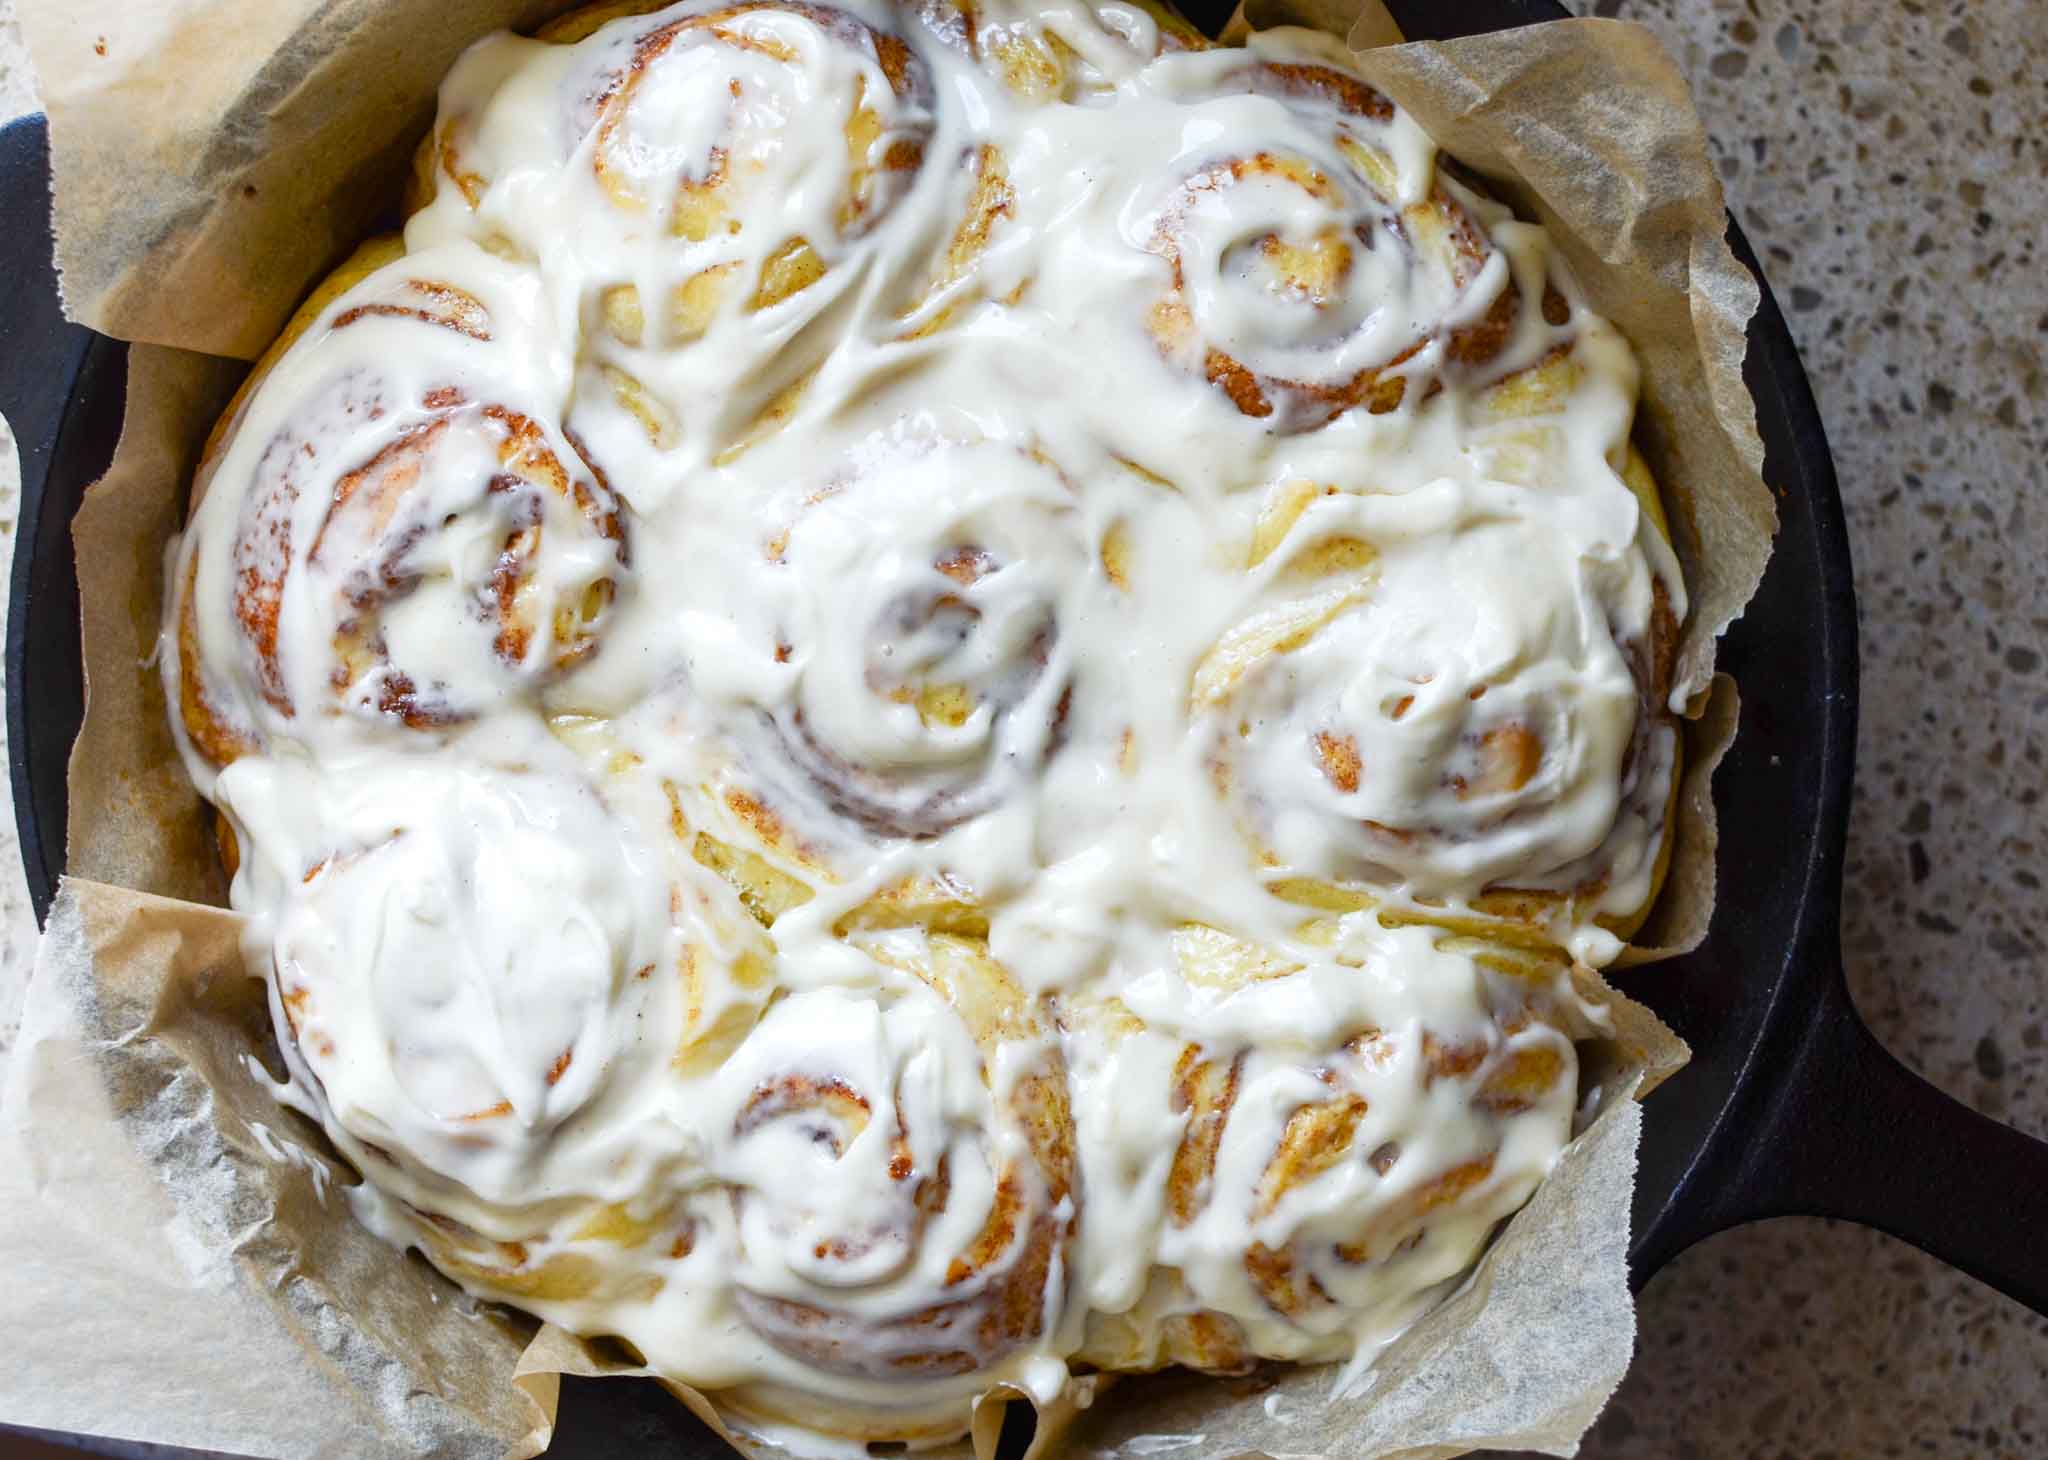
These are the BEST homemade sourdough cinnamon rolls! These rolls are tender and light with a melt-in-your-mouth texture. The sweet cinnamon filling pairs perfectly with the tangy cream cheese frosting for the ultimate decadent breakfast treat. Your whole family will love them!
In typical sourdough tradition these rolls are made slowly, giving the grains plenty of time to ferment for sourdough goodness in every bite. Airy and full of butter, these sourdough cinnamon rolls have a faint sourdough tang produced by a long ferment using a sourdough starter.
This post may contain affiliate links. As an Amazon Associate, I may receive a small commission, at no cost to you, if you make a purchase. Please read our disclosure policy.

Just like my discard pancakes or discard blueberry muffins, easy sourdough cinnamon rolls are perfect for a Christmas morning treat or for a comfy weekend morning at home. Unlike traditional cinnamon rolls, sourdough cinnamon rolls use sourdough starter as its leavening agent for the perfect rise. I suggest making two pans because everyone in your family will devour them! You’ll be kicking yourself if you don’t.
Whether you call them cinnamon rolls or cinnamon buns, I love to make them! I have dabbled making them for most of my marriage, continuing the search for the perfect recipe. Trust me, this is it! These are the best cinnamon rolls I’ve tasted! They are a labor of love and an act of patience for any home baker, but well worth the effort and time because of how amazing they turn out.
After many years of trying various cinnamon roll recipes and left feeling disappointed, I hope to offer you a recipe that lives up to the hype. Whether this is your first time making cinnamon rolls or you’re a seasoned pro, you’ll find read helpful tips to navigate through the process as well as an easy over-night option. Again, patience is the name of the game when it comes to sourdough cinnamon rolls.
Soft Sourdough Cinnamon Rolls Ingredients
Dough Ingredients
- All-Purpose flour – Use all purpose flour for soft rolls
- Active sourdough starter – Make sure the sourdough starter is at its peak with plenty of bubbles and activity.
- Sugar – not only adds sweetness but makes the dough tender
- Eggs – Use room temperature eggs.
- Milk – I always use whole milk for the best flavor in my baked goods
- Butter – Use room temperature, unsalted butter
- Salt- use sea salt for added flavor
Cinnamon Roll Filling Ingredients
- Light brown sugar – Adds a depth of flavor from the molasses that’s in brown sugar.
- Butter – Salted butter adds just the right amount of saltiness. Add a pinch of salt if you use unsalted butter.
- Cinnamon – Cinnamon rolls wouldn’t be the same without plenty of cinnamon flavor.
Soft Sourdough Cinnamon Rolls Instructions
Mixing the Dough
Feed the sourdough starter and allow it to come to its peak 6-8 hours before mixing the sourdough cinnamon roll dough.
Add the milk, sugar, and butter to a small saucepan and heat over medium heat. Stir until the sugar is dissolved and the butter is melted and then remove from the heat. Do not let the milk mixture boil.
No need for a stand mixer because the butter is melted and added to the milk instead of beat the into the dough.
Next, crack the eggs into a large bowl.
Temper the eggs by slowly ladling small amounts of the warm milk mixture over the eggs, whisking constantly as you slowly drizzle in the milk. Continue to add the milk in small amounts until roughly half of the milk mixture is combined with the eggs. This brings the temperature of the eggs up without cooking or scrambling the eggs. Pour the remaining milk mixture in.
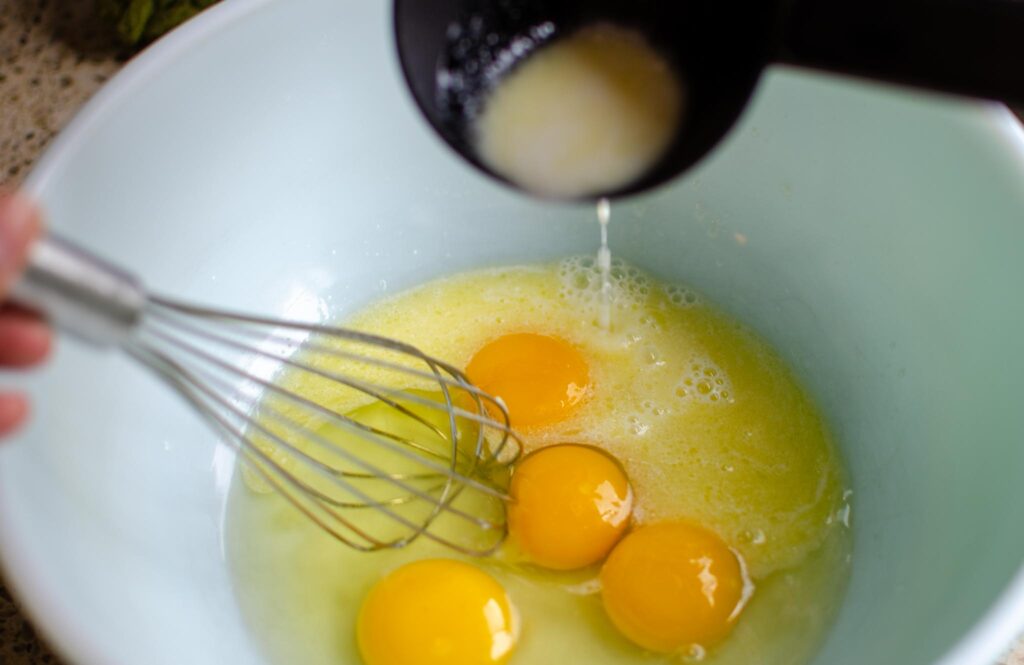
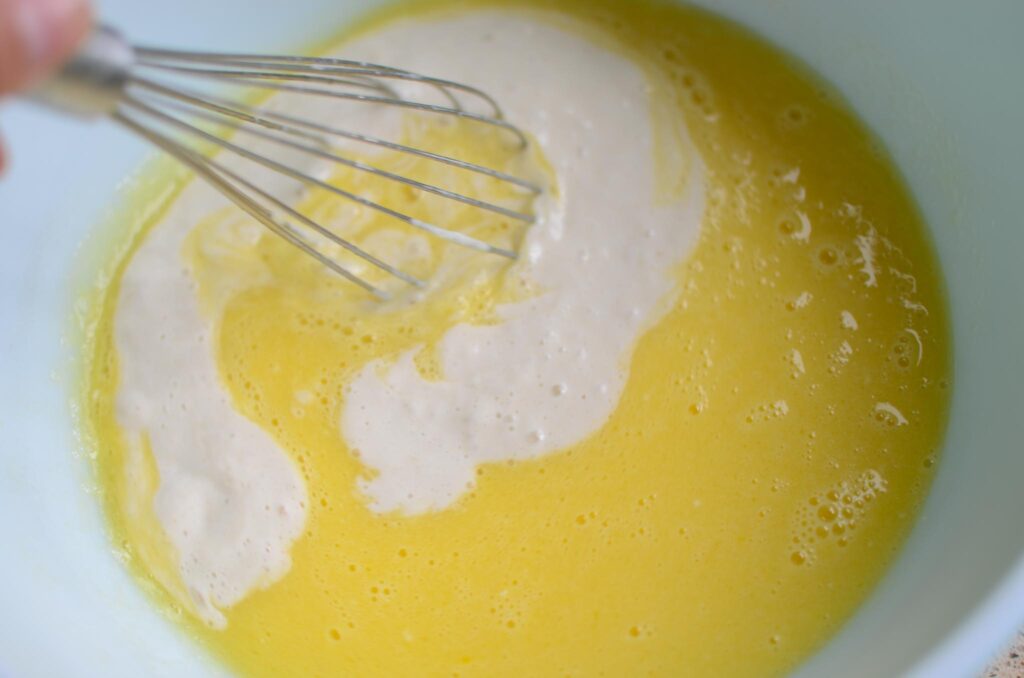
The milk and egg mixture must be at the right temperature before adding the sourdough starter. If it’s too hot, it’ll kill the yeast. If it’s too cool, it delays the dough from rising as quickly as it could. You want it to be right around 100-110 degrees, similar to the temperature of a drawing a bath for a baby. (Since your wrist is sensitive with thin skin, it’s the ideal way to check the water temperature. Use this as your gauge.)
Whisk in the active sourdough starter and then incorporate the flour and salt completely.
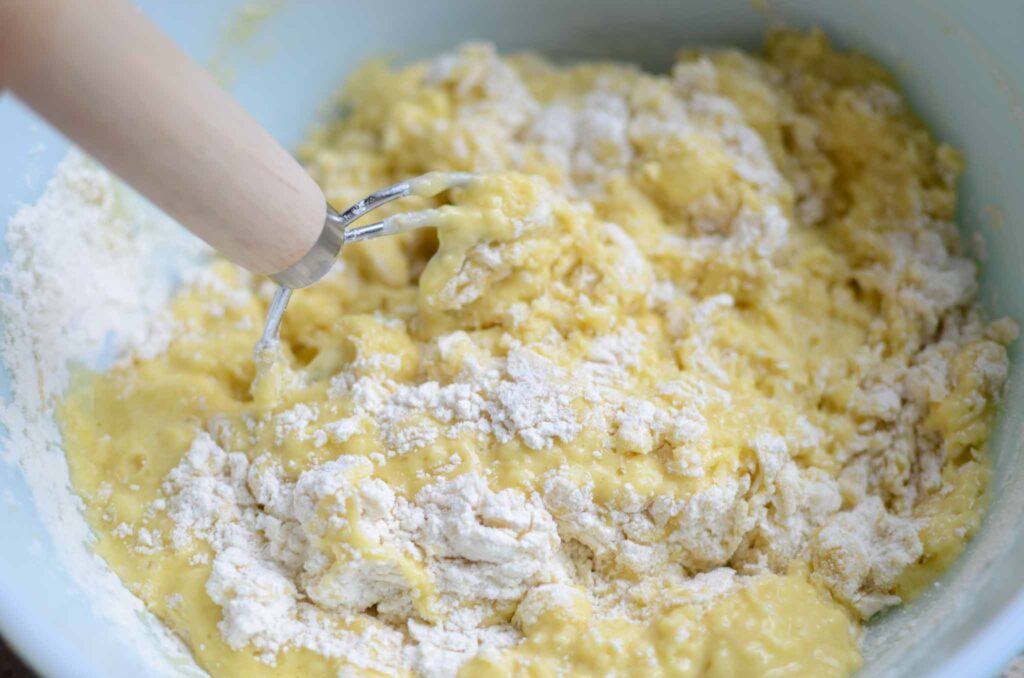
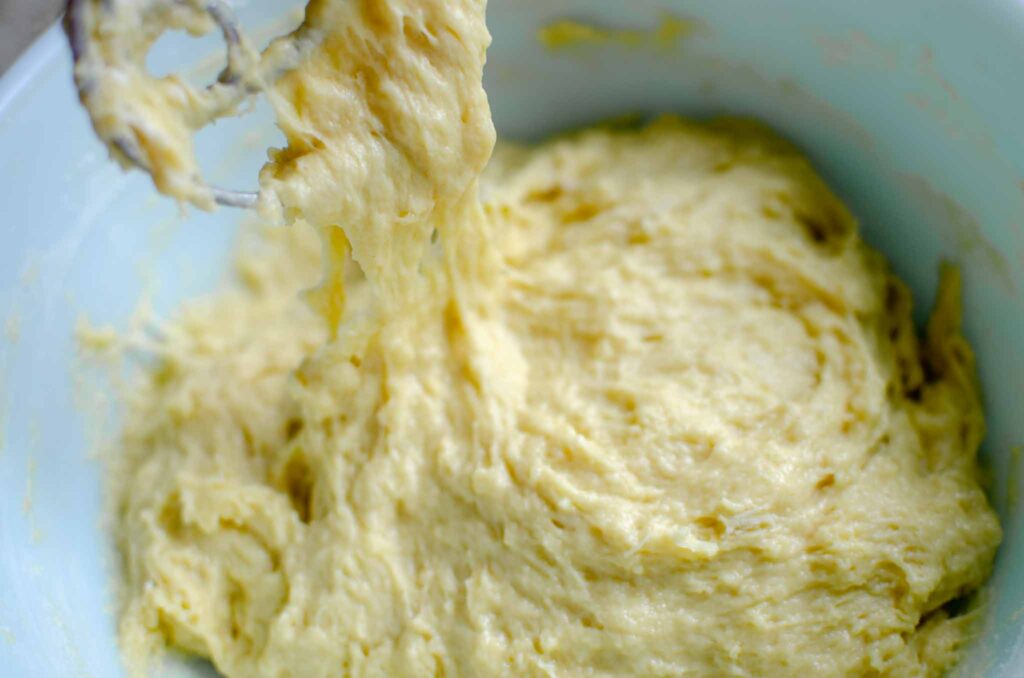
The top of the dough will look shaggy at this stage. Cover the bowl with a towel and let the dough rest for 30 minutes.
Stretch and Folds
After the dough has been allowed to rest, remove the towel and do a series of stretch and folds. Grab the edge of the dough and lift it straight up, and then fold in onto itself in the middle. Rotate the bowl a quarter of a turn and repeat. Continue to stretch and fold the dough, working your way around the bowl until the dough starts to feel firm and resistant to being worked, generally 10-15 stretch and folds. This completes one set of stretch and folds.
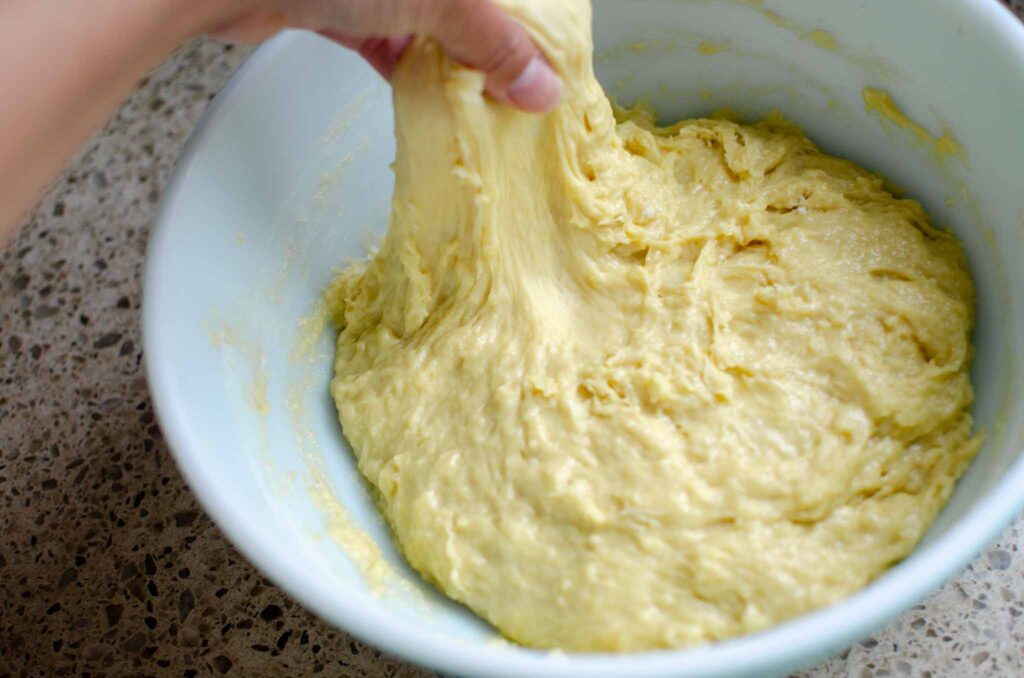
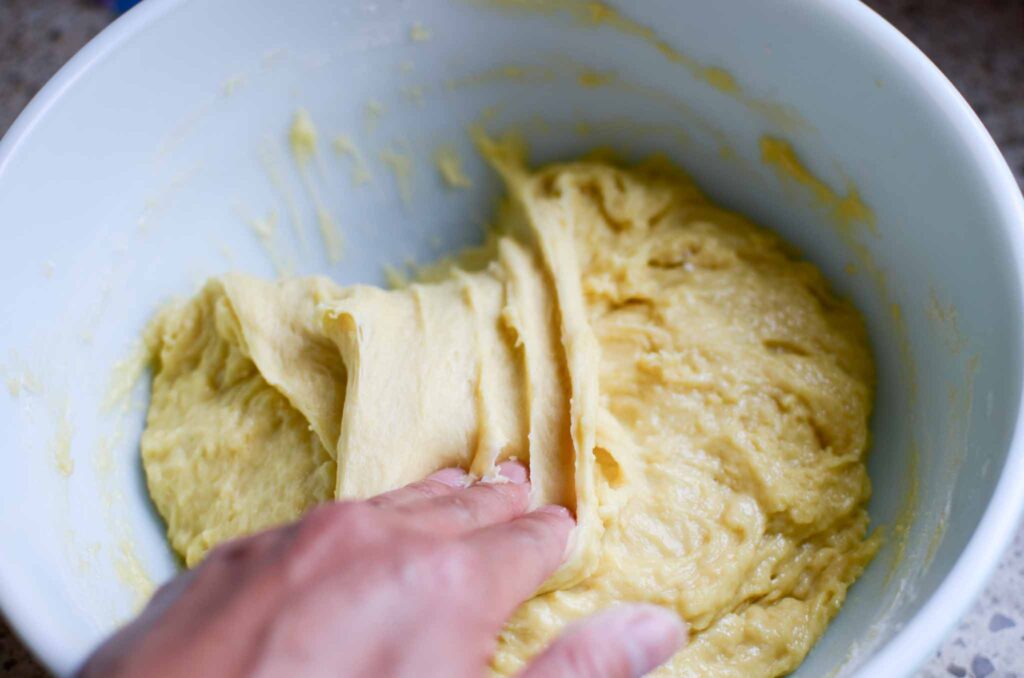
Cover the bowl and allow the dough to rest for 30 minutes. Repeat with another set of stretch and folds. Do a total of 3 sets of stretch and folds with 30 minute rests between each. By the last set of stretch and folds the dough will have transformed to being smooth and elastic and will hold it’s shape longer before breaking when stretched.
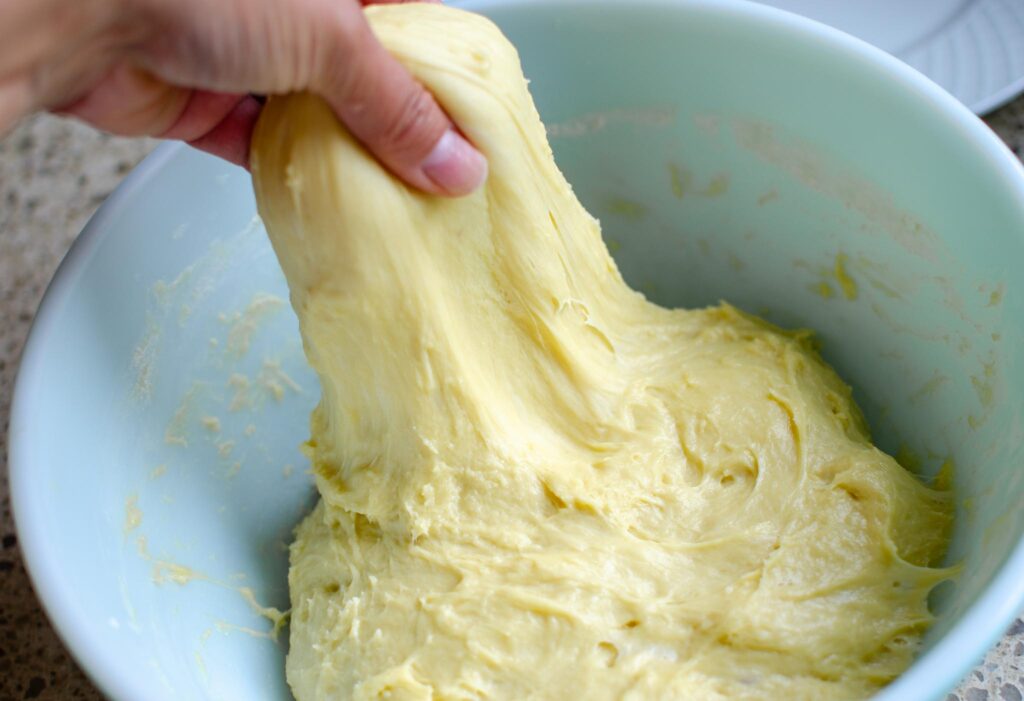
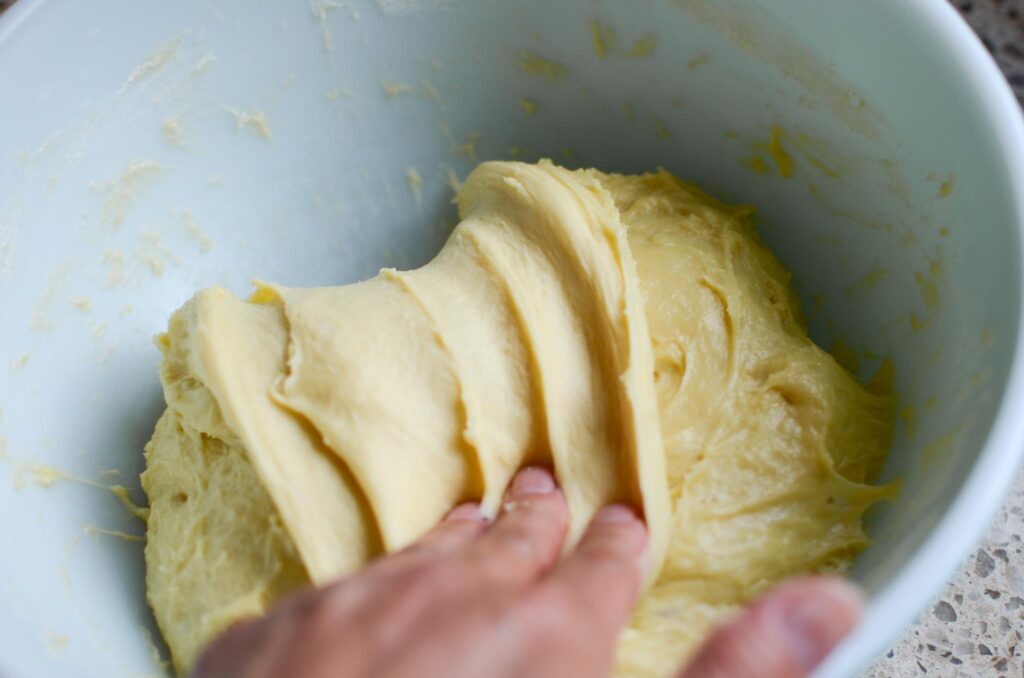
Because the dough has a high hydration level, it will be slack and slightly tacky. This is normal.
Bulk Fermentation
Cover the bowl with plastic wrap or a plate and let the dough rise in a warm place. Because the enriched dough is filled with butter, milk, and eggs, it will take longer than traditional sourdough bread dough to rise.
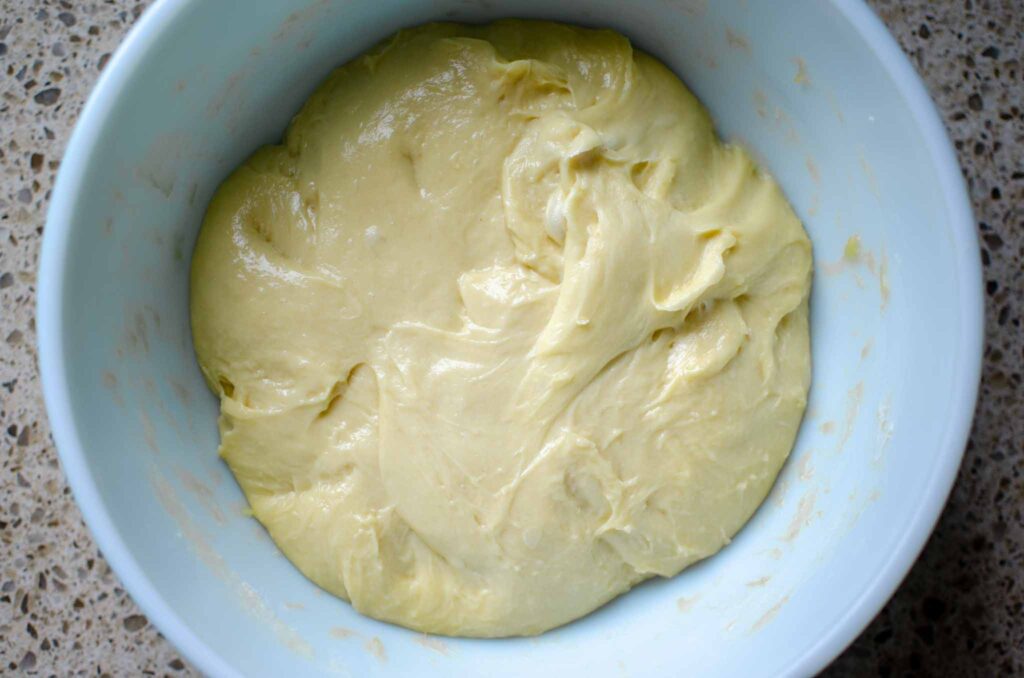
Allow plenty of time for the dough to rise, up to 8-12 hours. The rise time will vary depending on the warmth of your kitchen and the age and strength of your starter. If your kitchen is cool, place the bowl in the oven with the light on to create a warm environment for the bulk ferment.
(I like to snap a photo of the dough on my phone for a visual reminder of how big the dough was before the bulk ferment stage to compare how it has grown.)
The dough will look puffy and have grown in height, but not double in size like traditional cinnamon roll dough.
Shape
Combine the brown sugar and cinnamon in a small bowl and set aside until ready to use.
Turn the dough out onto a lightly floured surface and sprinkle the surface of the dough with a bit of flour. Gently stretch the dough to flatten it out into an even layer of dough. Use a rolling pin to roll the dough into a rectangle shape, roughly 12 x 16 inches, doing your best to roll the dough even in its thickness. If the dough shrinks back while rolling out let it rest for 10-15 minutes to allow the gluten to relax and then resume rolling.
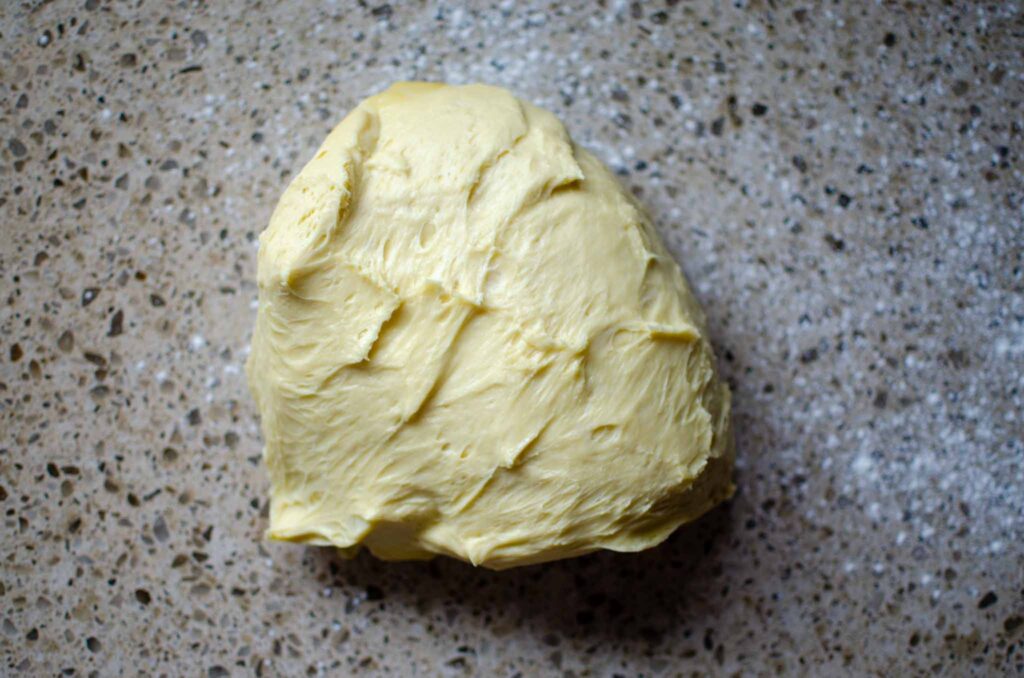
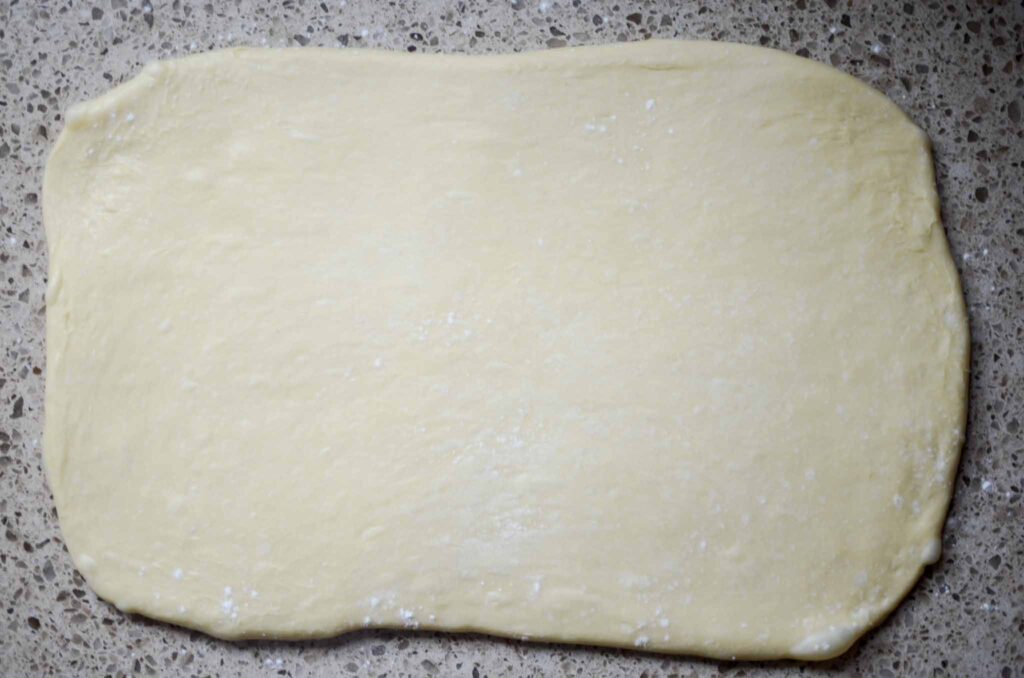
Spread softened butter over the dough all the way to the edges. Sprinkle the cinnamon sugar filling over the butter, pressing into the butter to help it to stick.
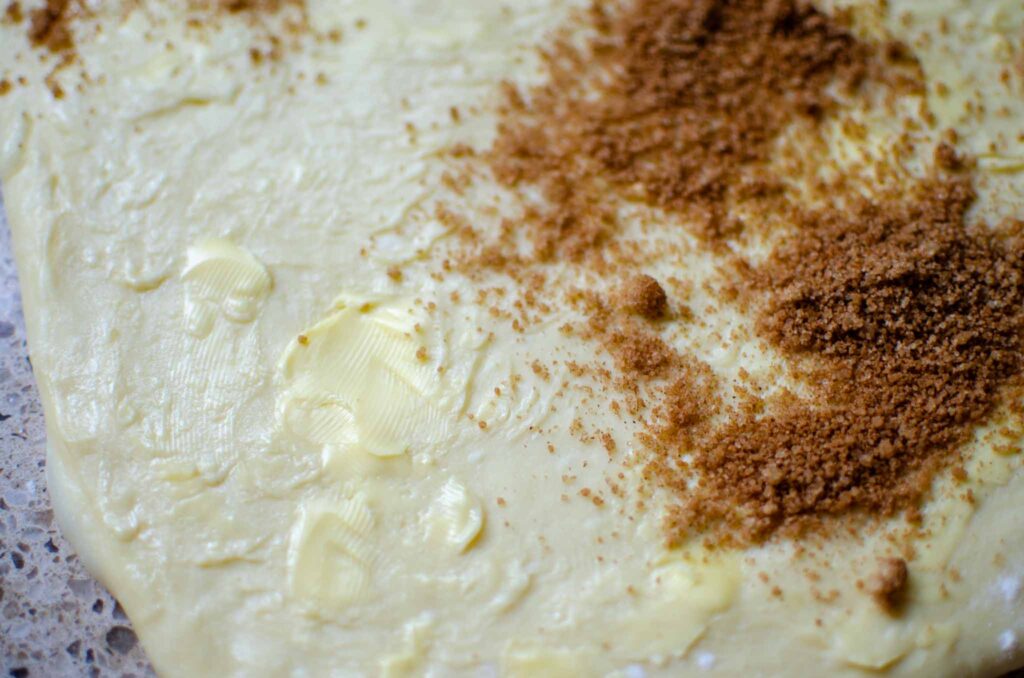
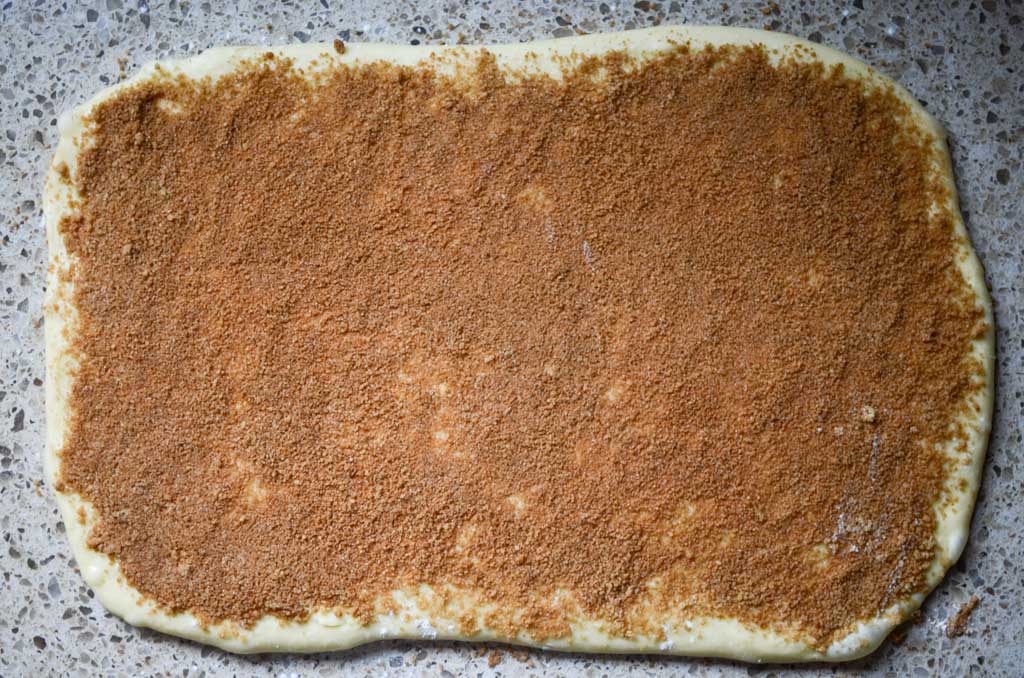
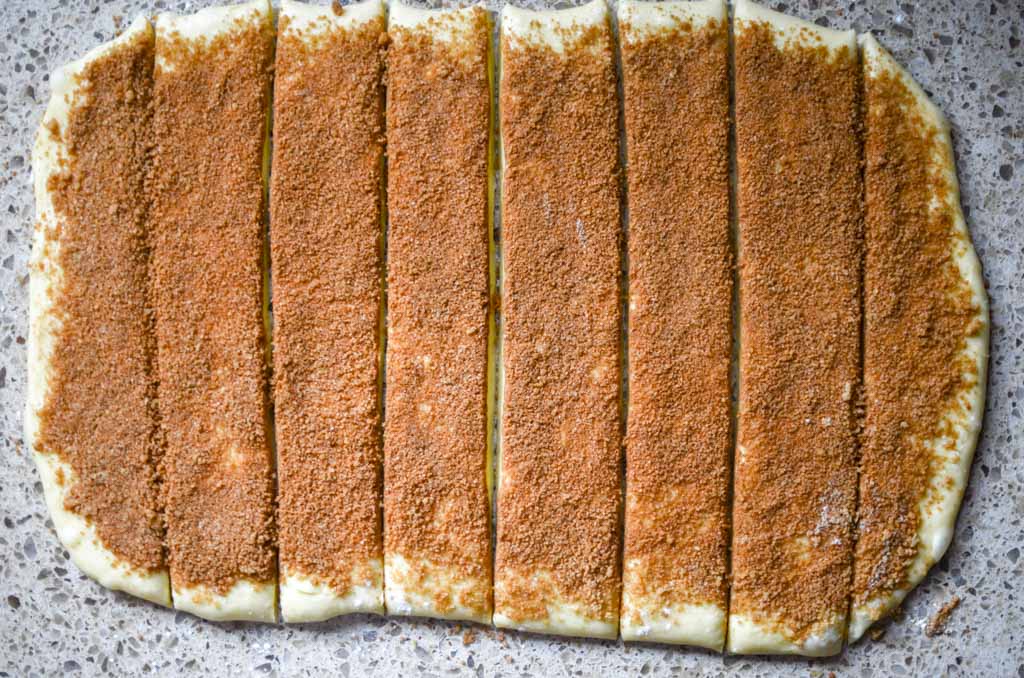
Use a pizza cutter or a sharp knife and cut the dough into 8, 10, or 12 strips. The fewer strips you cut, the taller the rolls will be.
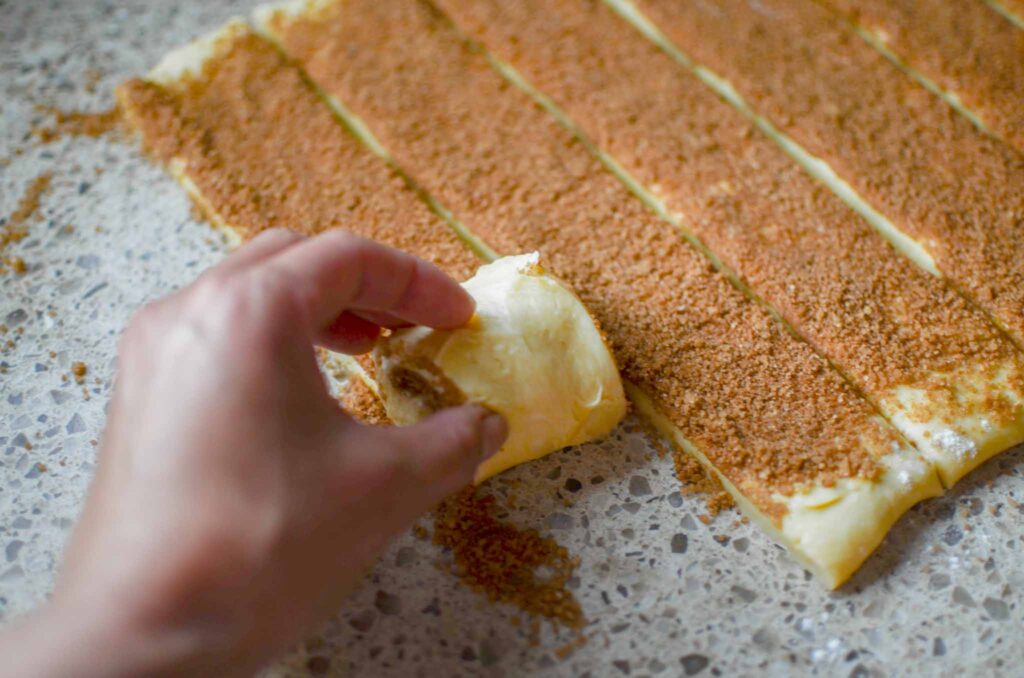
Roll each strip of the dough, starting from the end closest to you, until you come to the end of the strip. Don’t roll the dough too tightly, otherwise the middle of the rolls will pop out as they bake. The dough is sticky and may stick to the work surface as you roll each strip. Take your time and roll slowly, loosening the dough from the work surface as it’s rolled. You can leave the ends of the rolls right by the sides of the rolls, or you can stretch the ends a bit and tuck them under the roll.
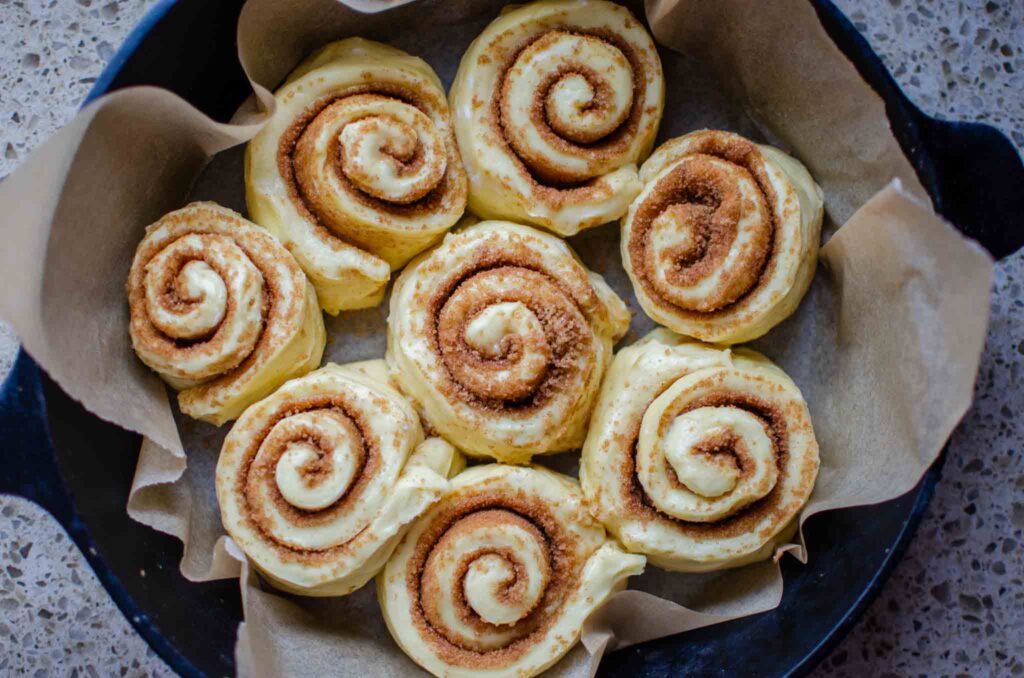
Arrange the rolls in a greased large cast iron skillet or 9×13 pan. I like to line the pan with a piece of parchment paper.
Second Rise
Cover the pan of rolls with plastic wrap or a large cutting board and place in a warm spot for the rolls final rise. They will become light and fluffy and fill the gaps between the rolls.

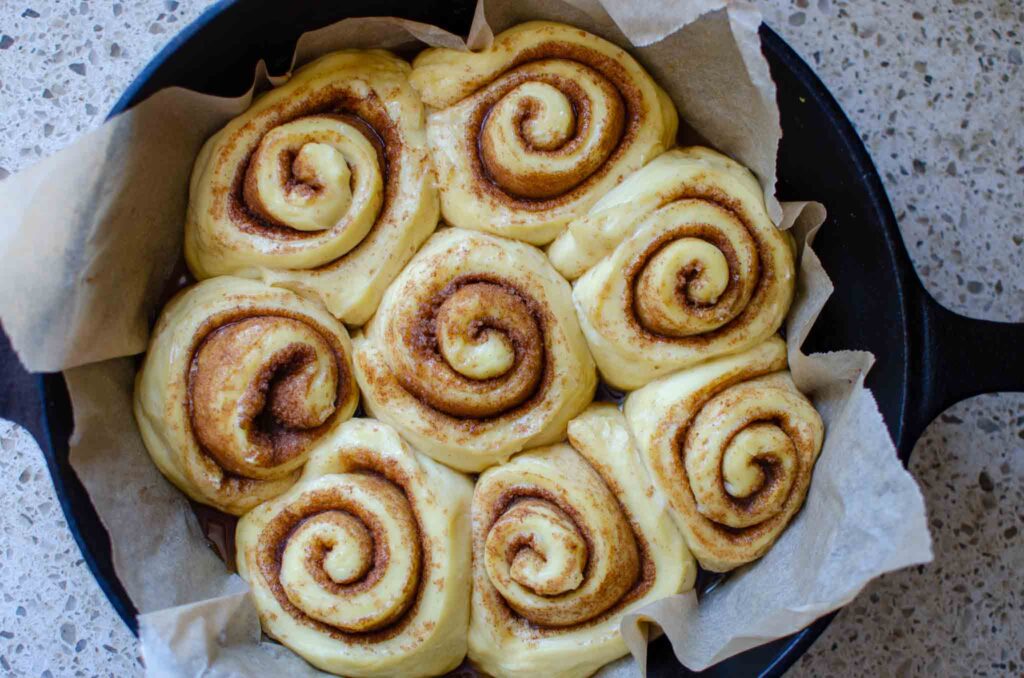
How long this takes will largely depend on the temperature of your kitchen. If it’s cold, place them in an oven with the light on to create a warm environment. Be patient at this stage. If you rush this part and they don’t rise enough, you’ll end up with dense rolls.
Once the rolls have risen, you can bake them right away or cover them and place the unbaked rolls in the refrigerator overnight to bake the next day. They won’t rise much further in the refrigerator.
Bake
The following morning remove the sourdough cinnamon rolls from the refrigerator and allow to come to room temperature.
Preheat the oven to 350 degrees with the rack in the middle position.
Bake for 27-32 minutes, rotating the pan halfway through. The tops of the sourdough rolls won’t brown much so make sure that you don’t over bake them.
While the cinnamon rolls are baking, make your frosting of choice.
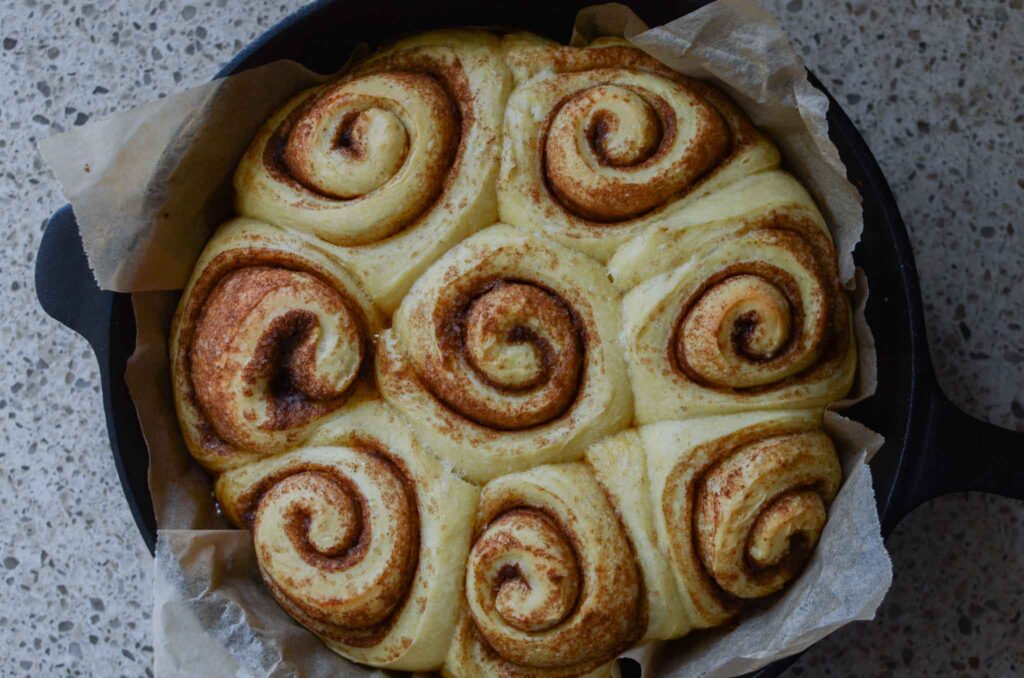
I use a digital thermometer to check that the rolls are completely done. The internal temperature in the middle of the pan of rolls will read 200 degrees when they’re done baking. This may seem like an extra tool, but it’s worth buying as you learn how baked good behave and what they look like when they’re done. You can buy a simple, inexpensive thermometer that will work well for this type of application.
Frost
Remove the rolls from the oven and place the pan on a wire rack to cool. If you want the rolls to cool quickly lift the rolls out of the pan using the parchment paper as handles and place on the rack.
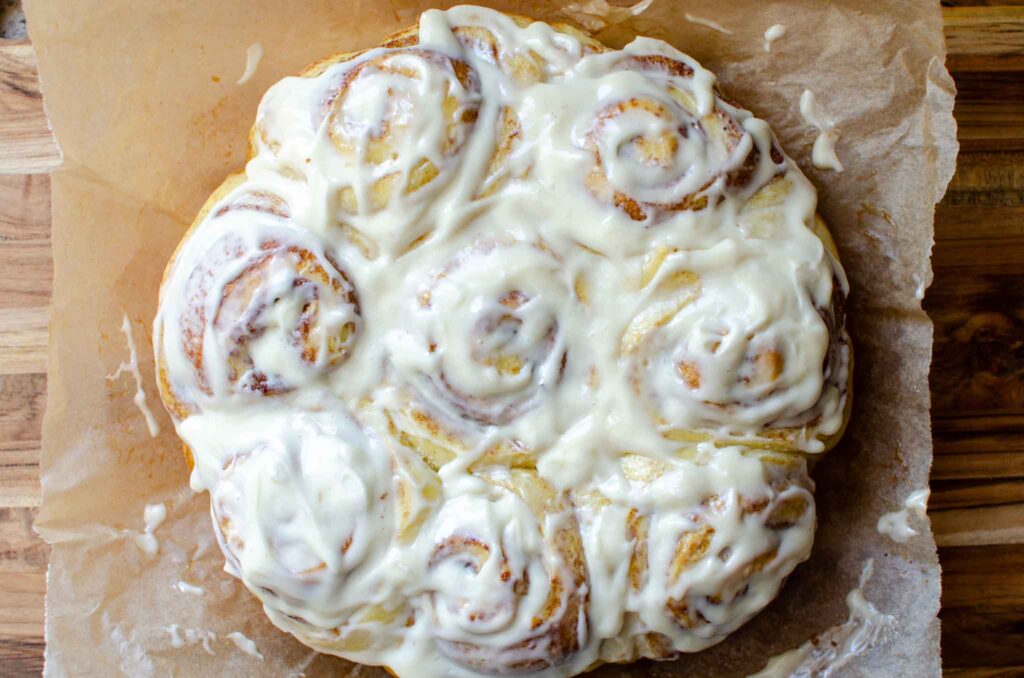
I like to frost the rolls while they’re still warm so that the frosting melts into all of the nooks and crevices of the rolls. If you prefer the frosting to stand tall on the rolls, wait until the rolls are cool to frost.
What Do I Top Sourdough Cinnamon Rolls With?
My favorite way to enjoy a cinnamon roll is with a tangy cream cheese frosting. But there are plenty of other ways to top a cinnamon roll. Feel free to experiment and find your favorite.
Frost the entire pan, or just one at a time for longer storage.
- Cream cheese frosting
- Vanilla glaze
- Sugar glaze
- A light dusting of powdered sugar
- Maple glaze
- Caramel glaze
- Coffee glaze
How to Store Sourdough Cinnamon Rolls
Place sourdough cinnamon in an airtight container or plastic bag and store at room temperature for 2 days. Place in the refrigerator and store up to 5 days, but the refrigerator tends to dry out baked goods.
Freezing Instructions
Sourdough cinnamon rolls can be frozen before baking or afterwards, and up to 6 weeks.
Before Baking
Roll out and cut the dough as directed above and arrange the rolls 1 inches apart onto a sheet pan lined with parchment paper. Place in the freeze for 1-2 hours or until frozen solid. Remove the rolls from the pan and place into a plastic freezer bag and press out any additional air from the bag. Or choose an airtight container with as little extra room as possible. Label with the name and date and place back into the freezer.
When you’re ready to bake, transfer the frozen rolls onto a pan, cover and allow to thaw in the fridge overnight. The next morning, let the rolls sit in a warm place until they double in size and then bake according to the directions.
After Baking
Let the rolls cool completely in the pan and cover the pan with plastic wrap and then foil, or transfer the rolls to a freezer bag and freeze. When you’re ready to serve, thaw the rolls overnight in the fridge, then bake at 350 degrees in pan until warm through, roughly 10-20 minutes. Cover the rolls with aluminum foil while baking to keep from drying out, removing the foil the last 3 minutes for additional browning.
Sample Baking Schedule
1st Day
- 10:00 pm – Feed starter
2nd Day
- 7:00 am – Mix Dough
- 7:30 – 9:00 am – 3 sets of stretch and folds
- 9:00 am – 7:00 pm – Bulk ferment
- 7:00 pm – Shape rolls and place into pan
- 7:15 – 9:15 pm – Second rise
- 9:15 pm – Place rolls into the refrigerator
3rd Day
- 8:00 am – Remove the rolls from the refrigerator and allow to come to room temperature and preheat oven
- 8:45 am – Bake sourdough cinnamon rolls and make frosting
- 9:15 am – Frost cinnamon rolls and enjoy!
I’d love to hear from you! Please leave a comment and rate the recipe. Tag photos #Lockremhomestead over on Instagram when you share pictures of your Homemade Sourdough Cinnamon Rolls!
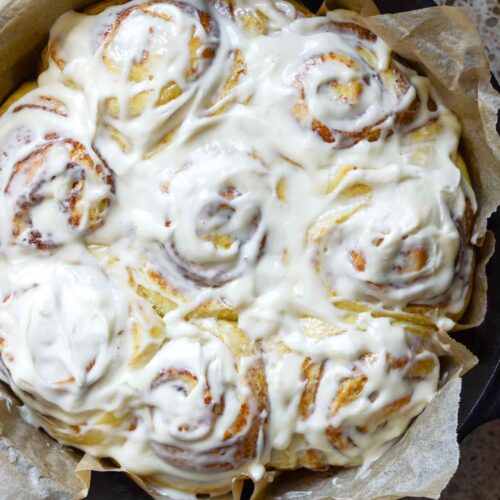
The Best Homemade Sourdough Cinnamon Rolls Recipe
Want to Save This Recipe?
Enter your email & I’ll send it to your inbox. Plus, get great new recipes from me every week!
By submitting this form, you consent to receive emails from Lockrem Homestead
Equipment
- 1 large mixing bowl
- 1 9×13 pan or large cast iron skillet
- 1 Danish dough whisk
- 1 Digital thermometer
Ingredients
Wet Ingredients
- 100 g active sourdough starter ½ cup
- 184 g whole milk ¾ cup
- 4 large eggs
- 50 g sugar ¼ cup
- 142 g unsalted butter 10 tbsp
Dry Ingredients
- 540 g all-purpose flour 4½ cups
- 10 g sea salt 2 tsp
Cinnamon Roll Filling
- 29 g salted butter 2 tbsp
- 100 g brown sugar ½ cup
- 1 tbsp cinnamon
Instructions
Mixing the Dough
- Feed the sourdough starter and allow it to come to its peak 6-8 hours before mixing the sourdough cinnamon roll dough.
- Add the milk, sugar, and butter to a small saucepan and heat over medium heat. Stir until the sugar is dissolved and the butter is melted and then remove from the heat. Do not let the milk mixture boil.
- Crack the eggs into a large bowl.
- Temper the eggs by slowly ladling small amounts of the warm milk mixture over the eggs, whisking constantly as you add the milk. Continue to add the milk until roughly half of the milk mixture is combined with the eggs. This brings the temperature of the eggs up without cooking or scrambling the eggs. Pour the remaining milk mixture in.
- The milk and egg mixture must be at the right temperature before adding the sourdough starter. If it's too hot, it'll kill the yeast. If it's too cool, it delays the dough from rising as quickly as it could. You want it to be right around 100-110 degrees, similar to the temperature of drawing a bath for a baby. (Since your wrist is sensitive with its thin skin, it's the ideal way to check the water temperature. Use this as your gauge.)
- Whisk in the active sourdough starter and then incorporate the flour and salt completely.
- The top of the dough will look shaggy at this stage. Cover the bowl with a towel and let the dough rest for 30 minutes.
Stretch and Folds
- After the dough has been allowed to rest remove the towel and do a series of stretch and folds. Grab the edge of the dough and lift it straight up, folding in onto itself in the middle. Rotate the bowl a quarter of a turn and repeat. Continue to stretch and fold the dough, working your way around the bowl until the dough starts to feel firm and resistant to being worked, generally 10-15 stretch and folds. This completes one set of stretch and folds.
- Cover the bowl and allow it to rest for 30 minutes. Repeat with another set of stretch and folds. Do a total of 3 sets of stretch and folds. By the last set of stretch and folds the dough will transform to being smooth and elastic.
- Because the dough has a high hydration level, it will be slack and slightly tacky. This is normal.
Bulk Fermentation
- Cover the bowl with plastic wrap or a plate and let the dough rise in a warm place. Because the enriched dough is filled with butter, milk, and eggs, it will take longer than traditional sourdough bread dough to rise.
- Allow plenty of time for the dough to rise, up to 8-12 hours. The rise time will vary depending on the warmth of your kitchen and the age and strength of your starter. If your kitchen is cool, place the bowl in the oven with the light on to create a warm environment for the bulk ferment.(I like to snap a photo of the dough on my phone for a visual reminder of how big the dough was before the bulk ferment stage to compare how it has grown.)The dough will look puffy and have grown in height, but not double in size like traditional cinnamon roll dough.
Shape
- Combine brown sugar and cinnamon in a small bowl and set aside until ready to use.
- Turn the dough out onto a lightly floured surface and sprinkle the surface of the dough with a bit of flour. Gently stretch the dough to flatten it out into an even layer of dough. Use a rolling pin to roll the dough into a rectangle shape roughly 12 x 16 inches, making sure that the dough is even in its thickness. If the dough shrinks back while rolling out, just let it rest for 10-15 minutes to allow the gluten to relax and then resume rolling.
- Spread softened butter over the dough all the way to the edges. Sprinkle the cinnamon sugar filling over the butter, pressing into the butter to help it to stick. Use a pizza cutter or a sharp knife and cut the dough into 8, 10, or 12 strips. The fewer strips you cut, the taller the rolls will be.
- Roll each strip of the dough, starting from the end closest to you, until you come to the end of the strip. Don't roll the dough too tightly, otherwise the middle of the rolls will pop out as they bake. The dough is sticky and may stick to the work surface as you roll each strip. Take your time and roll slowly, loosening the dough from the work surface as it's rolled. You can leave the ends of the rolls right by the sides of the rolls, or you can stretch the ends a bit and tuck them under the roll.
- Arrange the rolls in a greased large cast iron skillet or 9×13 pan. I like to line the pan with a piece of parchment paper.
Second Rise
- Cover the pan of rolls with plastic wrap or a large cutting board and place in a warm spot for the rolls final rise. They will become light and fluffy and fill the gaps between the rolls. How long this takes will largely depend on the temperature of your kitchen. If it's cold, place them in an oven with the light on to create a warm environment. Be patient at this stage. If you rush this part and they don't rise enough, you'll end up with dense rolls.
- Once the rolls have risen, you can bake them right away or cover them and place the unbaked rolls in the refrigerator overnight to bake the next day. They won't rise much further in the refrigerator.
Bake
- The following morning remove the sourdough cinnamon rolls from the refrigerator and allow to come to room temperature.
- Preheat the oven to 350 degrees with the rack in the middle position.
- Bake for 27-32 minutes, rotating the pan halfway through. The tops of the sourdough rolls won't brown much, so make sure that you don't over bake them.
- I use a digital thermometer to check that the rolls are completely done. The internal temperature in the middle of the pan of rolls will read 200 degrees when they're done baking. This may seem like an extra tool, but its worth buying as you learn how baked good behave and what they look like when they're done. You can buy a simple, inexpensive thermometer that will work well for this type of application.
- Remove the rolls from the oven and place the pan on a wire rack to cool. If you want them to cool quickly, lift the rolls, using the parchment paper as handles, out of the pan and onto the rack.
Frost
- I like to frost the rolls while they're still warm so that the frosting melts into all of the nooks and crevices of the rolls. If you prefer the frosting to stand tall on the rolls, wait until the rolls are cool to frost.


Sourdough cinnamon rolls are like a gift from heaven! Soft, tender, and full of cinnamon flavor, these rolls go quickly anytime I make them!
I’d love to hear from you! Leave a comment or ask me a question here, and I’ll get back to you!
I love this recipe! So far it’s worked well for me every single time so it feels impossible to mess up! I’ve just finished a batch & put them in the fridge (Wed AM) to bake tomorrow or later in the week. How long have you kept yours in the fridge for? I’ve baked other things (dinner rolls) up to 3 days later. Would these keep that long? Hoping to bake a batch Sunday AM (4 days later) to see how they turn out!
Savannah,
I’m glad you love this recipe as much as we do! I generally keep my dough in the fridge overnight and bake in the morning. Please report back what you discover!
Reporting back!
4 days was too long. The rolls became dense/chewy. They were definitely edible but not preferable nor would I serve them to anyone that way. I also baked a batch at 2 days & those turned out GREAT! Almost as fluffy as cooking them next or same day. So moving forward, I’d say max on this recipe is 48 hours!
Savannah,
Thanks for reporting back on this info! I appreciate it! LL