Easy Tips on Raising Meat Chickens for Beginners
This post may contain affiliate links. As an Amazon Associate, I may receive a small commission, at no cost to you, if you make a purchase. Please read our disclosure policy.
Do you want to have organic, pasture raised chicken meat to feed your family? Not sure how to do it? That’s the same boat we were in about 18 months ago. But I am here to let you know that you can do it! Trust me, if we can do it, anyone can! Come along on our journey of raising our own meat chickens.
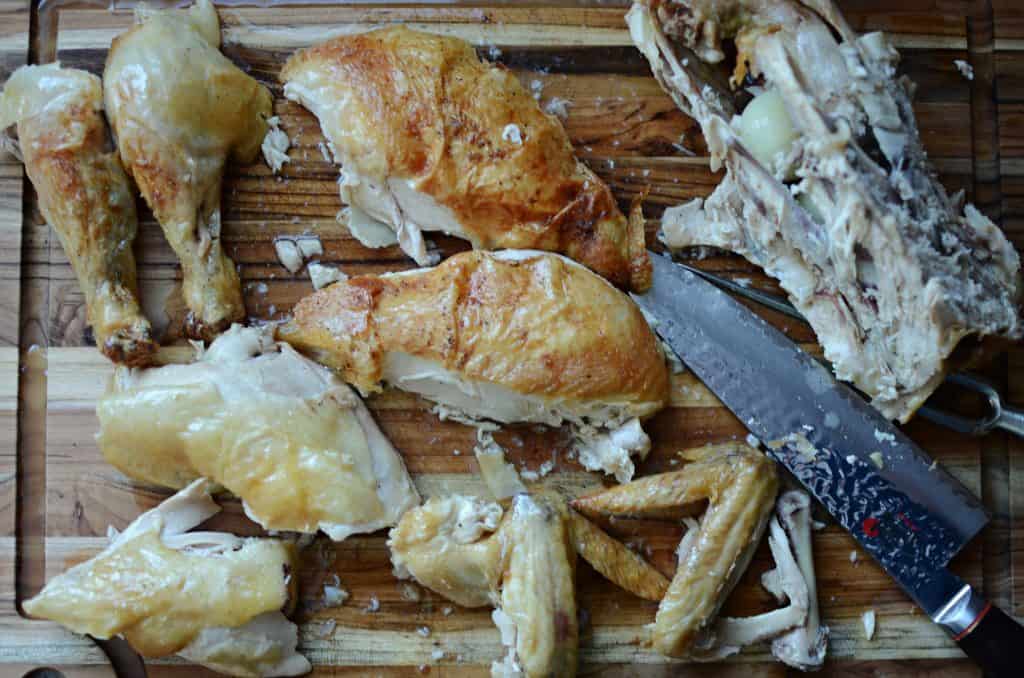
One of the things we were excited about when moving out to our homestead was the ability to raise our own meat birds, sometimes referred to as broiler chickens. These differ from laying hens.
I love the idea of knowing where our food comes from, what it is fed and how it is raised. Over the years I have learned more about our food system and how far it has come from the way our grandparents’ approached food. It has lit a fire under me to do the hard work and take back some of that control to grow our own food.
Then the reality set in. The moment came to order the birds and we felt completely overwhelmed! All of a sudden, we were in a mad dash to learn the nuances of what we needed to prepare to raise and butcher the chickens. We tend to be ‘fire, aim, ready’ type of people. I’m here to let you know what we’ve learned with two seasons worth of raising meat chickens under our belts.
Supplies for Raising Your Meat Chickens
Raising chickens is actually pretty straightforward once you understand a bit about chickens. There are probably many different ways to do this, but I am going to share our process since it’s the only way we have done it.
Chicks
It goes without saying, but you need chicks to raise meat chickens. First, you’ll want to decide which variety you will want to raise. We went with the Cornish Cross variety. The Cornish Crosses are fast-growing birds, coming to butchering size in 6-8 weeks. Males will come to weight faster than the females.
Because of their rapid weight gain, they have a few oddities. Their feathers don’t all come in because so much energy is focused on putting on weight. They have weak legs, making them rather sluggish. Unfortunately they’re notorious for having heart problems after 6 weeks of age. And because of the way that they are bred they won’t produce offspring or lay eggs.
If the cornish crosses aren’t your thing, think about heritage breeds. They are dual-purpose breeds, laying eggs as well as being a great meat source. Popular breeds are the Freedom Rangers or the Red Rangers, but I don’t have personal knowledge on these birds. Ultimately, we didn’t choose these birds because we wanted the shorter season to come to maturity to keep the total cost as low as possible.
The other thing that was surprising to me was how far in advance you need to purchase the chicks. Maybe this was common knowledge, but the first year we bought the chicks, their delivery date ended up being much later in the season that I initially planned due to their hatch date. The second year we knew this and bought the chicks in February.
Shelter
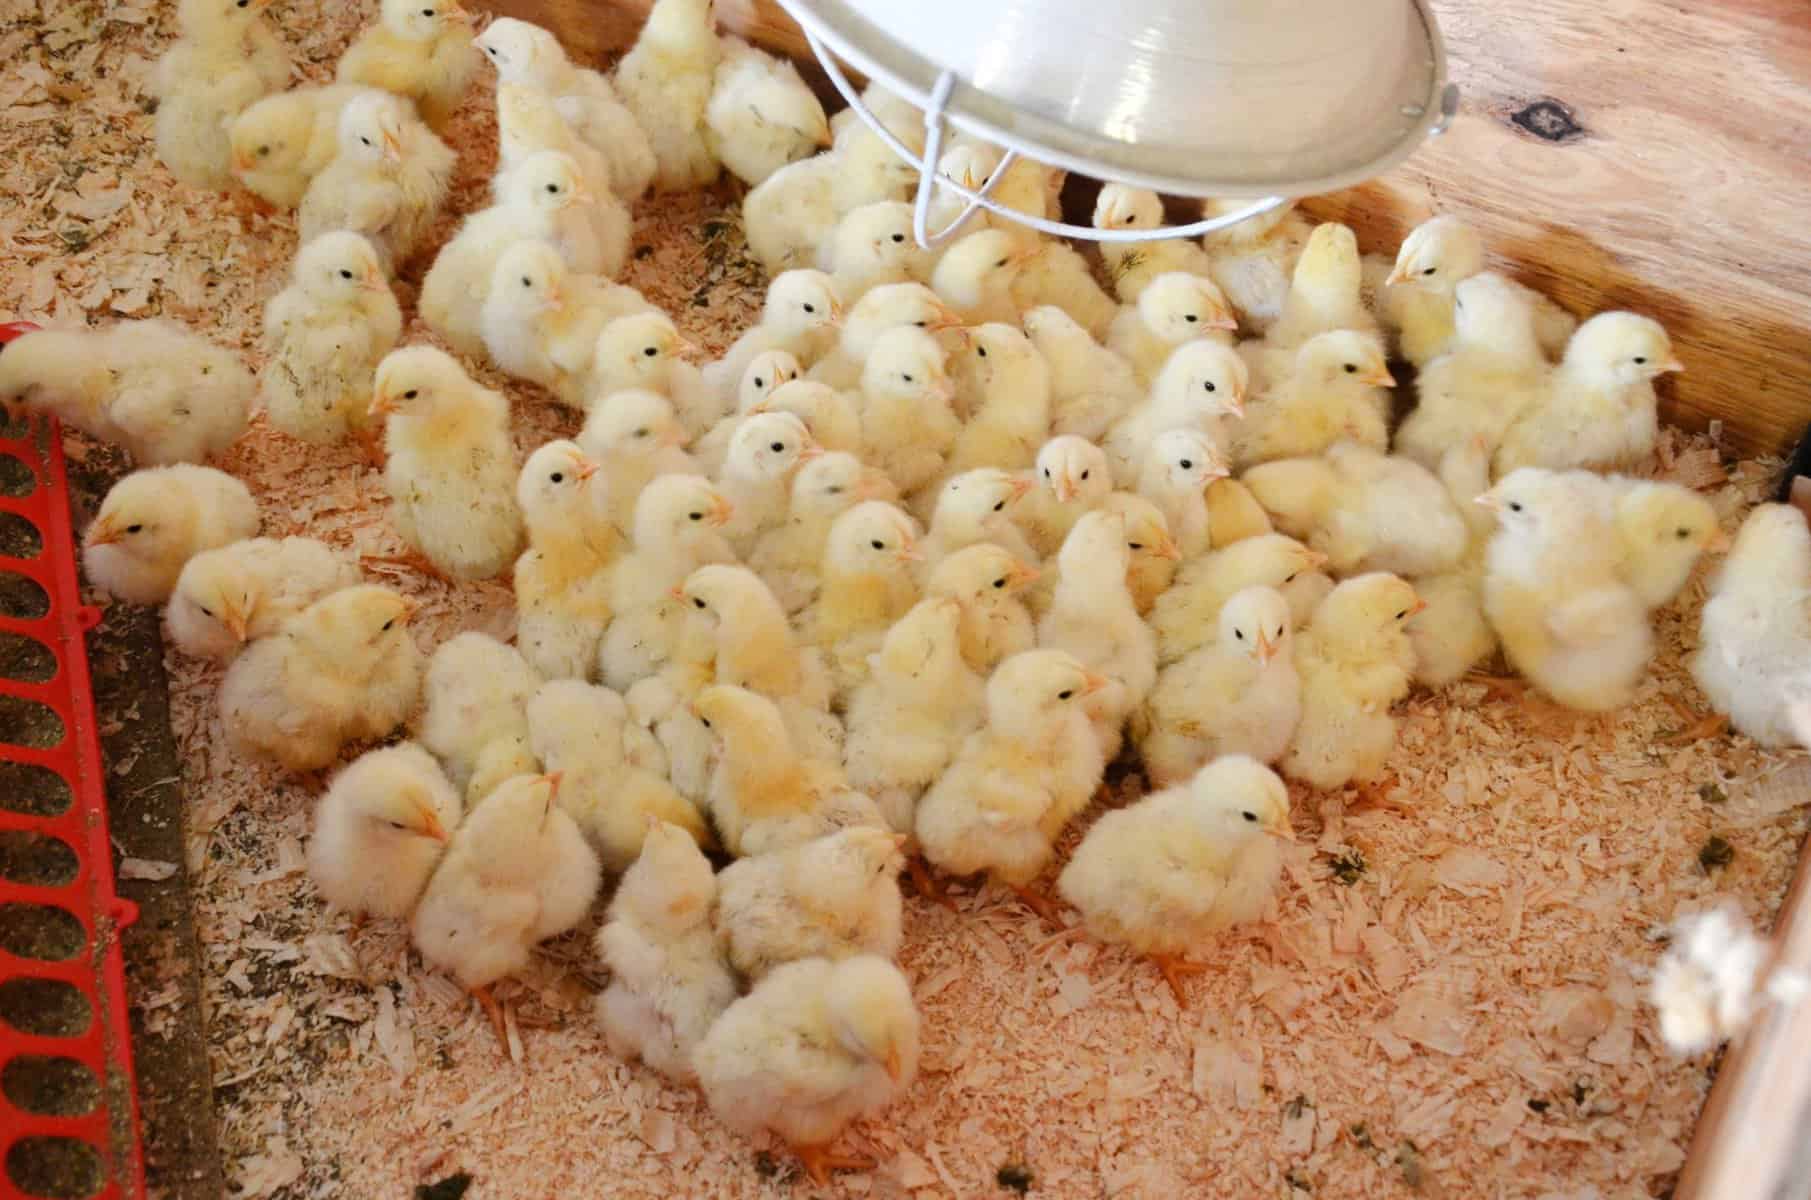
When the call comes to pick up your day-old chicks from the post office, you will want to make sure that your shelter is ready. Before I leave to pick up the chicks, I turn on the heat lamp so their space is warm for their arrival.
For the chicks shelter we used a brooder box that Scott built. Our brooder set up is basically a large wooden box with a removable top, made out of framed chicken wire. You will need a heat source to keep the chicks warm in when they are young. Not only do you need this in cold weather, but you also need until they can regulate their own body temperature, usually when their feathers grow in at three weeks of age.
The brooder will need some type of bedding to absorb their droppings. We used large pine shavings. Don’t use the fine shavings, they’re more likely to eat them. Add a new layer every couple of days to keep their space clean.
This is the cutest they’ll look! (Normally the light is on, but I turned it off quickly for the picture)
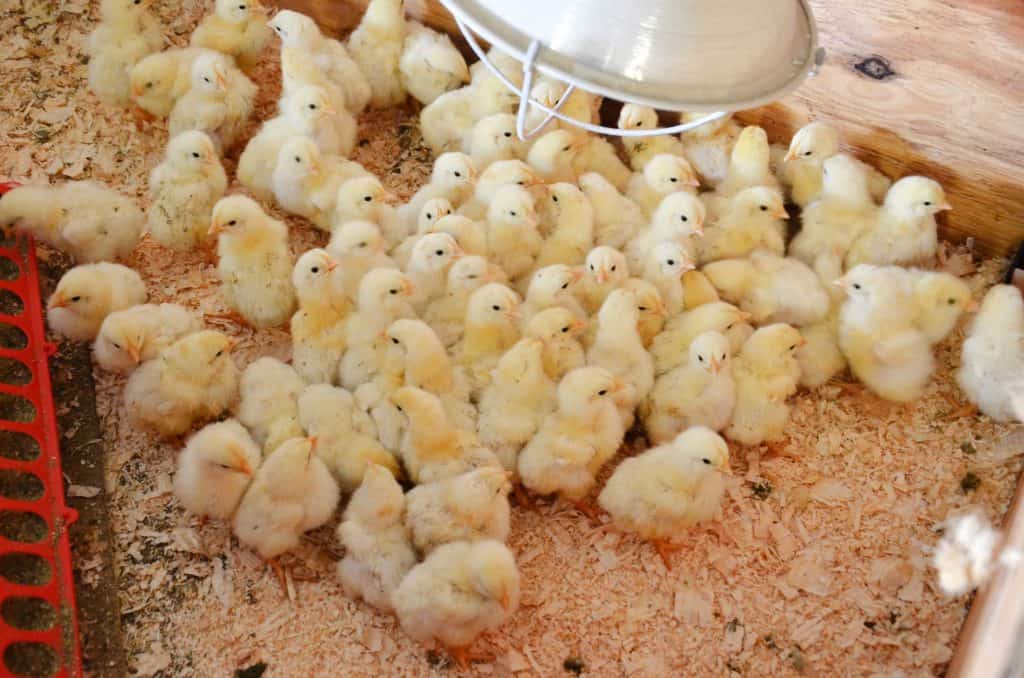
When the chicks have out grown the brooder, they are ready to move to green grass. They will live out the rest of their days being able to free range in a chicken tractor, like a portable coop on wheels so its easy to move. This allows them to be safe from predators while also being out on pasture where they can forage for bugs and scratch in the dirt.
You’ll want to provide ways to help keep them from the extremes of weather. If the evenings are cool, it’s a good idea to use a heat lamp to provide additional heat. Use a tarp to cover part of the chicken tractor to provide shade from the midday heat, but leaving open enough to allow fresh air to flow through the tractor.
Food
The chickens are fed chick starter feed their whole lives. It has a higher protein content than layer feed, needing to be at least 19%. We chose organic feed from the local feed store.
These chickens are insane eaters! Like, insane! Every. Single. Time. They act like they’ve never eaten before. We chose to let them have access to feed for 12 hours, and then withhold the feed for the other 12 hours. This allows their digestive tract to have a break.
The chicks will need to have access to grit until they get out to pasture. Grit is simply tiny rocks used to help the chickens grind their food in their digestive system since they don’t have teeth. Once on the pasture, there should be enough access to what they need.
You can also feed the chickens your food scraps. It’s a beautiful way of turning something that would normally go to waste into something useful, like meat while at the same time keeping your feed bill lower.
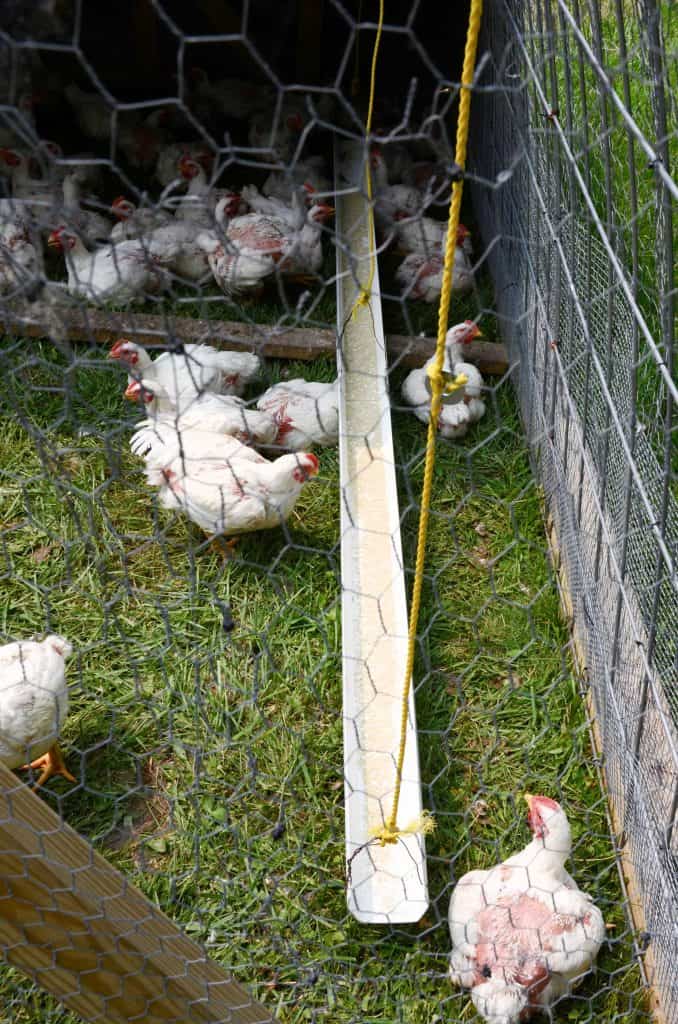
We used a gutter to mimic a feeding trough, but this wasn’t durable enough with the chickens climbing on it to get to the food. Next year we will look use PVC cut in half. We will keep you posted how that goes.
Water
When the chicks first arrive, as you move them into the brooder, dip their beaks into the water so that they know where it is. They’ve made a long journey and are stressed, getting hydrated and fed right away will help. When they are young, place some small rocks into their water so that they don’t fall in and drown.
Making sure the chickens stay hydrated is really important, especially if the days are warm. We had some 90-degree days with this batch. Since they eat a lot, they drink a lot of water. Be sure to give them fresh clean water throughout the day. We used a 5-gallon waterer set up on a block to help keep it cleaner.
Supplies for Dispatching Your Meat Chickens
You can do this in a very simple way with basic supplies, or you can get some more elaborate tools that make this process easier.
Supplies we used when butchering chickens:
First, you’ll need sharp knives. Our first year, the knives we used weren’t very sharp, and made the process more difficult.
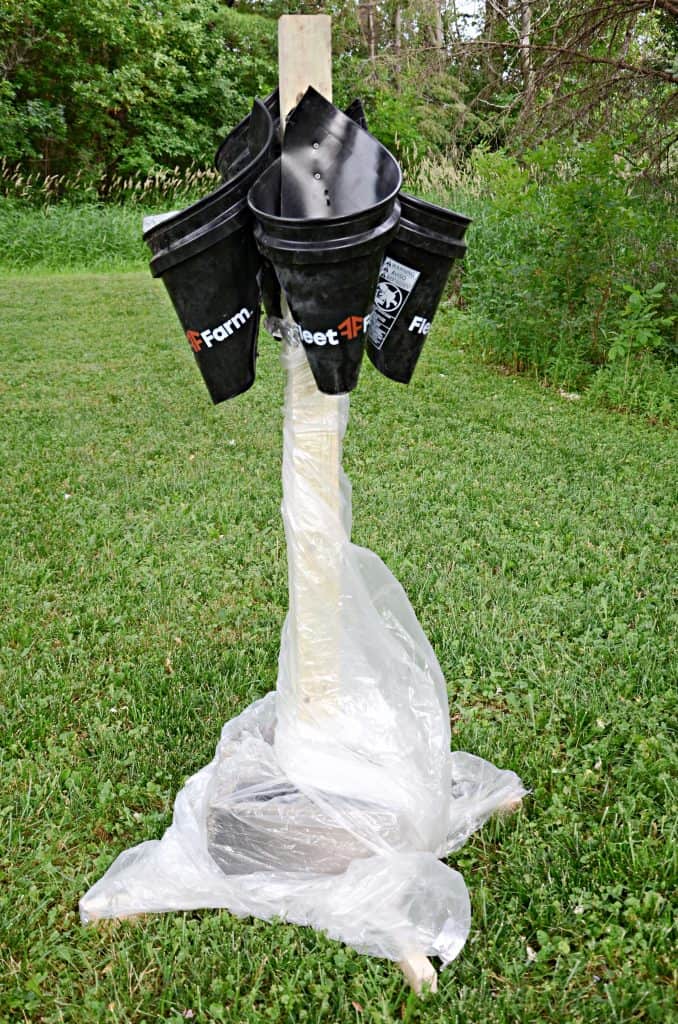
The kill cones we used were homemade out of supplies we had on hand, just simple 5-gallon buckets repurposed and fastened to a post with a solid base. Scott chose to wrap the post in plastic to help keep the post cleaner. This station gets quite messy.
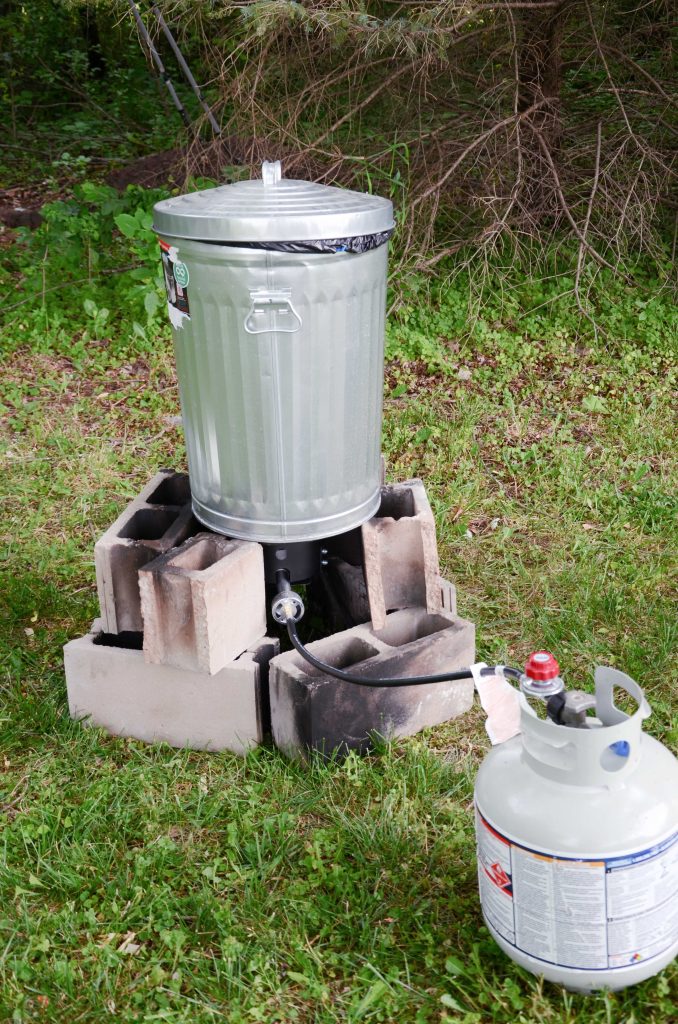
The scalder is simply a metal garbage can that’s filled with water and set on cinder blocks over the propane heating element of a fish fryer.
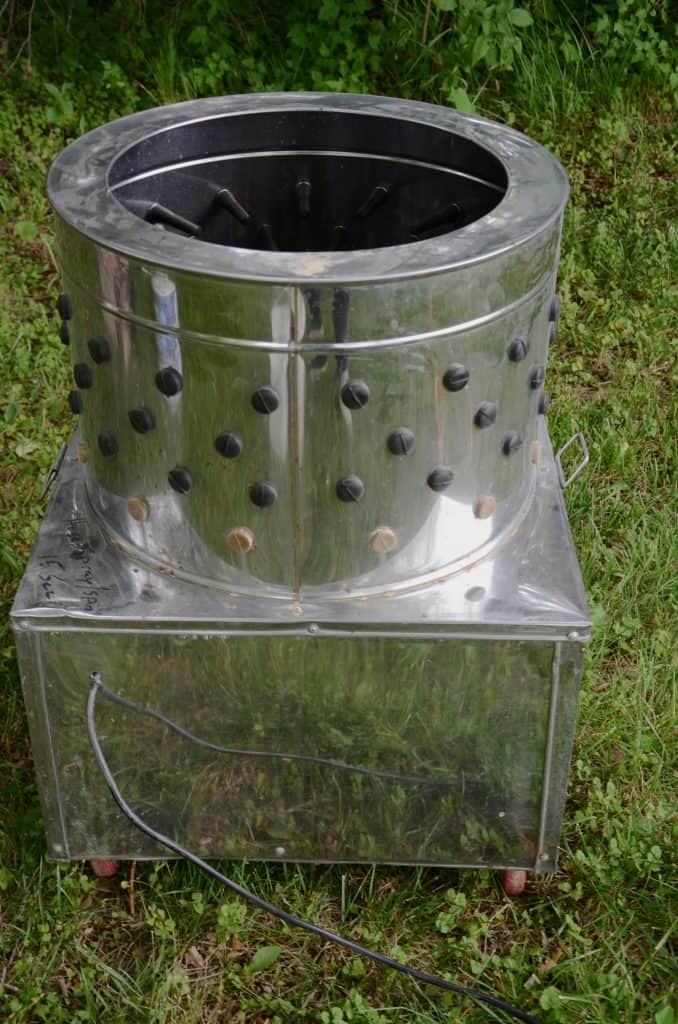
The plucker is well worth buying or borrowing! This tool will make the day infinitely easier and faster. A whole chicken can be defeathered in about 15 seconds!
The next station is a table with spots to clean the chickens. We lined the table with plastic. Again, to help make the clean-up process easier. There were of us comfortably at a 6-foot table. One word of advice if you have to buy some type of table is to buy a table that is counter height. Your back will thank you. Helpful, but not necessary.
Right by the table we have 3 buckets. One for the guts that will later be buried. One for the feet. We save the chicken feet and add with the carcass when I make bone broth. And lastly, one for the kidneys and hearts. These are pureed in the food processor and then frozen in muffin tins. Once frozen, the pucks are placed into freezer bags. Then whenever I make ground hamburger, I add a puck of the pureed heart and livers for added nutrition but disguising the taste.
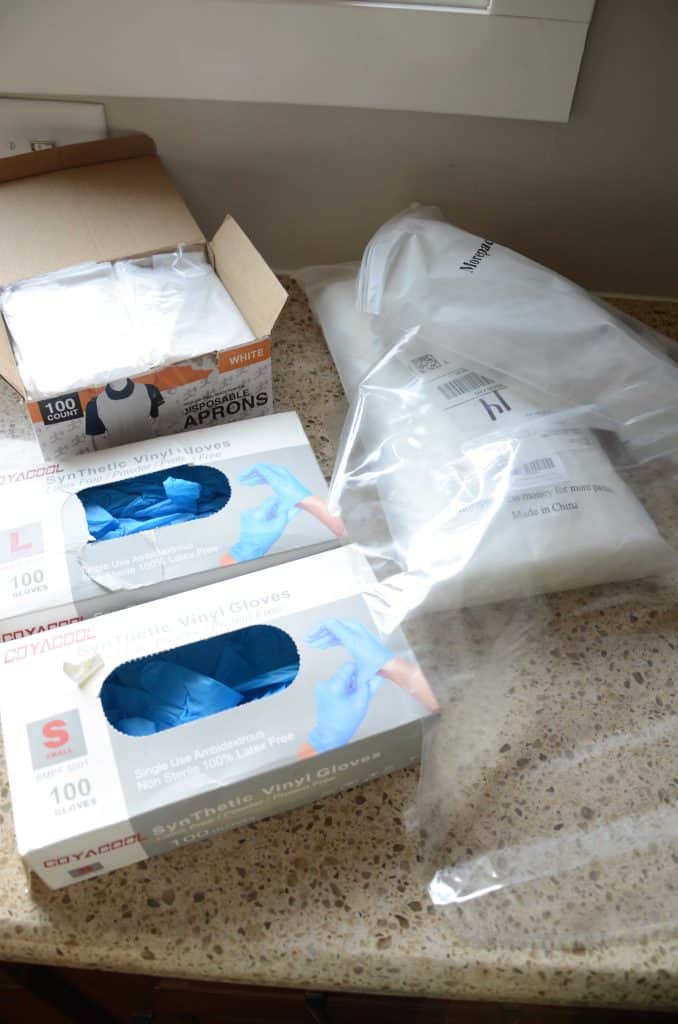
You will want gloves, disposable aprons and freezer bags ready.
Preparing the Chicken for the Freezer
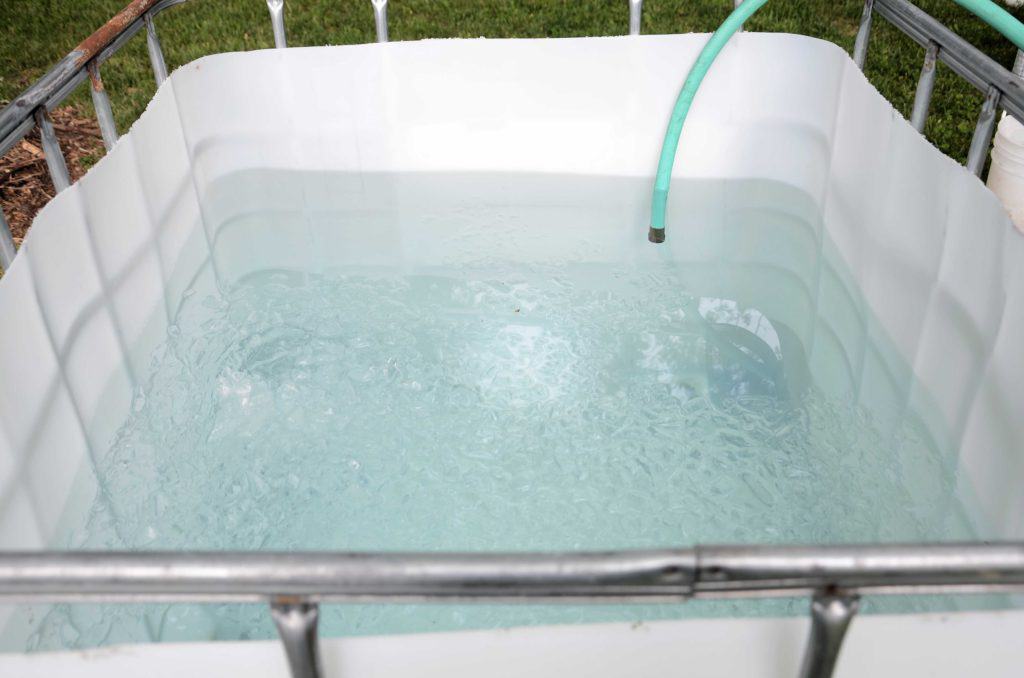
After the chickens have been processed, you’ll want to cool the meat as quickly as possible. Place the chickens in a large container filled with ice while you continue to process the rest of the flock.
You have two options to package the birds. You can place the birds in any type of freezer bag, close and place in your fridge. The other option is to buy shrink wrap bags that once submerged in boiling water with the bird inside, conform to the bird so that there’s very little extra oxygen in the bag. We were so tired by this stage that we didn’t do this extra step, and didn’t have any issues with the birds in the freezer.
Allow the meat to rest in the fridge for a day for rigor mortis (after death all animals bodies become stiff) to pass and the legs and wings to become loose again. Once that happens, they are ready to be placed in the freezer.
Additional Notes
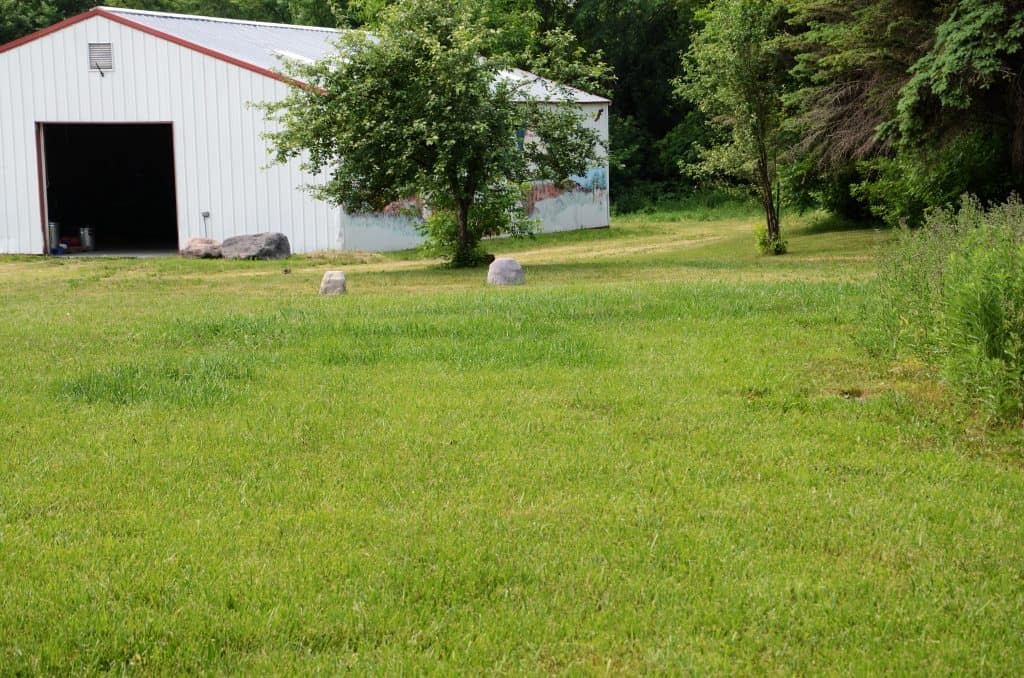
Because the chickens eat quite a lot, they also poop quite a lot. They leave a mess in their wake, but that mess will soon fertilize your lawn and make it grow beautifully!

We have dark patches of grass where the chickens have been.
Cornish Cross chickens are pretty fragile birds. Don’t be shocked if you go out and find one has died for unknown reasons.
That’s basically it! Learning how to take care of their basic needs and with a bit of intentionality and some daily effort, you can raise your own meat. What a beautiful feeling to know that you can provide your own chicken for your family.
If you want some ideas on what to make with your chickens, read about how to make our favorite roast chicken here. How will you prepare your chickens?
I’d love to hear from you and know if this was helpful! Leave a comment below and tell us if you’ve tried your hand at raising your own meat. Be sure to tag a photo #Lockremhomestead over on Instagram of your meat birds!

I love all of this : )