Learn How to Tap Backyard Maple Trees for Maple Syrup
This post may contain affiliate links. As an Amazon Associate, I may receive a small commission, at no cost to you, if you make a purchase. Please read our disclosure policy.
Can you feel it? Spring is right around the corner with the days getting longer thanks to day lights savings. Up here in the northern states, it’s also maple syrup season. Learn how to tap backyard maple trees with a few basic supplies and produce your own maple syrup.
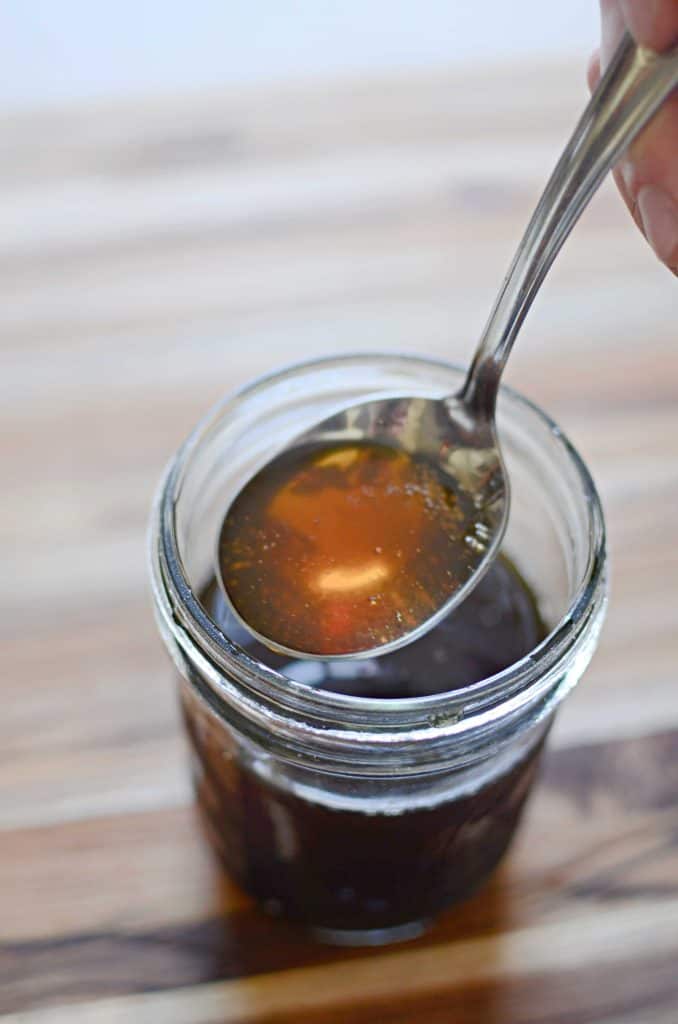
We are newbies to tapping our trees, with only two years under our belt. But what a wonderful experience it’s been, as well as a delicious experience to have! With only two large maples on our property, it’s plenty to supply our family with what we need for a year of syrup.
When to Start Tapping Trees
How do you know when to start tapping your maple trees? The best time is in late winter to early spring when the weather conditions have daytime temperatures above freezing, but nighttime temperatures are below. For us in MN, this is usually in late February to early March. The temperature flex between above and below freezing changes the pressure within the tree and causes the sap to flow.
When we first moved to our homestead in the fall, we knew we would be tapping our trees the following spring. With this in mind, we were intentional to identify the maples while they still had their leaves. How many taps per tree is determined by the diameter of the tree. Healthy trees that are 10-17 inches in diameter can handle one tap, 18-24 inches in diameter can handle two taps and a tree larger than 25 inches can handle three taps. We happen to have 2 large maple trees that can each handle 3 taps each.
Tapping Equipment
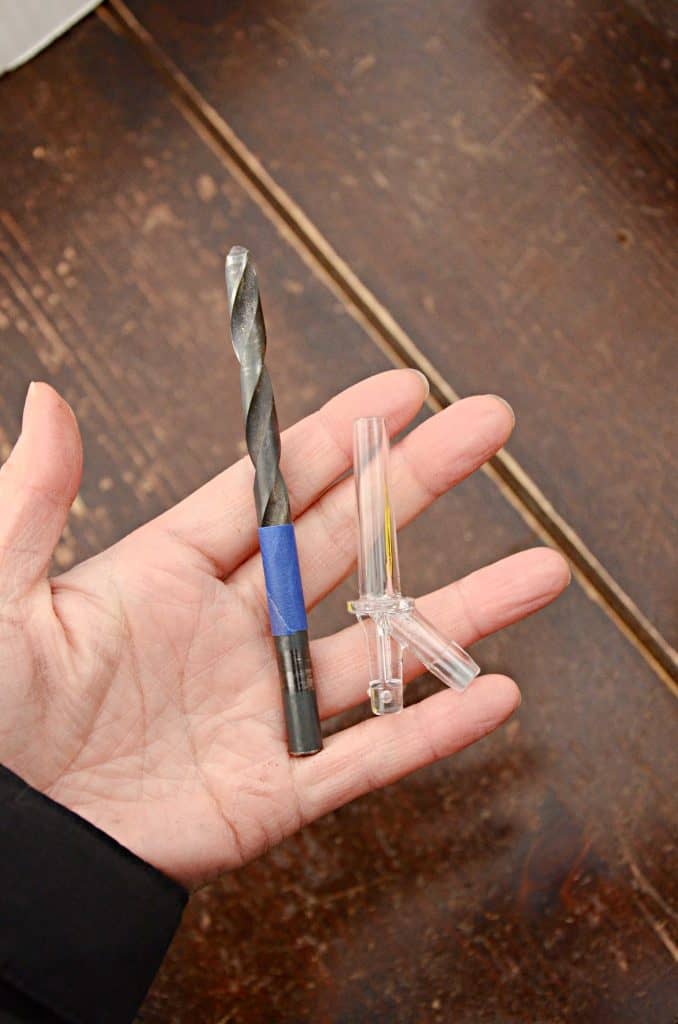
- Cordless Drill and Drill Bit: The size of the drill bit needs to be the same diameter as the tree tap, or spile.
- Tap, spout or spiles: 1-3 per tree, depending on the size of the tree. The spouts, also call spiles, are used to tap into a hole in the tree and allows the sap to flow into a collection container. There are various sizes available and can be made of plastic or metal.
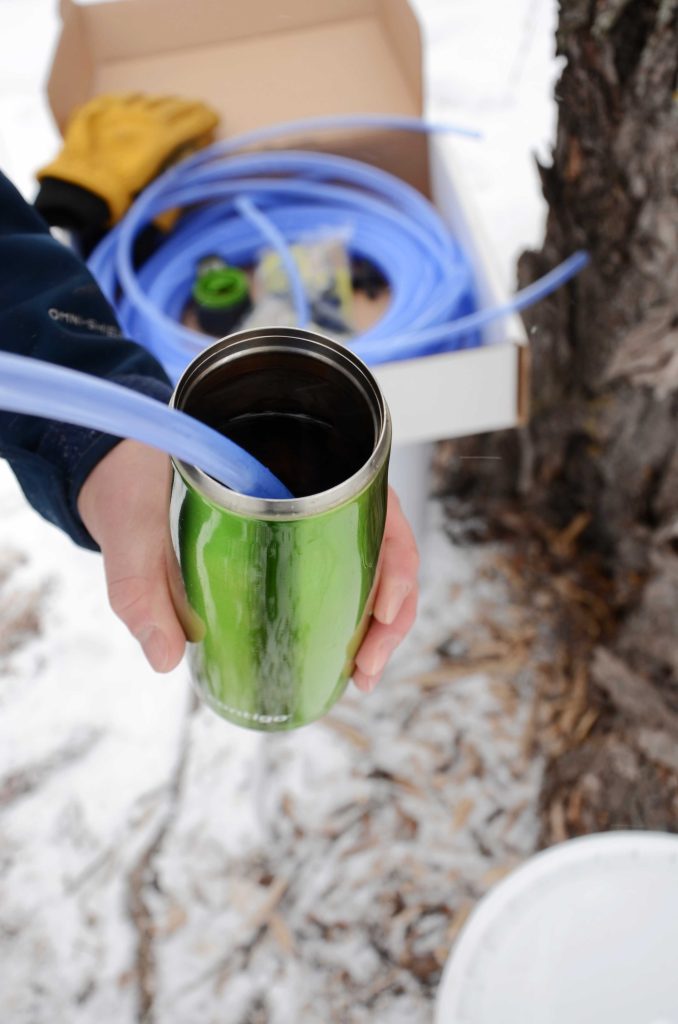
- Drop Lines: Drop lines are food grade plastic tubing that connect the spiles to the collecting vessel.
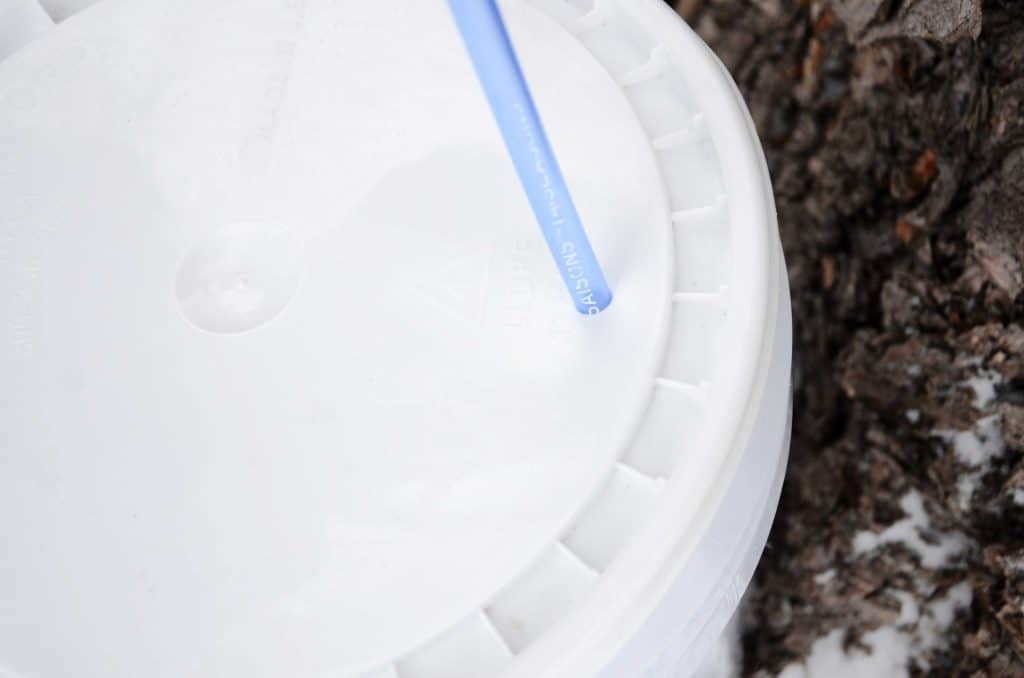
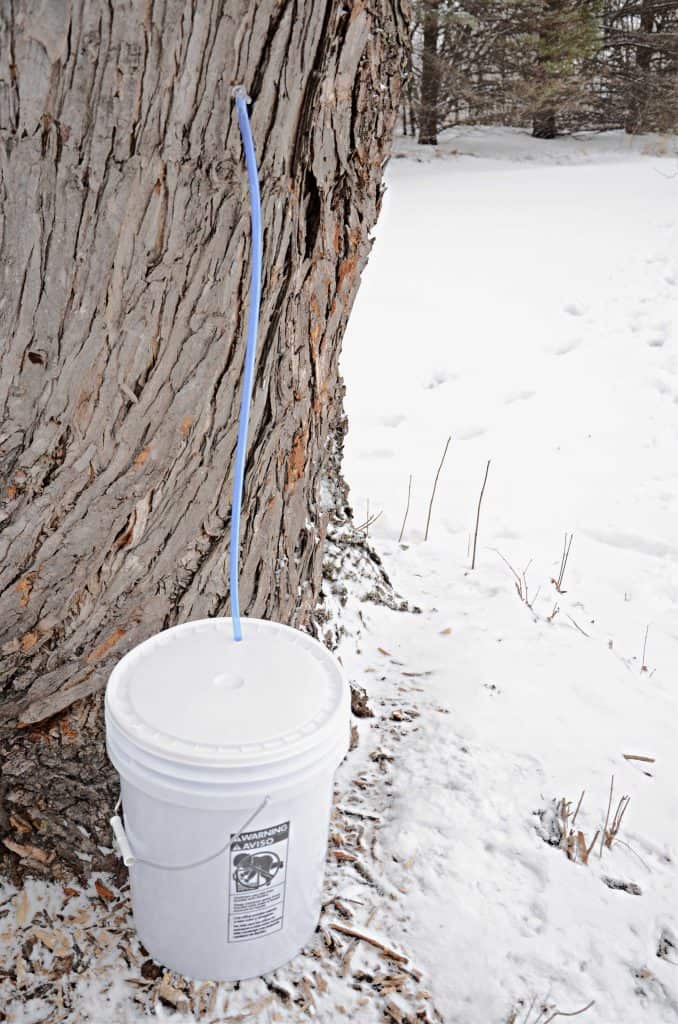
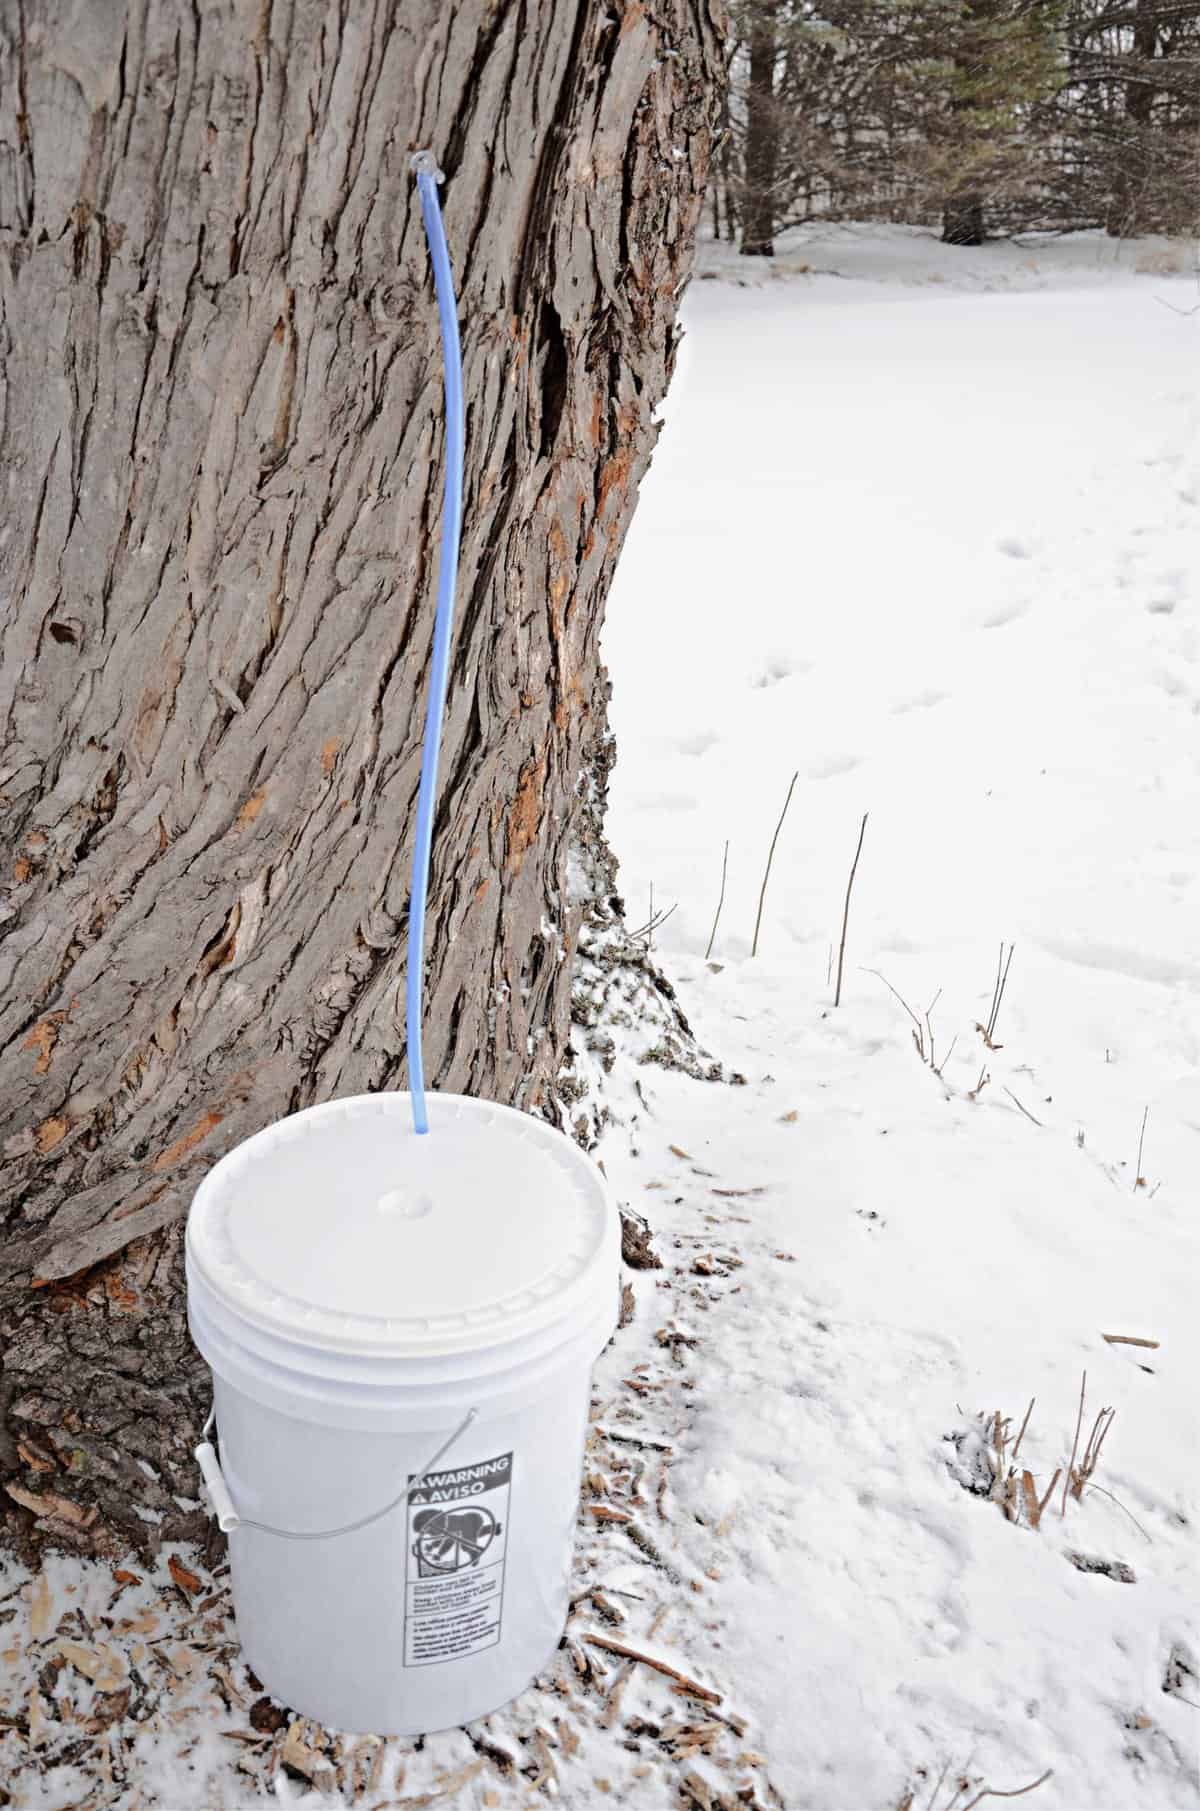
- Sap Collecting Container: There are a variety of ways used to collect the sap. There are metal buckets and sap sacks that hang from the spile. You can also use a container that sits on the ground with a drop line. We do suggest that it has a secure lid to keep out debris, snow and rain. These food grade containers can be new or get creative and recycle large frosting containers from a bakery or emptied out milk jugs. We chose to use 5-gallon food grade plastic buckets with lids.
How Do I Know Which Maple Trees (Acer Species) to Tap?
First, you need to know which trees are maples, because during the winter they all look similar. Fortunately, there are 10 different kinds of maples that will produce sap needed to make into syrup. Sugar maple trees are the most sought after because they have the highest sugar content, ranging from 3-4%. Each type of maple will have its own flavor profile, as well as being influenced by weather, whether it’s an early season or late season boil and your unique climate.
You can tap other species of trees such as birch, alder, and black walnut to name a few.
Tapping Instructions
- Clean all tapping materials with hot water, boiling to sterilize.
- Identify the trees you want to tap and check that the trees are healthy. Avoid trees that show signs of damage, such as splitting or peeling bark, as this can cause further damage and will produce a smaller yield. You want to place the taps 18 inches apart on the east, west and south side of the tree, as they will warm up with the heat from the sun and have the best flow. The north side of the tree stays cool and has a smaller sap yield. The holes should be at a comfortable working height, 2-4 feet up from the ground. If you tap the same trees year after year, drill holes at least 6 inches from the previous year’s holes to allow the tree to recover and remain healthy.
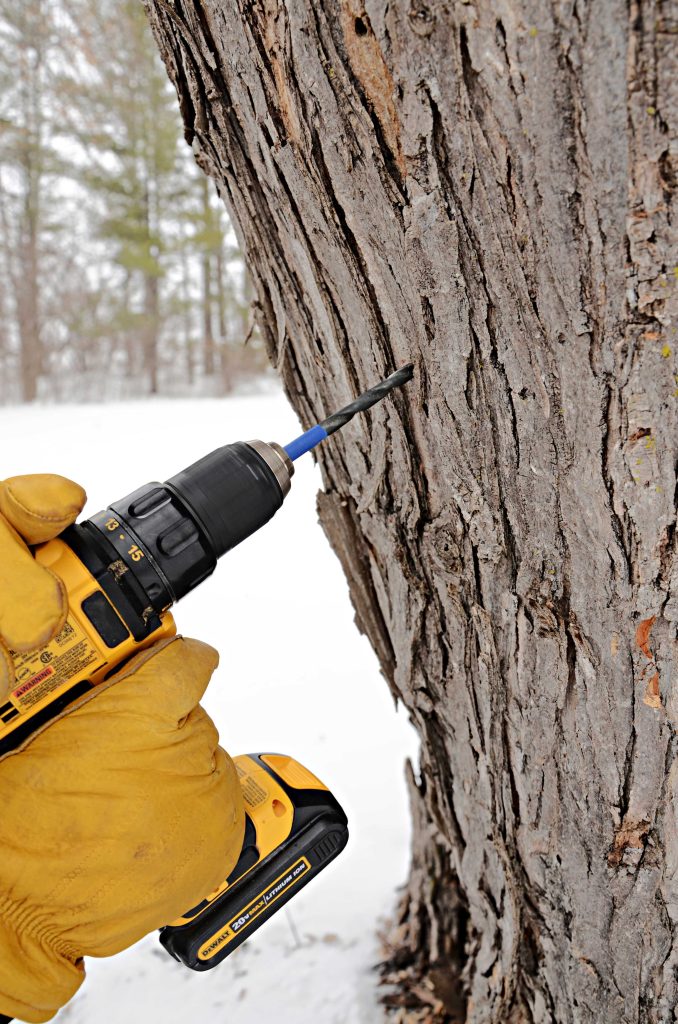
- Drill the hole upwards at a slight angle until you reach the lighter inner sapwood of the tree. It’s important that the drill bit is sharp so that you get a clean cut. Using a piece of tape on the drill bit as a guide helps to mark the drill depth, ranging anywhere from 1.5 to 2.5 inches.
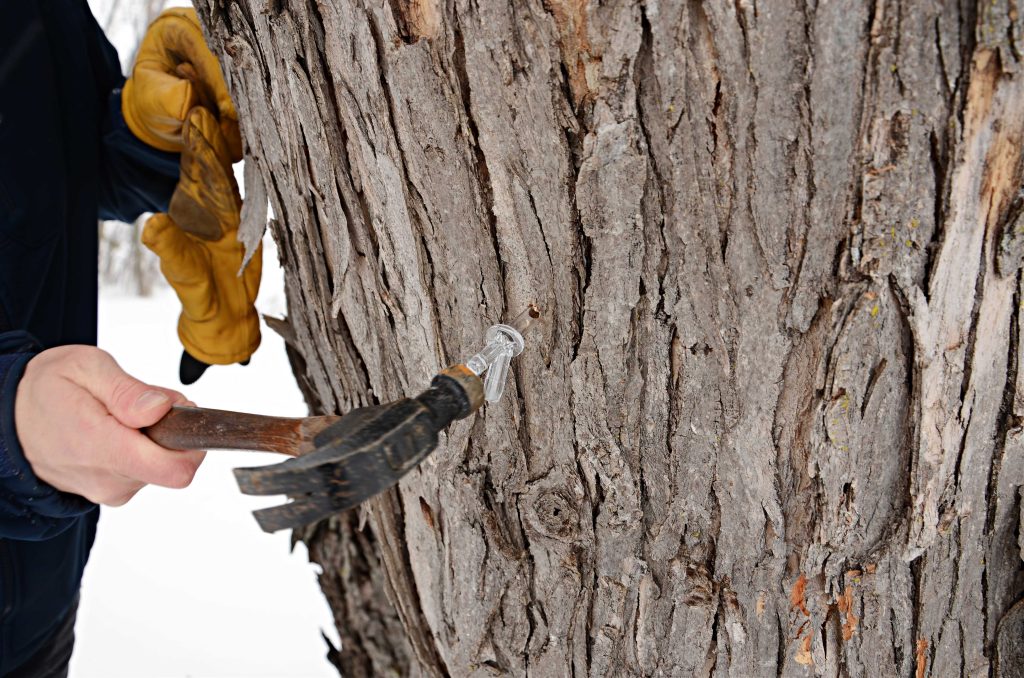
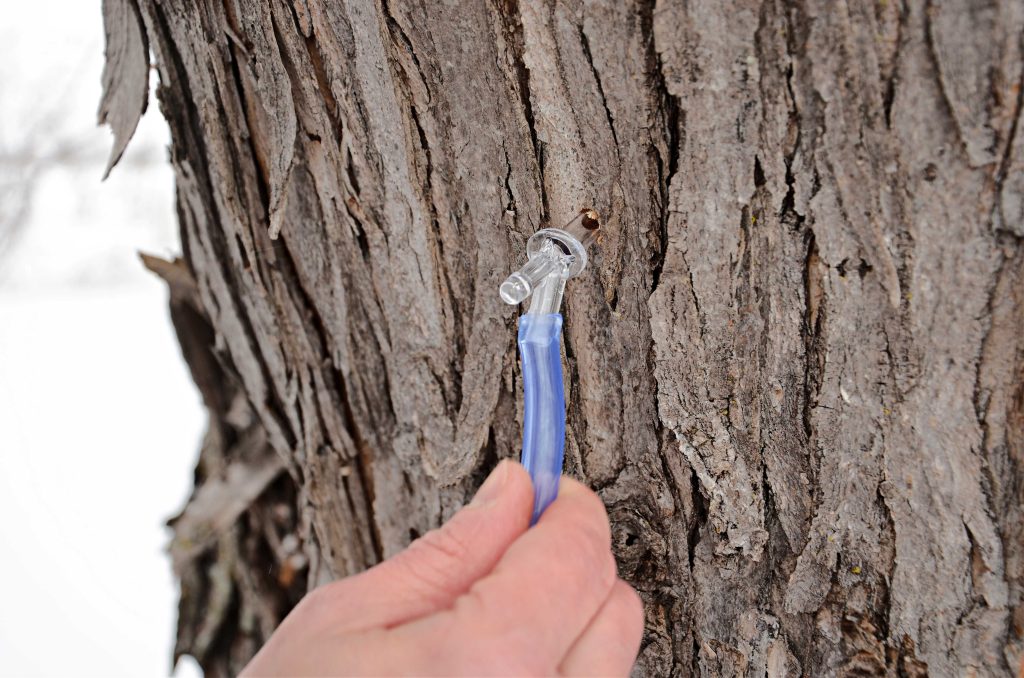
- Using a rubber mallet or small hammer, gently pound the taps into the tap hole.
- To help make the end of the tubing pliable, dip into hot water for a few seconds. Then quickly attach to the end of the tap.
- If you decide to use buckets on the ground, the lid will need a hole drilled the same diameter as the tubing for a snug fit.
Collecting Sap
Once your taps are set, collection containers in place, the temps are in that perfect range, now what? Be sure to check the buckets daily and pour the sap into a collection bucket or replacing the bucket with an empty container. Store the sap in a covered container in the refrigerator, or in the shade if it’s cool enough until there’s enough sap to boil down.
How Much Sap is Needed to Make a Gallon of Syrup?
Since the sugar content varies species to species, the amount of sap needed will vary. Generally, it takes 40 gallons of sap to produce one gallon of maple syrup. Before I started to tap our own trees, I never knew that syrup needs this much sap. It has brought a new appreciation and enjoyment when we have our maple syrup.
End of the Season
The season has come to an end and the temperatures no longer fall below freezing, it is important to clean your supplies. Remove the taps from the trees and gather your materials. Clean and sanitize all of the spiles, tubing and buckets and allow to dry completely before storing. Do not plug the holes that you drilled in the trees, allow them to heal on their own.
I’d love to hear about your experience tapping your maple trees! Leave a comment about your experience and don’t forget to tag a photo #Lockremhomestead over on Instagram!

So cool! I’d love to do this sometime! Very thorough & helpful!