How to Stain a Deck – Simple DIY Tips
This post may contain affiliate links. As an Amazon Associate, I may receive a small commission, at no cost to you, if you make a purchase. Please read our disclosure policy.
Swampy. That was the smell when our deck got wet. And it got slimy every time it rained. These aren’t the words you want to use to describe your wood deck. It couldn’t wait any longer, the summer months had finally rolled around and we knew it was time to stain the deck! Come along and see our process and what we learned.
Both older decks and new decks and their new wood need proper care from the elements. Whichever you have, at some point you will need this information, so save for later when that day comes.
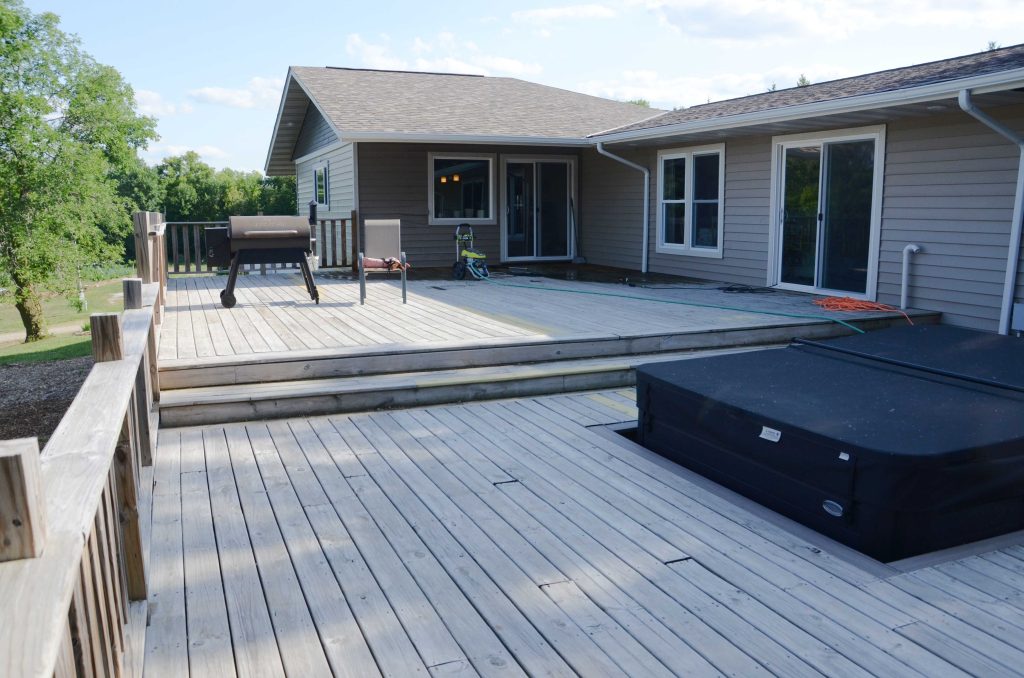
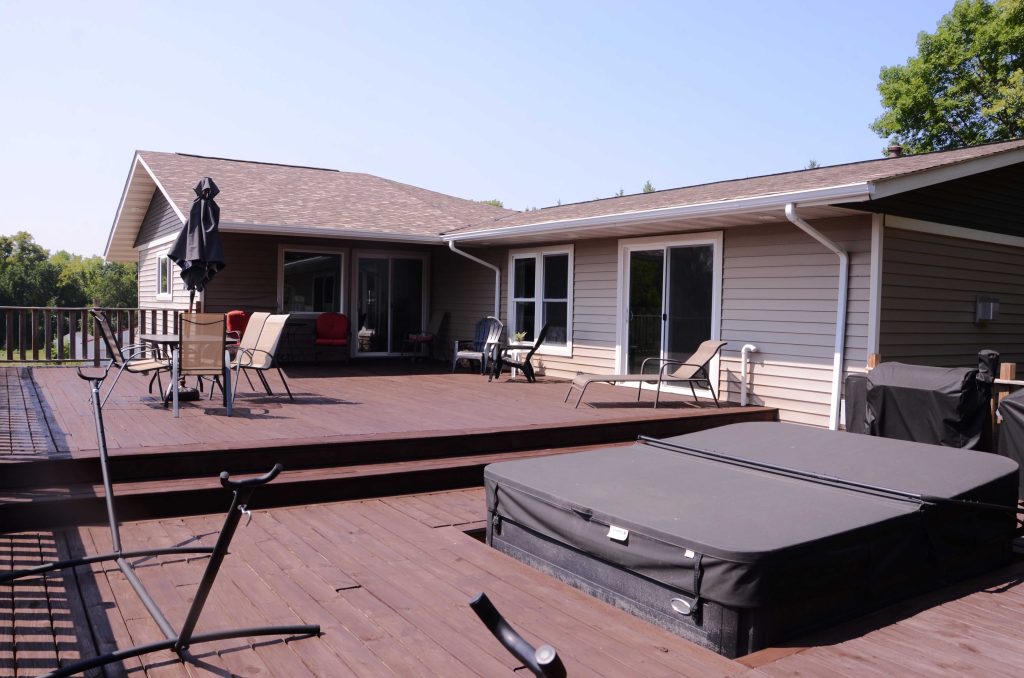
When we looked at buying our house, the first thing I thought to myself when I saw the deck was, “It’s massive.” It was massive. 1200 square feet massive. That was half the size of the house we were moving from. And while this might seem like an awesome thing, the next thought I had was, “I have to take care of this deck.” So much effort. So much material. Do I want to deal with all of that?
Well turns out, I do! And we did! Being on the other side of the project, we are happy with the results and know that it’s worth the effort. It’s. Worth. The. Effort. Just keep repeating that to yourself each step along the way. It’ll help when you ask yourself why you’re doing it.
Ideal Weather Conditions
For best results, you will want to find a few dry days in a row and when the air and deck temperature is between 50-90 degrees. Don’t apply stain if rain is forecasted in the next 24-48 hours. Always check the manufacturer’s instructions for their recommendations.
Fix Any Issues
Our first step was to take care of the constant dripping of water that was causing the water damage on the deck in the first place, which was causing the swampy smell. Every morning the dew from the roof would drip onto the deck because this house didn’t have gutters, which meant that the first thing to tackle was to install gutters and resolve the water issue.
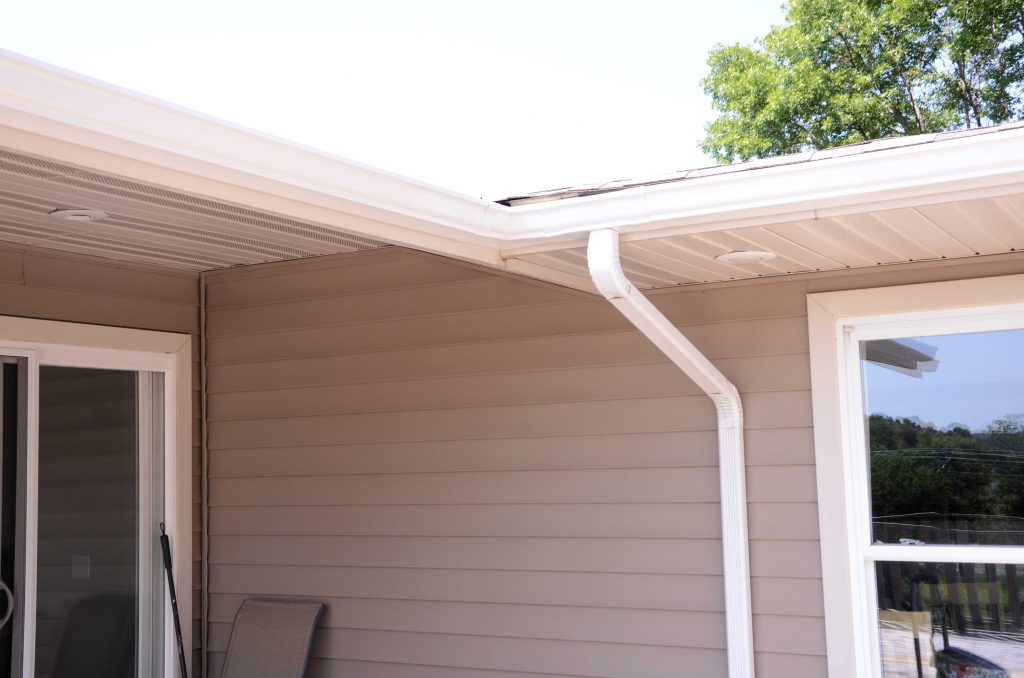
Do you have any issues needing to be resolved that will compromise the efforts of staining the deck? This will be the first thing that you will want to remedy.
Remove all patio furniture, plants, and grill and prepare your deck. This is the time to assess if your deck needs any repairs.
Examples of repairs:
- Wood boards that are rotten and soft or have become severely splintered.
- Nails that have popped up either need to be hammered back down or replaced with galvanized screws, which are designed to prevent becoming rusty or corroded.
- Wood boards that are starting to warp and/or curl upward. These can cause a tripping hazard and need to be replaced.
Prepare the Deck Surface
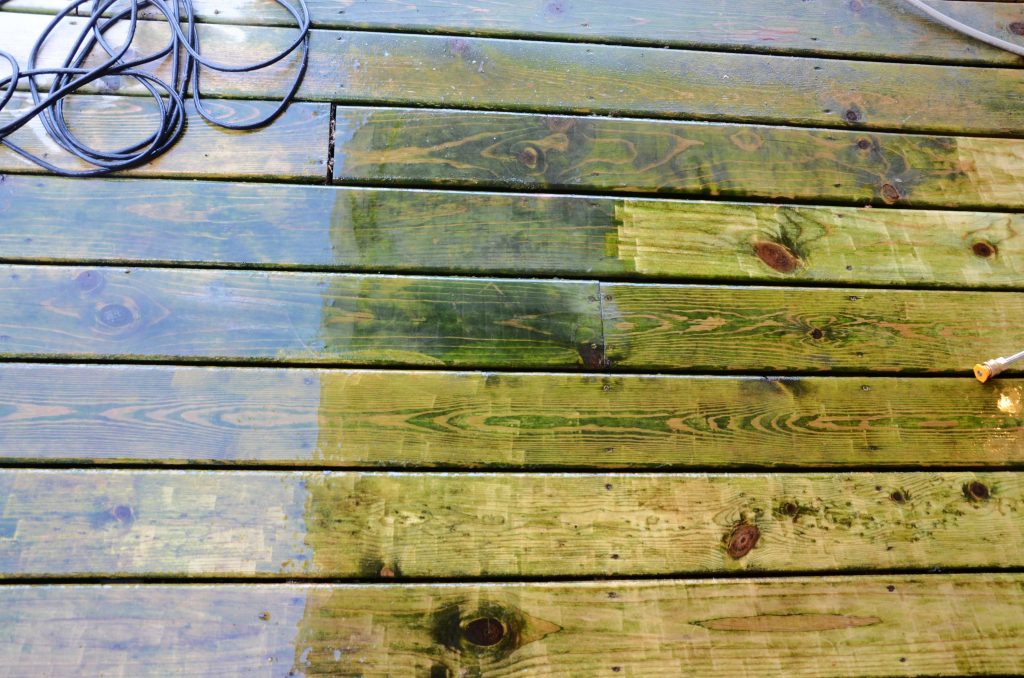
Now that the necessary repairs are done, the next step is to prepare the deck’s surface. Proper preparation will ensure that the stain will adhere to the deck boards to have a long-lasting finish. This is really the most important step in your preparation. The goal of this step is to free the surface of the deck from any debris that would hinder the stain from penetrating the deck boards. If there is old stain, that needs to be removed before applying new stain over it. In our case, there was mildew and algae that would prevent the stain from absorbing into the deck boards, in addition to years of dirt.
Timing the cleaning part is important too. Once the deck surface is clean, it will need 3 days to dry out thoroughly before apply stain. Watch the forecast to find a few dry days in a row. Another thing that I learned about ideal weather is to find a time when the temperatures aren’t really hot. I stained the deck during a warm week, and it made that much more complicated. More details on this later in the post.
Pressure Washing the Deck
A pressure washer can greatly help the speed of cleaning the deck because its relying on the pressure to remove debris. Be mindful that wood is a soft material and the pressure can damage the wood if allowed to be too intense. Most power washers have a reservoir that holds a deck cleaner solution that will dispense with the water, lifting all of the debris and mildew from the wood. Follow directions for the cleaning solution, also be sure to rinse all of the cleaning solution well. A second application may be necessary, especially if its been multiple years between cleanings.
I pressure-washed our deck using the Ryobi 2300 PSI Power Washer I borrowed from a friend. Pressure washed in small areas at a time, moving the nozzle continuously so that it wouldn’t damage the wood. I frequently washed any debris off the deck before moving on to another section of the deck.
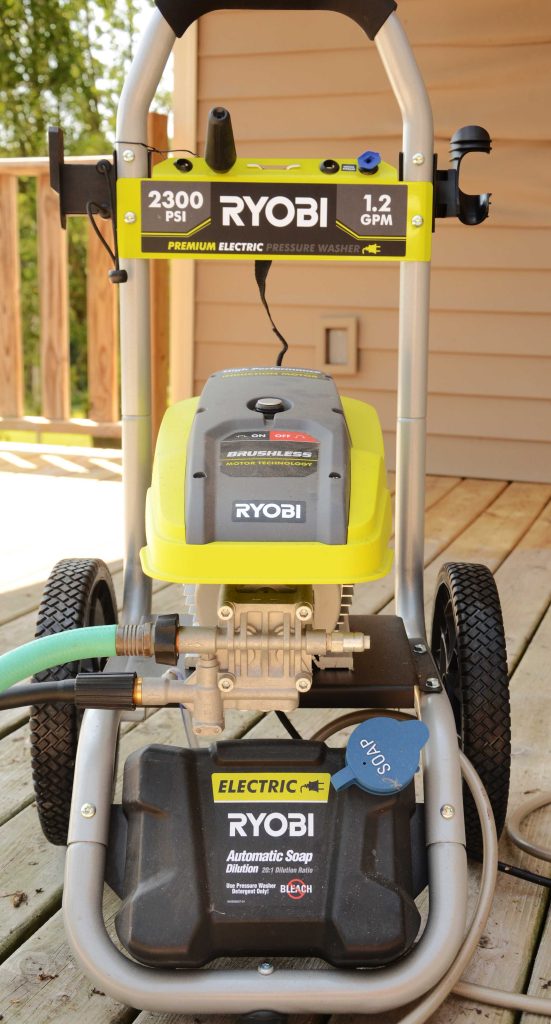
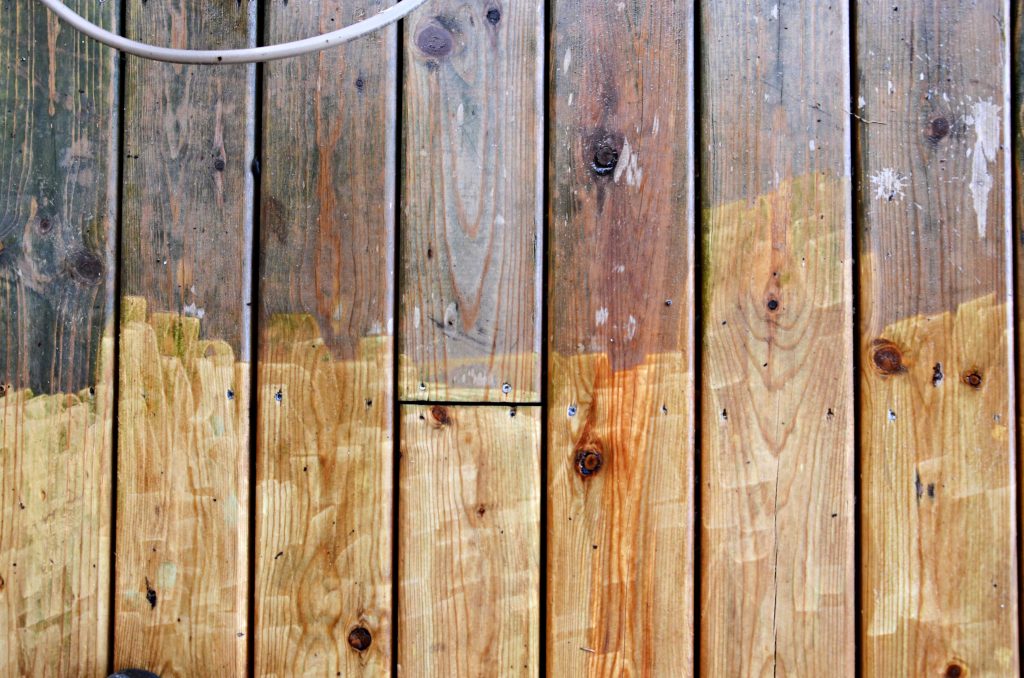
It worked great! Such a gratifying experience to see the dirt and algae just lift off the deck. It was mess with all of the splattering of debris, so be mindful of wearing the proper clothing and footwear. Because of how close the nozzle was to the deck to lift off the dirt, it did leave streaks behind. I know we would not have gotten the same results from only using a garden hose, so if your deck is in similar condition, I’d suggest buying or renting a pressure washer.
Manually Cleaning the Deck
If you should choose to go the manual cleaning route, mix your deck cleaner according to directions and apply with a stiff brush. Work in small sections and be sure to rinse well as you go.
I chose to do a combination of the two cleaning methods. First, I power washed the deck with just water. The power washing did help in lifting quite a bit of debris, but also left the deck streaky. Since I didn’t know how the streaks would translate once I applied stain, I chose to scrub the deck with a stiff bristled scrub brush and 30 Second Outdoor Cleaner. Both methods helped immensely, and I think I would do the same combination again, realizing that separately each application wouldn’t be enough based on the condition that our deck started at.
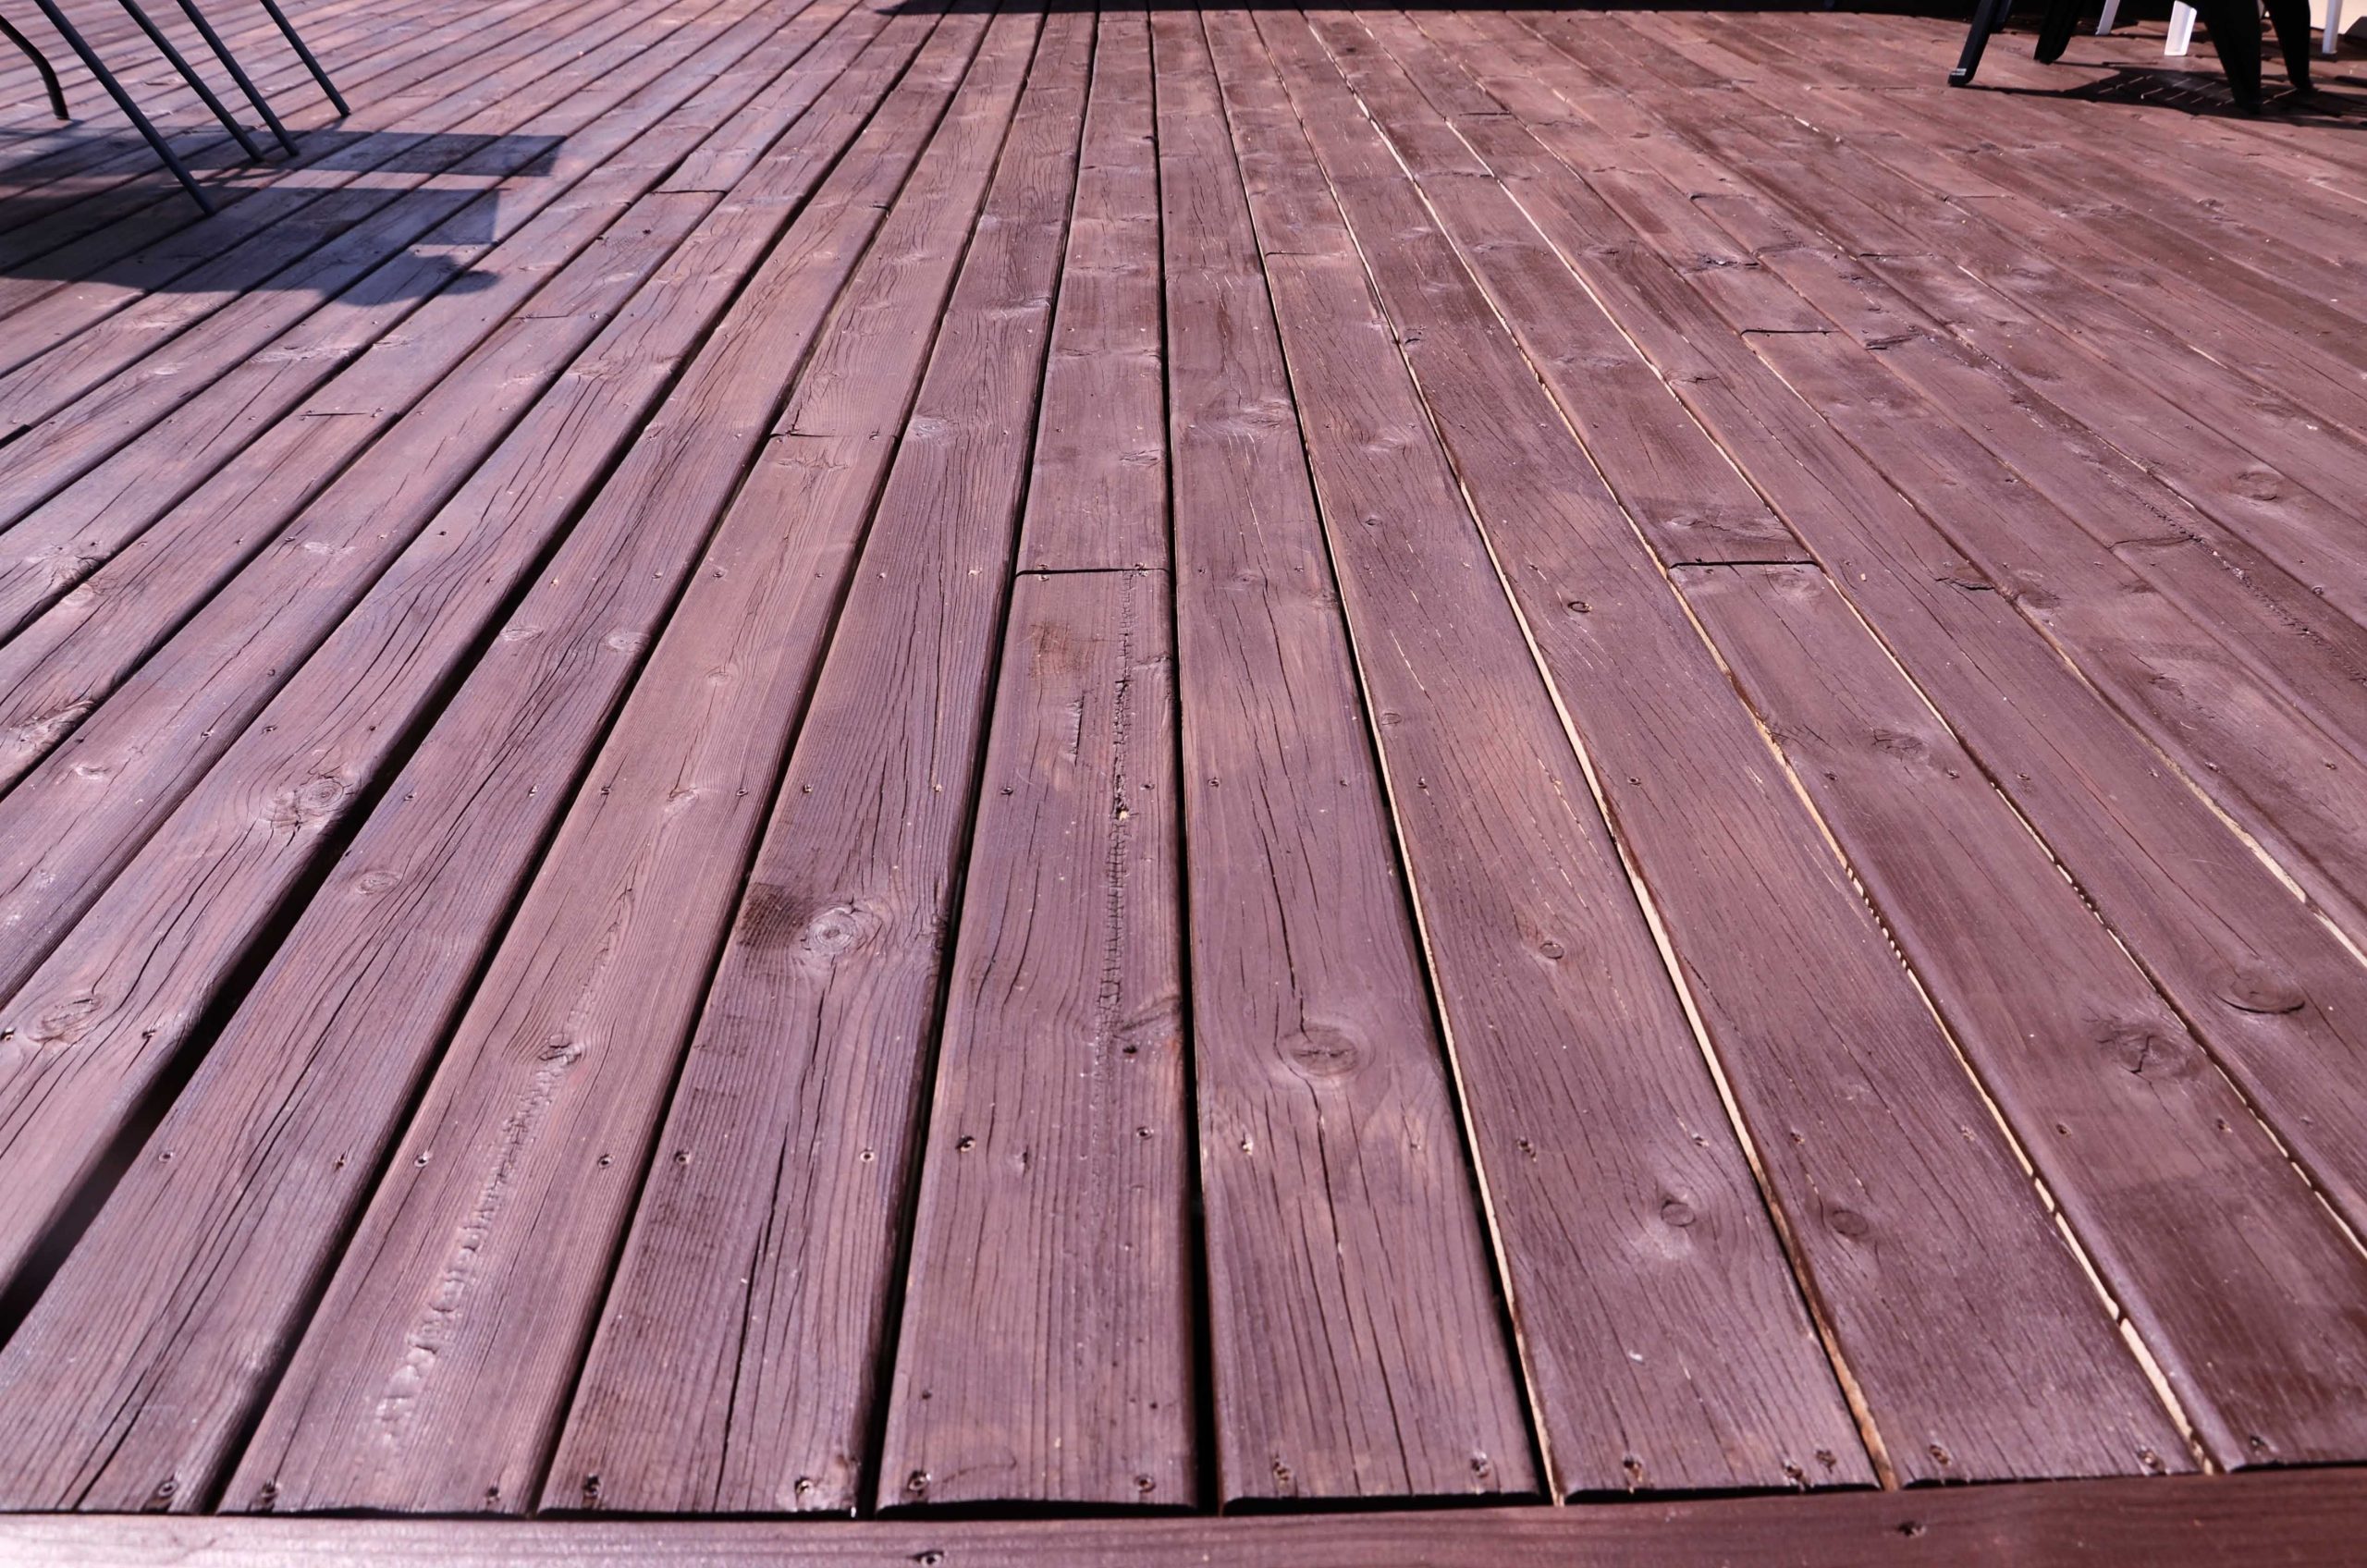
Look at these boards! I wouldn’t have believed that this was the same deck. After both cleaning methods, the deck looked brand new.
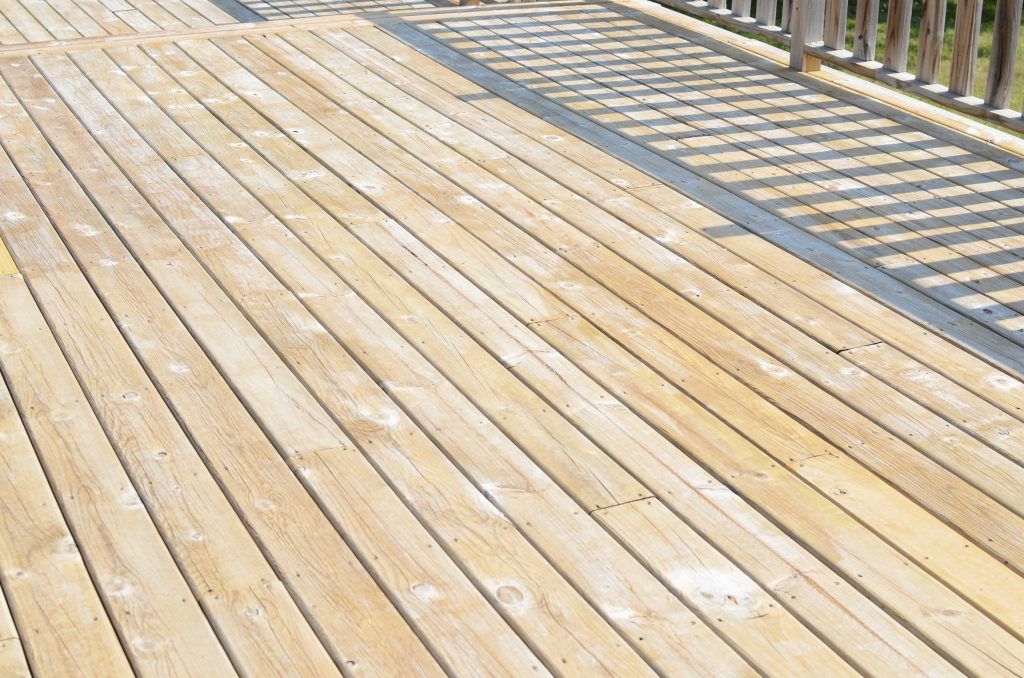
Now if your deck is in fairly good condition and just needs to get a layer of dirt off, one or the other cleaning methods would work well.
Picking the Stain
The next step is to figure out what the right stain is for you. I really didn’t understand this part. The guy at the local hardware store got to know me really well. Basically, the exterior wood stains will come in a range of how translucent they are, or how much of the natural wood grain will come through the stain. The more pigmentation the stain has, the better the deck will be protected.
- Transparent Wood Stains- As the name states, this stain is clear and allows the wood grain to shine through. These do not have oils or pigment in them, but do have a wood preservative that will help to protect wood from water and moisture.
- Semi-Transparent Wood Stains- This stain has a slight pigment to it and will slightly tint the deck, but allow the wood grain to show through. Because they are semi-transparent, the stain soaks into the wood better and will last longer than a clear stain.
- Solid Stains-This is more like a paint, its opaque nature covers the woods natural wood grain completely. This stain sits on top of the wood, which is great if you have discolored wood and will provide a uniform appearance. This stain is prone to chipping or peeling, but if properly maintained will offer the most protection.
Ultimately, we went with a semi transparent stain. We knew we wanted the best protection possible if we were going to go through all of this effort, but we also knew we didn’t want a solid stain.
Picking Stain Application Tool
Now that you have the stain, the next step is the application of the stain. There are many options what you can use to apply the stain.
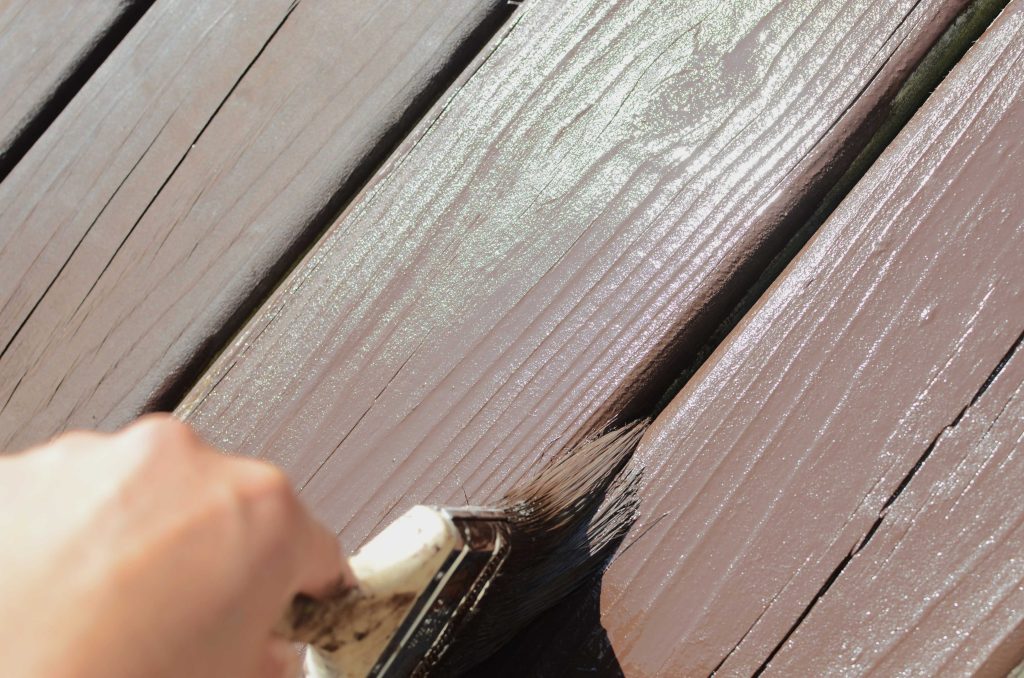
- Natural Bristle Brush: This is really the best option as you will be able to get into all of the crevices as you stain. Apply the stain in the direction of the grain of the wood.
- Paint Roller: A paint roller on a pole attachment will make for a faster application, but the stain won’t reach the sides of the boards. You will need to use a paint brush to reach the sides of the boards.
- Stain Pad: A stain pad will quickly apply the stain, but without the splatter effect that a roller can have. Some stain pads even come with a groove that you can use to get into the sides well.
Applying the Stain
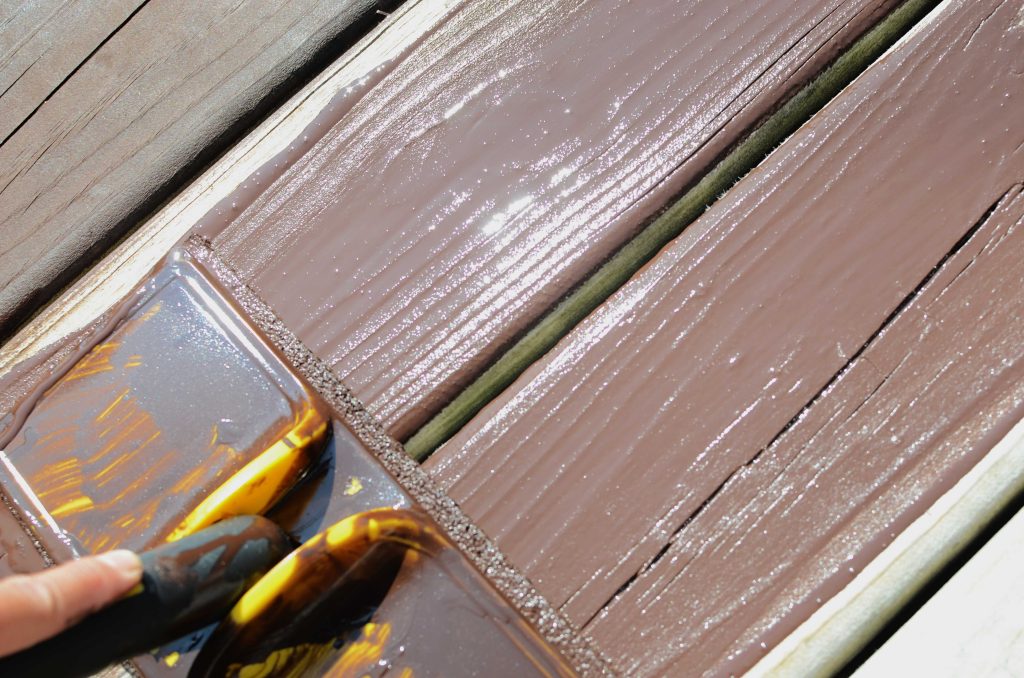
I chose to use the stain pad. There were a few challenges with the pad I chose. First, when we were buying the pad, my husband asked if the pad would fit our roller pan. It did not. Since we had a 5-gallon bucket of stain, I grabbed a screen that hangs off the side of the bucket that you can use to get excess stain off of. That was as far as that thought went and it ended up that the pad was too large to fit into the opening of the bucket. In hindsight, I should have grabbed a smaller pad and just used our paint tray. Originally, I opted for a larger staining pad because I wanted to be able to stain as much as I could as fast as I could, remember 1200 square feet.
First, you will want to lay plastic sheeting down and tape off any areas to prevent stain going where you don’t want it. Keep in mind to start at one corner of the deck and move your way to an easy exit point.
To apply the stain, start at one end of a deck board and apply the first coat of stain the entire length of the board to avoid overlap mark of the stain. Continue on and stain all of the wood surfaces in the entire deck, including the railings and stairs. Once you have completed the first coat and it has dried enough to walk on, repeat with a second coat. A few thin coats are better than one thick coat.
Trouble Shooting
There were some challenges to staining the deck that I wish I knew about beforehand.
First, the temperature of the day made quite a difference when applying the stain. With the hot day and being in direct sunlight, it caused the stain to dry really quickly and left the deck board streaky. Because I wanted to make sure I went the full length of board with the pad, by the time I switched to the paint brush, the stain was already drying. The overlap between the pad and the brush was evident.
I think either having a second person staining with you, one person using a brush and the other person apply with the pad would resolve this issue. The other option if you are staining solo like I was, would be to wait for a cooler, overcast day. This would allow you to work with the stain while it’s still wet to achieve even coverage.
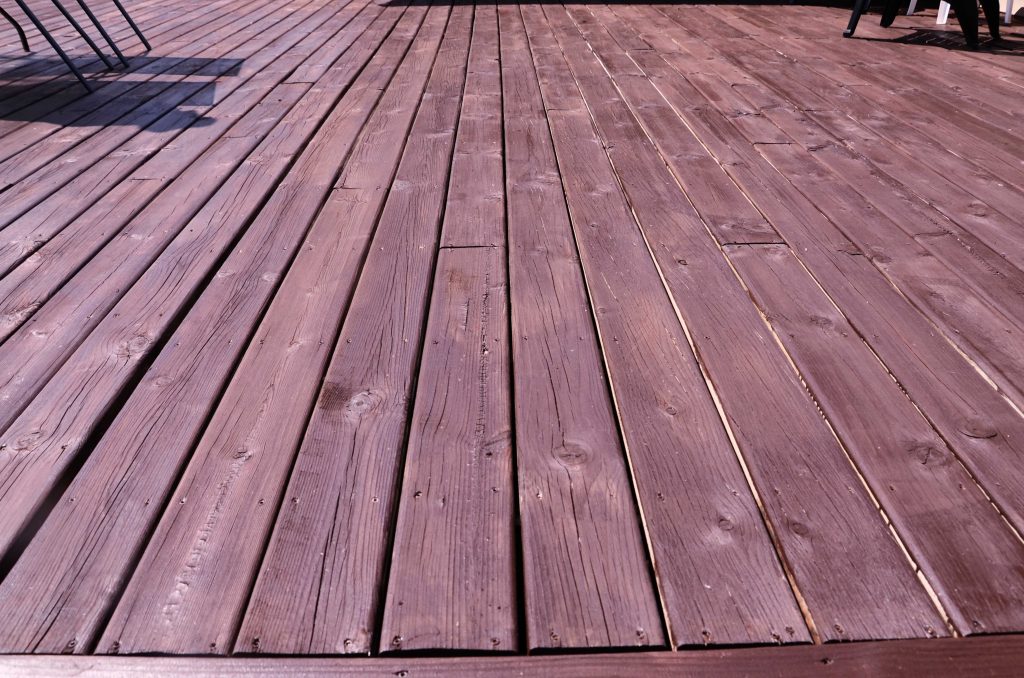
The only downside of the pad was that there were some rough edges on the deck boards that would catch the pad and tear off small chunks or catch as the pad slid over the deck board. I did have to alternate between using a brush and the pad for adequate coverage.
I’m pleased with how the deck turned out. The rail needs some attention as it wasn’t installed properly. We are still trying to figure out which direction we will go for that project but will keep you updated on what we decide.
Have you stained your deck before? I’d love to hear how your experience went and if you have any tricks that gave you great results!

