How to Make Delicious Homemade Maple Syrup
This post may contain affiliate links. As an Amazon Associate, I may receive a small commission, at no cost to you, if you make a purchase. Please read our disclosure policy.
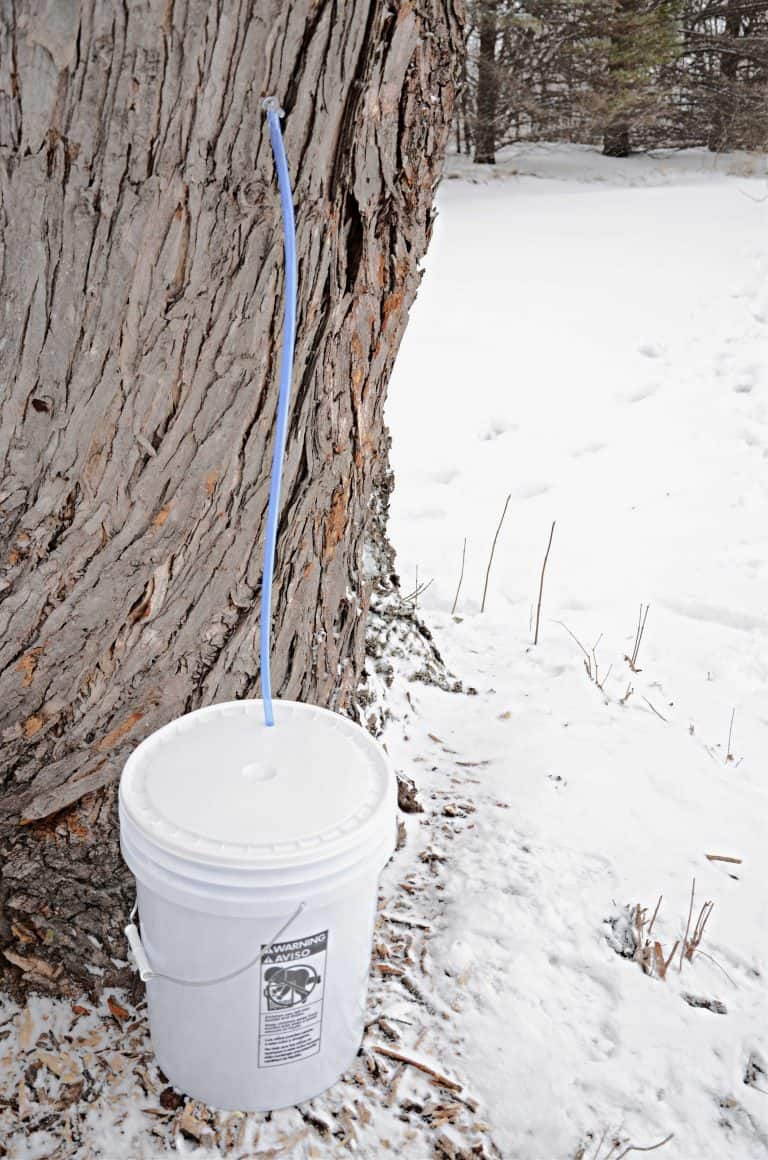
Once you have collected the sap from your maple trees, it’s now time to turn that maple sap into maple syrup. If you didn’t read my latest post on tapping your maple trees, learn all about that here.
The biggest variable to boiling sap into maple syrup will be the scale of your operation. For larger scale operations, you will most likely be looking to invest your time and money differently than you would for a small scale operation. Our homestead only has two large maples that we tap so we have a small-scale operation, and these instructions will be specifically for that.
An Overview of How to Boil Sap into Maple Syrup
After collecting enough sap, you will need to store it until there’s enough sap and time to boil. Keep cool, in a similar way you would milk. We often keep covered in the shade on the north side of our house. If the sap has gone bad, it will be milky or smell badly.
Next boil the sap to remove the majority of the water content, concentrating the sugars to produce syrup. To produce one gallon of syrup, you need roughly 40 gallons of sap. Because the majority of sap contains water, the sap will boil at the same boiling point of water. The boiling process produces much steam and is best to do outside.
There are many different options of what to use when boiling down sap. There are plenty of people who use an evaporator using a pan made specifically for boiling sap. These have a convenient spigot to drain the syrup and often a side portion to warm up the sap before adding to the boiling sap. There are also simple set-ups that use very basic supplies, which is what we did. I’ll go into more detail below.
With the majority of the sap boiled outside, its often brought inside to finish off because it’s easier to keep an eye on the temperature on the stove. The final stages of processing go really quickly. If you’re not careful you can go past the ideal point of syrup.
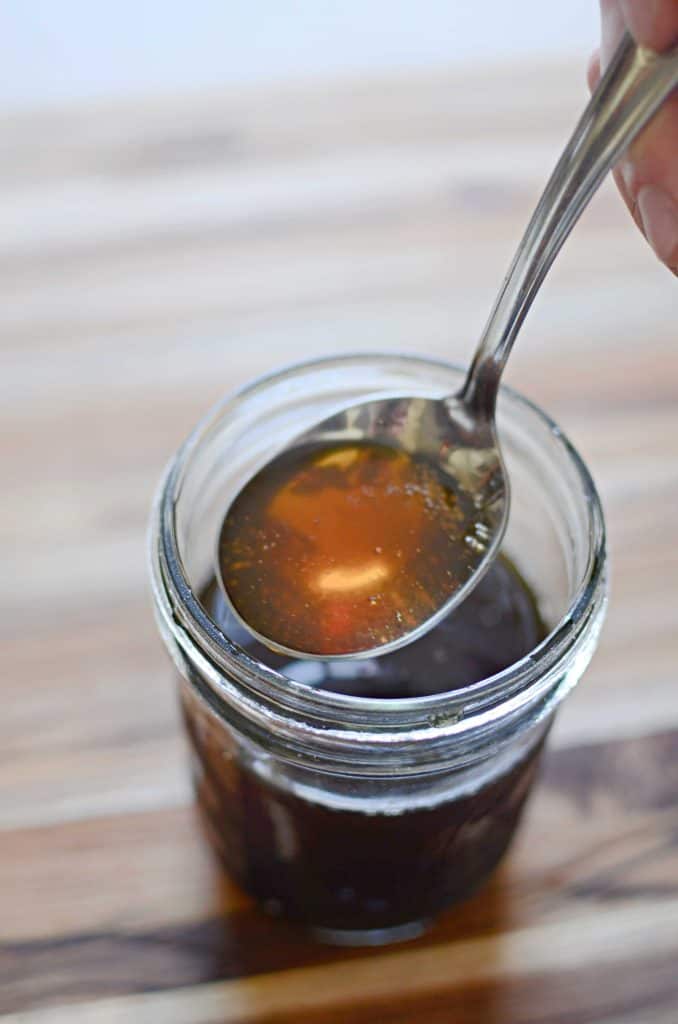
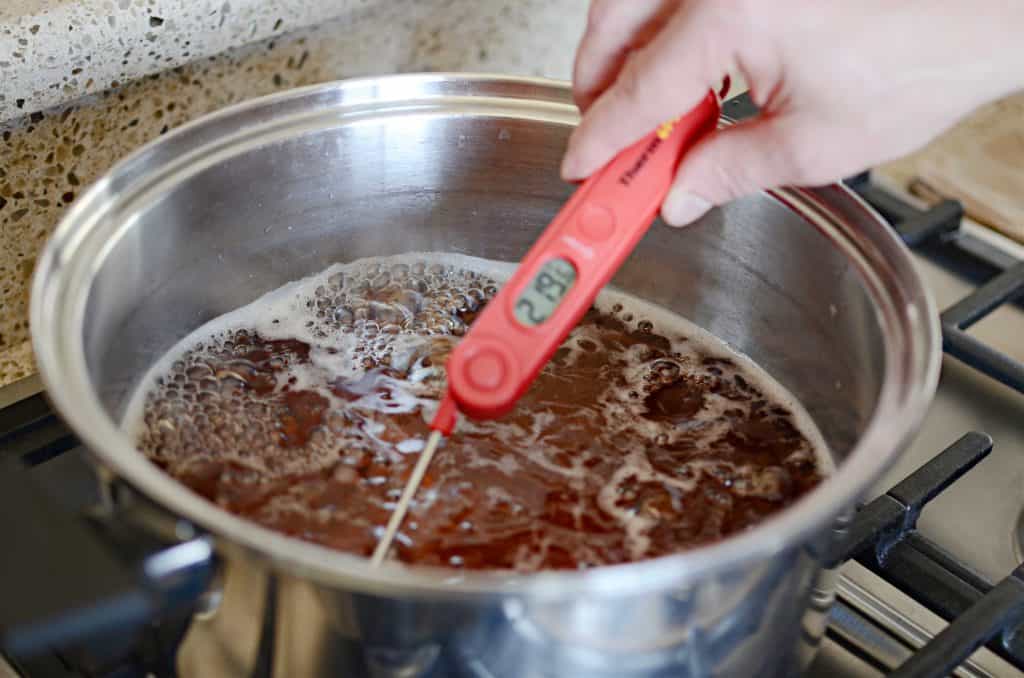
The process for boiling sap requires patience, as it will take a long time, many hours, to reduce the sap to desired consistency for maple syrup. The maple syrup is ready when its consistency is thick enough to coat the back of a spoon and also the temperature reaches 219 degrees. A candy thermometer or a digital thermometer work well to take the temperature. Once the syrup reaches the correct temperature and consistency, its ready to bottle in clean, sterilized containers.
Equipment to Boil Down Sap into Maple Syrup
- Evaporator – pans to hold the sap and a heat source
- Strainer (optional)
- Filter
- Heavy bottom pan
- Digital thermometer or candy thermometer
- Jars or Bottles to store the syrup in.
Building the Evaporator
In order for sap to transform to maple syrup you have to remove the majority of water. The sap boils in a pan to allow the water content in the sap to evaporate until what remains is thick and the sugars have concentrated. There are stainless steel commercial evaporators with a convenient spigot, but these are expensive. We bought a simple stainless steel pan instead.
The pan needs to be over a heat source to boil. The first year we put the pan on a wood stove we have in our pole barn, but this proved to be really slow because the pan never got hot enough to boil. We were wanting to keep costs low, so we used cinder blocks to suspend the pan over the wood fire. A cinderblock evaporator will need a few basic elements to be effective.
- A chimney tall enough to vent smoke and ash away from the sap.
- A way to suspend the evaporator over the open fire. Either position cinderblocks close enough to support the pan or use a metal grate over the cinderblocks to act as a shelf to place the pan .
- Enough space to build a fire under the evaporator pan.
Another option is to use a turkey fryer with a propane burner, but you will also need a propane tank. This option will add another expense with the cost of the propane fuel.
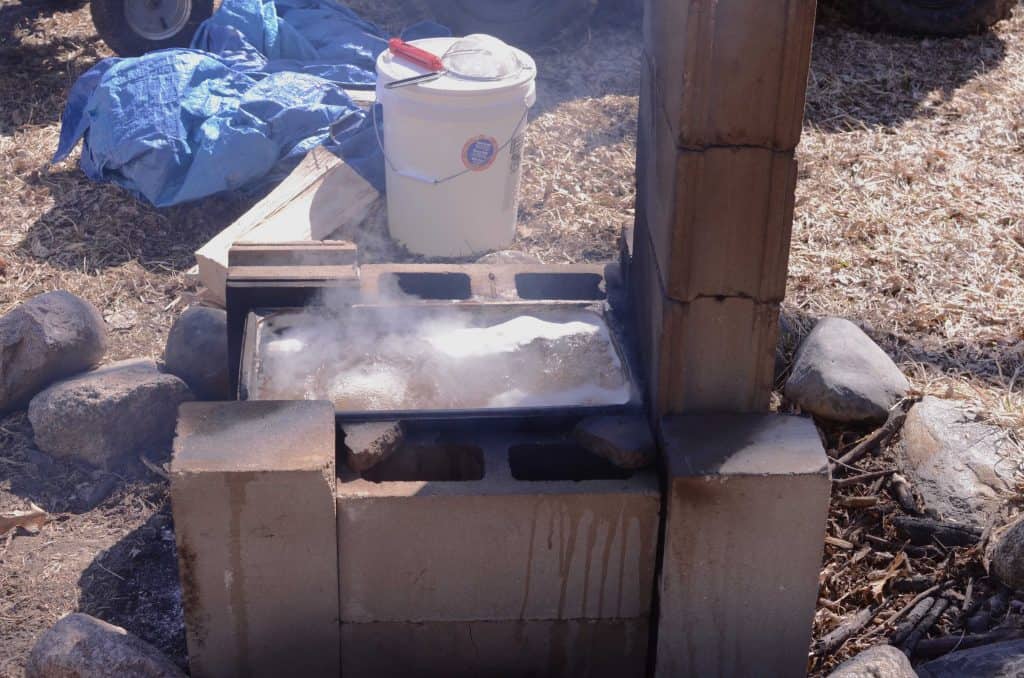
We decided to build our evaporator in our firepit to not kill anymore grass. In total, this setup consisted of 13 cinder blocks and one stainless steel pan. You can reconfigure the blocks to allow two large pans so that there’s a large surface area exposed to the heat, doubling how much sap you can process.
Boiling Sap Outdoors
The boiling process is really simple, and probably my most favorite part! After the evaporator is set up, build a hot fire. This is easier to do without the pan in the way. After the fire is going, carefully place the pan in position and pour the sap in. As the sap boils, it will need a few inches from the top of the pan, so that it doesn’t boil over. Account for this when adding the sap to the pan.
As the syrup boils it will also produce some foam, use a strainer to skim off of the top.
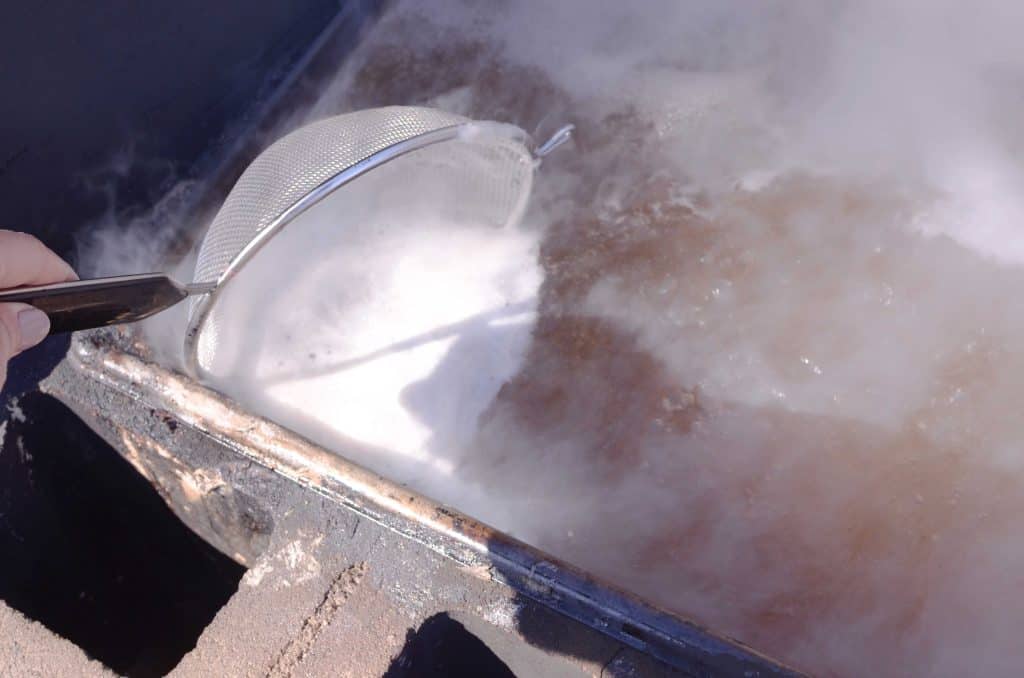
You’ll notice that as it evaporates, the level of the sap will go down. Add sap more to the evaporator pan. Because the sap being added is cooler than the sap boiling, it will bring the temperature down and cause the boiling to pause. Once the sap warms up it will resume boiling. Some people will have an additional pan close to the fire that they fill with sap so it can warm up to save time.
When there is no more additional sap to add to the boiling sap, this is the point you want to keep an eye on what’s happening. When it reaches roughly the 215-217 degrees mark, it’s ready for the next step.
Filtering the Syrup
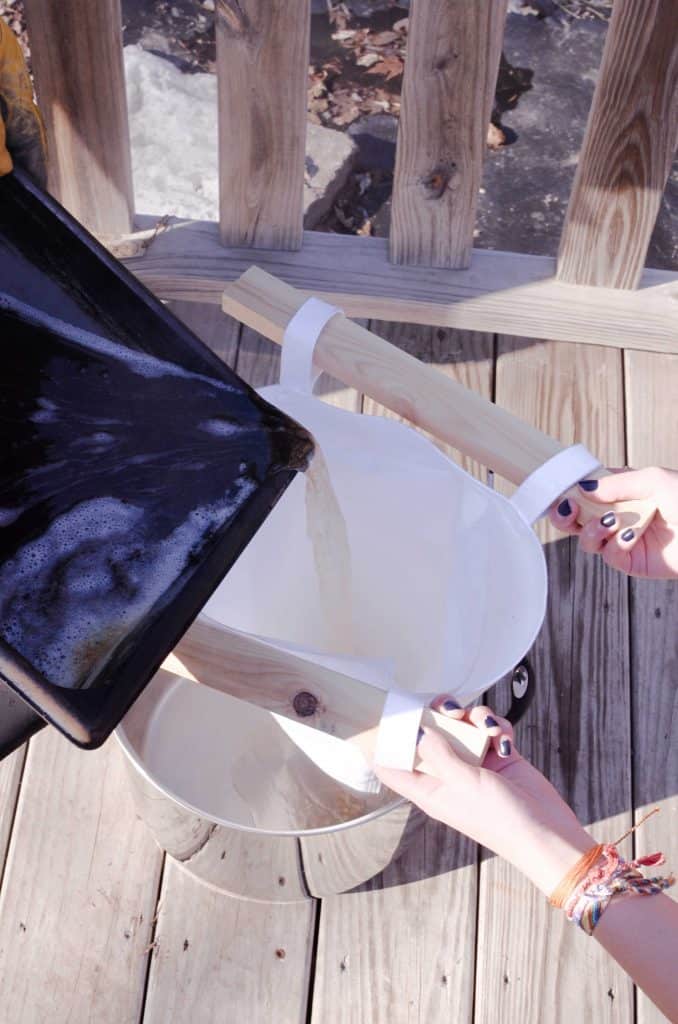
Once the syrup reaches 215-217 degrees, it’s time to finish off inside. But at what point do you filter the syrup? There are two options of when to filter. Filtering can happen between the outside boil and the final indoor boil. Or after the final boil when the syrup is at 219 degrees and is ready to bottle.
We like to filter the sap before it comes into the house, after the initial boil outside, but before finishing inside. We have found this keeps our pot inside a bit cleaner and is less cumbersome when it’s time to bottle. The filters we use have loops to hold poles in to make it easier to hold the filter. We use short pieces of wood in the loops and hold over the finishing pot, but you can also use broom handles through the loops, and then prop the brooms on chairs to filter. This is a great option if you’re filtering solo.
Finishing the Syrup
Start to boil the sap/syrup on the kitchen stove. Keep a close eye on it until it reaches 219 degrees, this will only happen when the sugar content of the sap is correct. I’ll often give the pan a good stir and then take the temperature to ensure the whole pot of syrup is at 219 degrees.
What is the Syrup is Under Boiled or Over Boiled?
If the syrup is underboiled, it will still have too much moisture in it. This can cause mold to grow in your syrup. If this happens, skim the mold off the syrup and heat up to 180 degrees to kill any remaining mold spores and bacteria. Strain into a clean container and store in the refrigerator. This method does come with risk, so please use with caution and at your own discretion.
If the maple syrup is overboiled, it will likely form crystals in it as it cools. If you have drastically over boiled, its best to continue on boiling until you get to the point of making maple sugar.
Bottling the Maple Syrup
The last step is to bottle the maple syrup. Prep the jars or bottles for the finished syrup by sterilizing the jars. I place the jars in the oven at 250 degrees for 10 minutes. Other ways to sterilize are to run the jars through the dishwasher or place jars in boiling water for 10 minutes. Having hot jars will also help reduce the chances of the glass jars cracking from the drastic heat change when adding hot syrup.
It’s also important to sterilize the lids so that there’s little chance for bacteria to get into the maple syrup. Place lids into boiling water for 10 minutes and keep hot until ready to use.
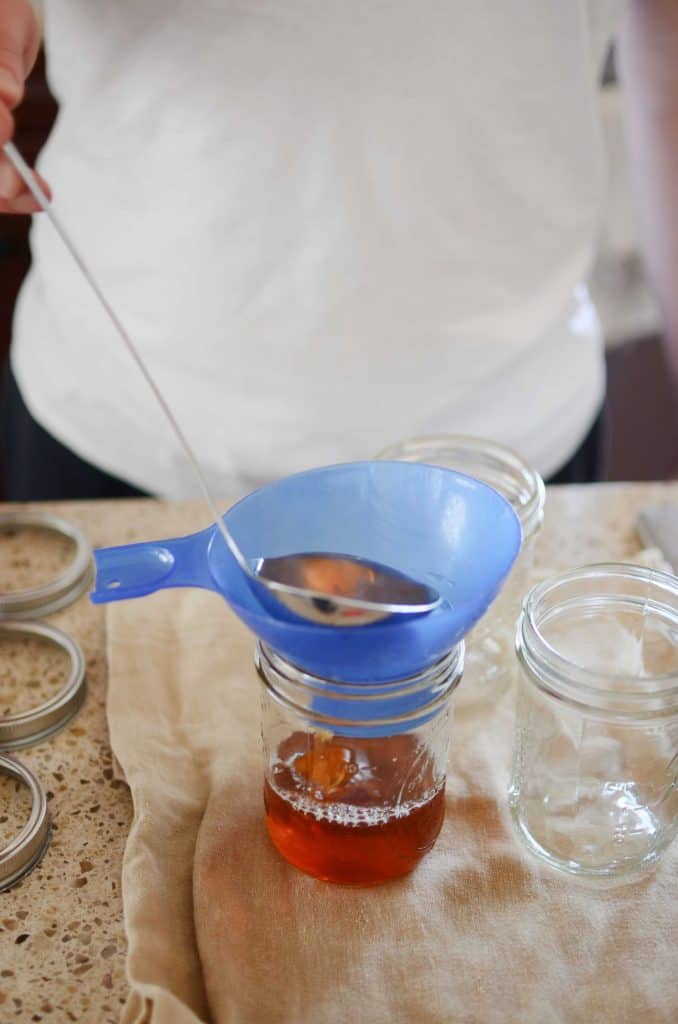
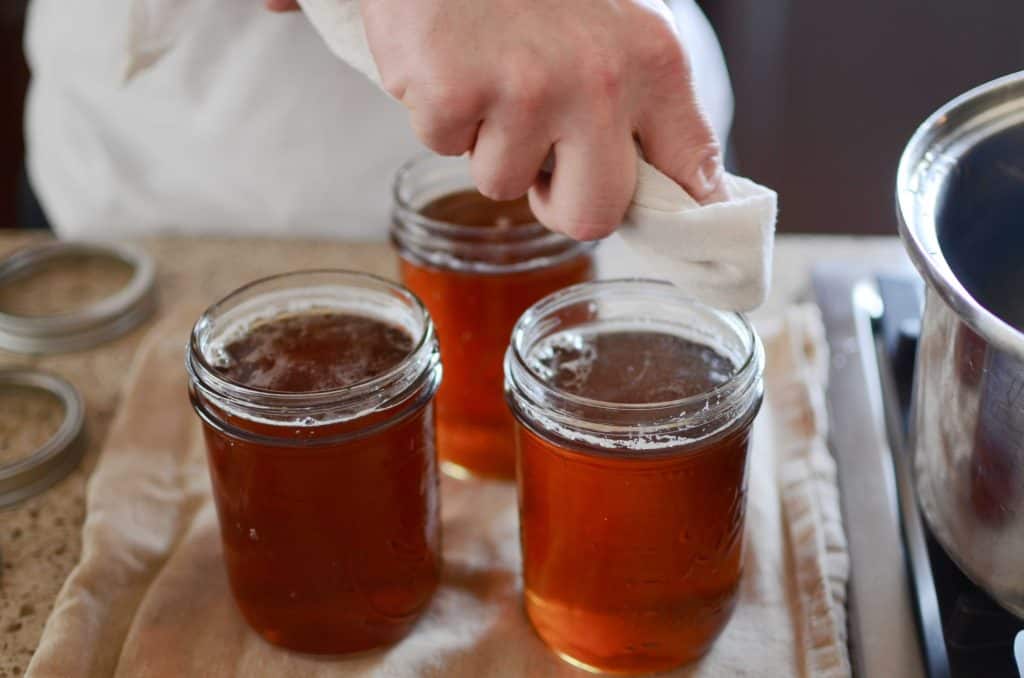
Place a funnel into your jar and ladle the hot maple syrup into the jar. Fill the jars up to 1/4-inch headspace, which will help reduce the chance for mold to grow and also ensure a proper seal. Wipe the lip of the jar with a clean cloth and seal tightly while still hot to create a vacuum seal.
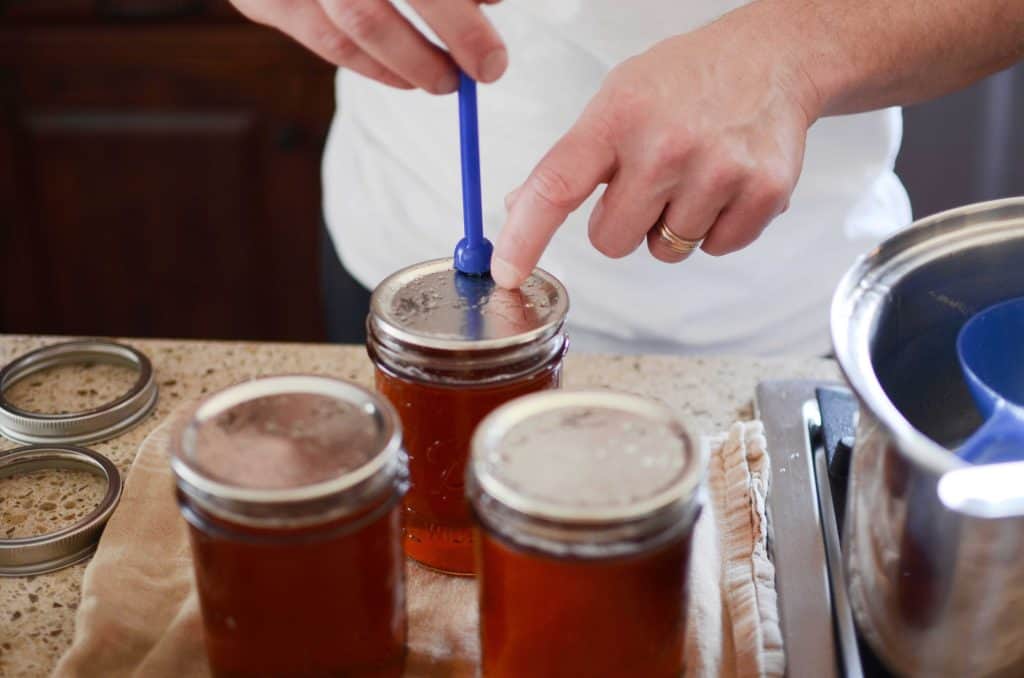
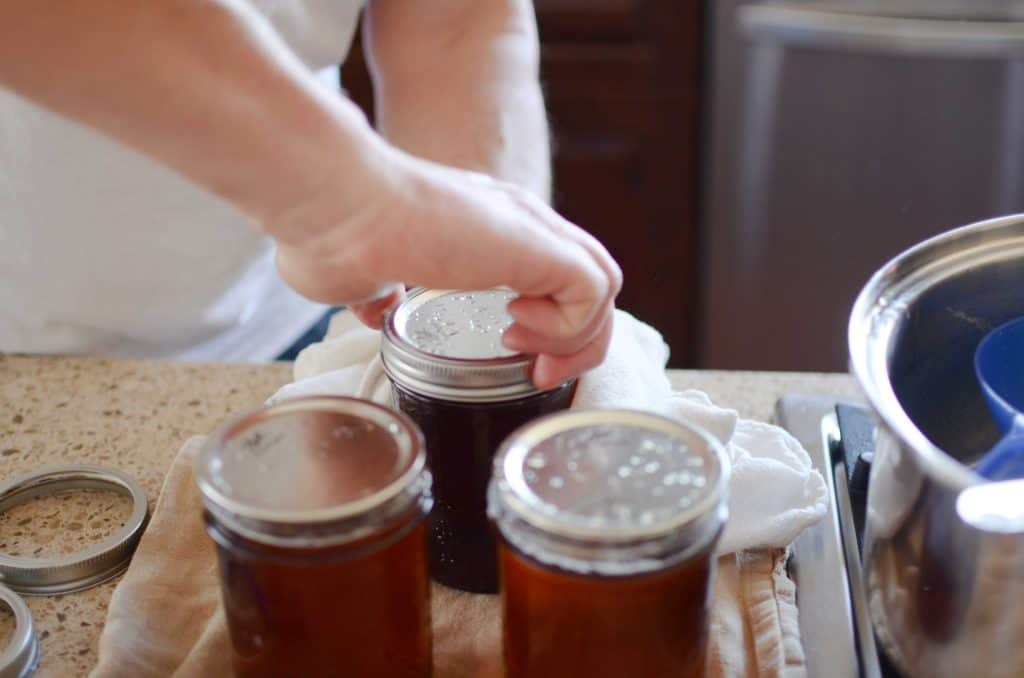
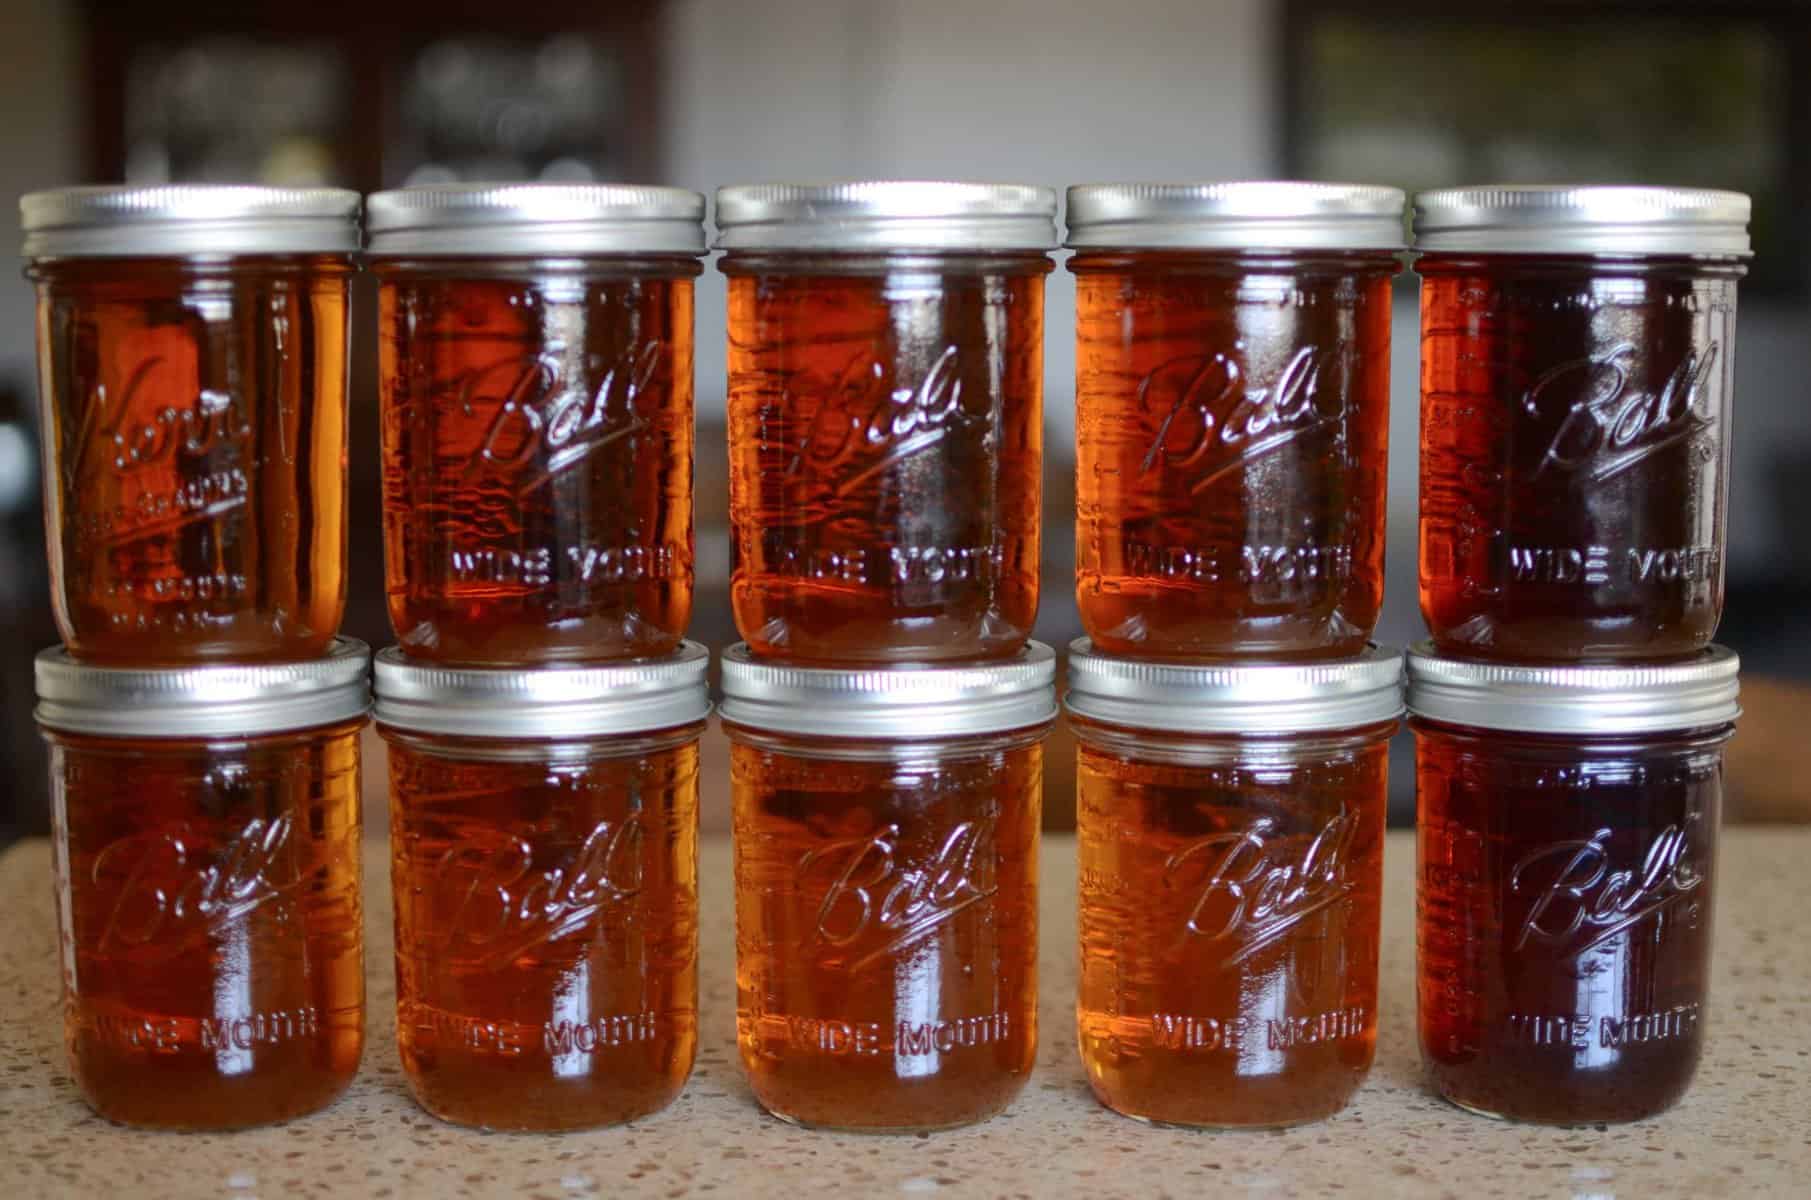
Allow to cool and remove rings for storage. Store your finished product in a cool, dry place away from sunlight. Once opened, store the container in the refrigerator tightly sealed. If bottled and stored properly, maple syrup can be stored up to 3 years.
Homemade Maple Syrup Tips
- Location matters. Have the evaporator close to your home so that it’s easier to transport hot syrup.
- Build the evaporator on a level surface. Our first year we used large concrete slabs to lay the cinder blocks on. This year we built in our firepit with uneven ground. In hindsight, our first year was easier to get the cinder blocks level for the pan to rest on.
- Once the sap starts flowing, schedule some days at home to boil the sap. You’ll need a big chunk of time from start to finish to feed the fire and then to finish the syrup.
- Invest into large evaporator pans. The more surface area exposed to the heat source, the faster the process will go.
- Remember like any other crop, some seasons are better than others. Try to keep expectations open to whatever the season brings.
I love having our own maple syrup in our storage room! It brings such a sense of joy to know that we were able to produce such a quality product completely from our homestead. A great way to enjoy maple syrup is in coffee with a little bit of cream or on these easy sourdough discard pancakes. What’s your favorite way to use maple syrup?
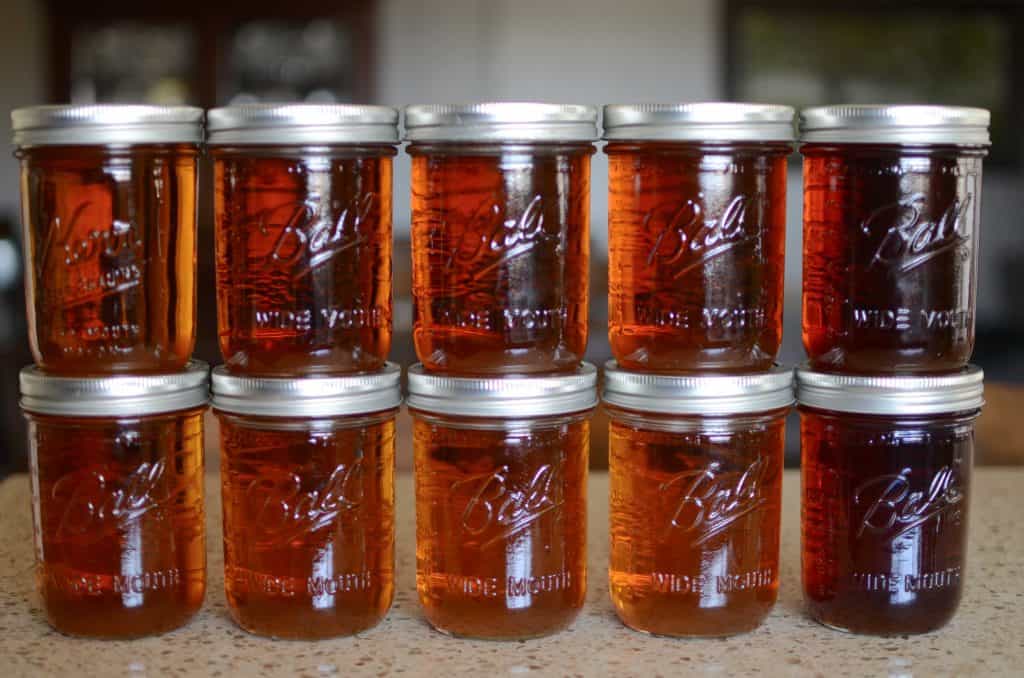
I’d love to hear about your experience and how you plan to use your syrup! Leave a comment below and don’t forget to tag #LockremHomestead over on Instagram to show off your liquid gold!

