Easy Apple Pie Filling – Canning and Freezing Instructions
This post may contain affiliate links. As an Amazon Associate, I may receive a small commission, at no cost to you, if you make a purchase. Please read our disclosure policy.
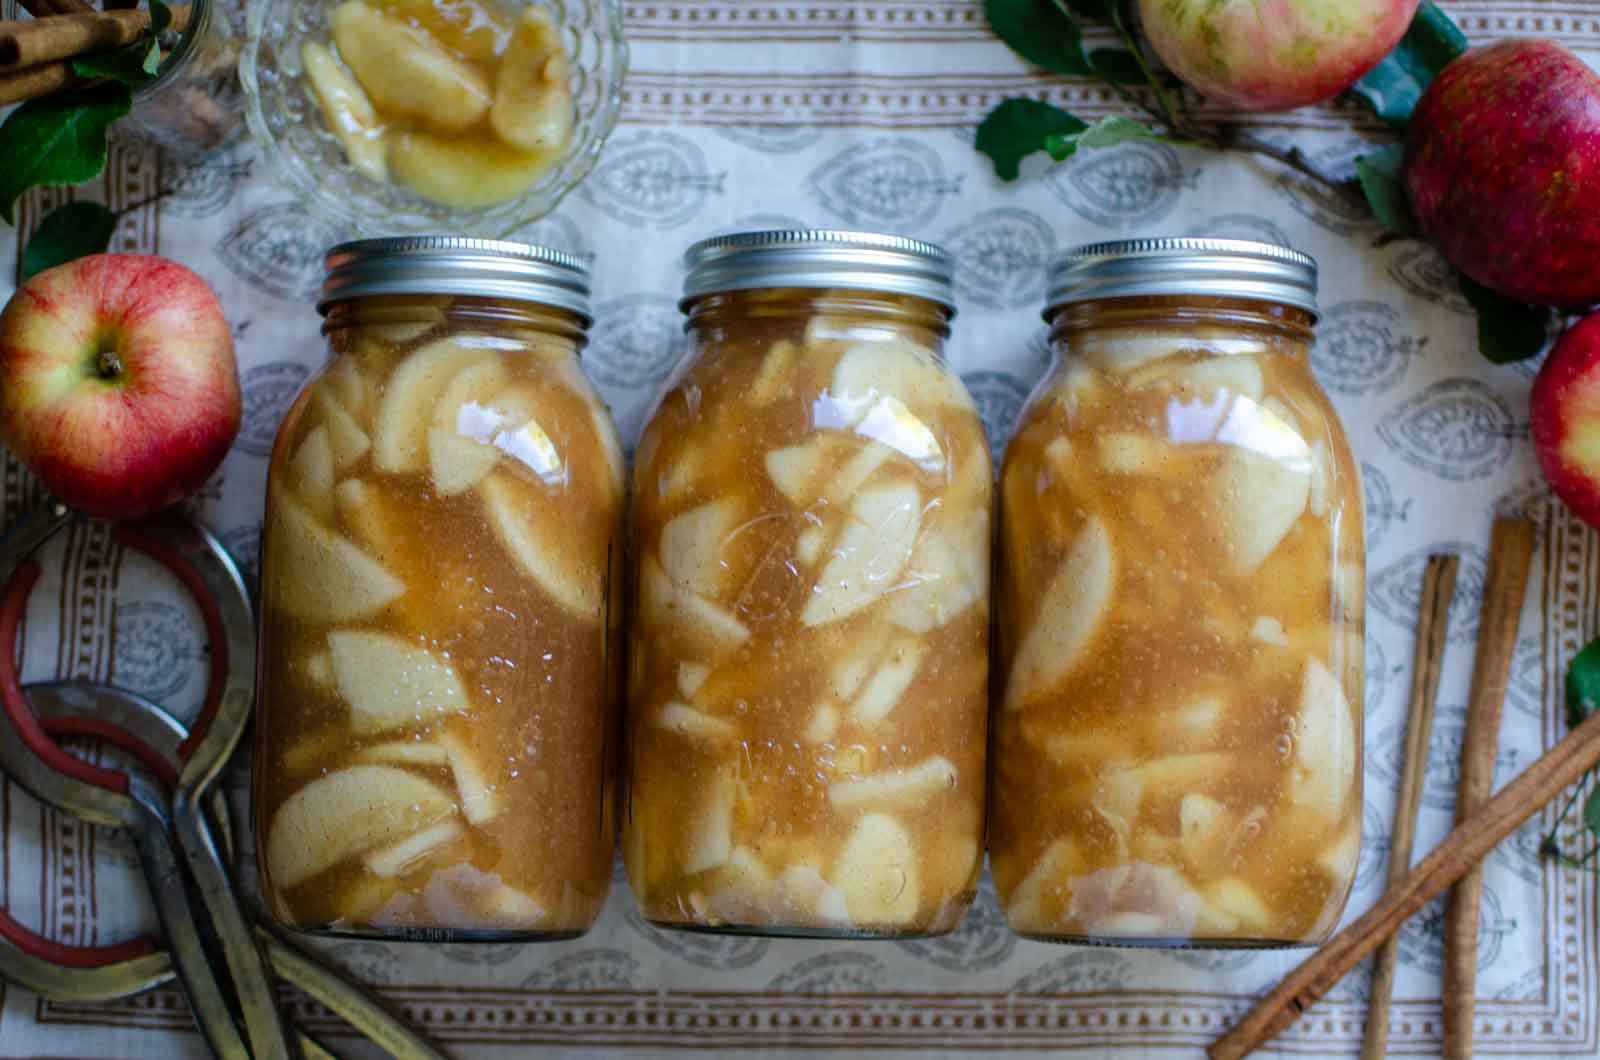
This homemade apple pie filling, made with apples, warm spices, and sweetened with sugar, is rich, delicious, and perfect for any dessert that calls for apple pie filling. You can make this recipe to can in jars or pop batches into the freezer. I love having apple pie filling on hand to make apple crisp, apple pie, or spoon over waffles or pancakes.
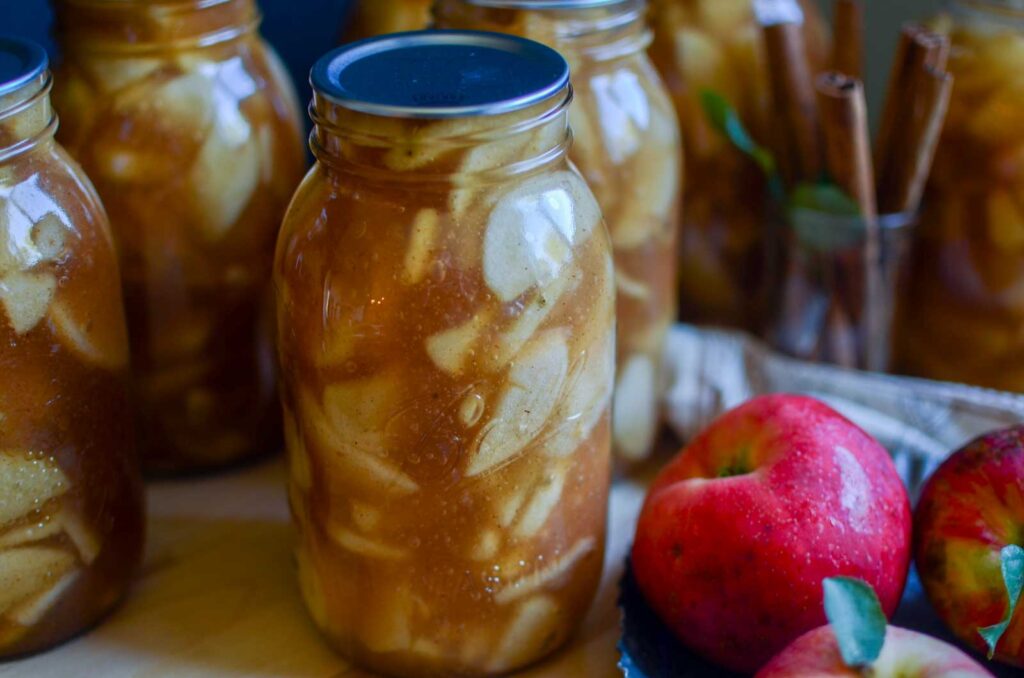
Apple season is a delicious time of year around here. With plenty of apple trees on our property, we enjoy eating the best apples right off the tree, pressing the apples for apple cider, in addition to canning an abundance of apple sauce and apple butter for the pantry shelves.
Home canning is simple to learn and easy to do once you understand what to do and why it matters. For simplicity’s sake, most people start with water bath canning because there’s less of an initial investment and it’s less intimidating. After all, we all understand boiling water. Using a pressure canner is a bit more nuanced, but still fairly simple.
What Type of Apples Should I Use To Make Apple Pie Filling?
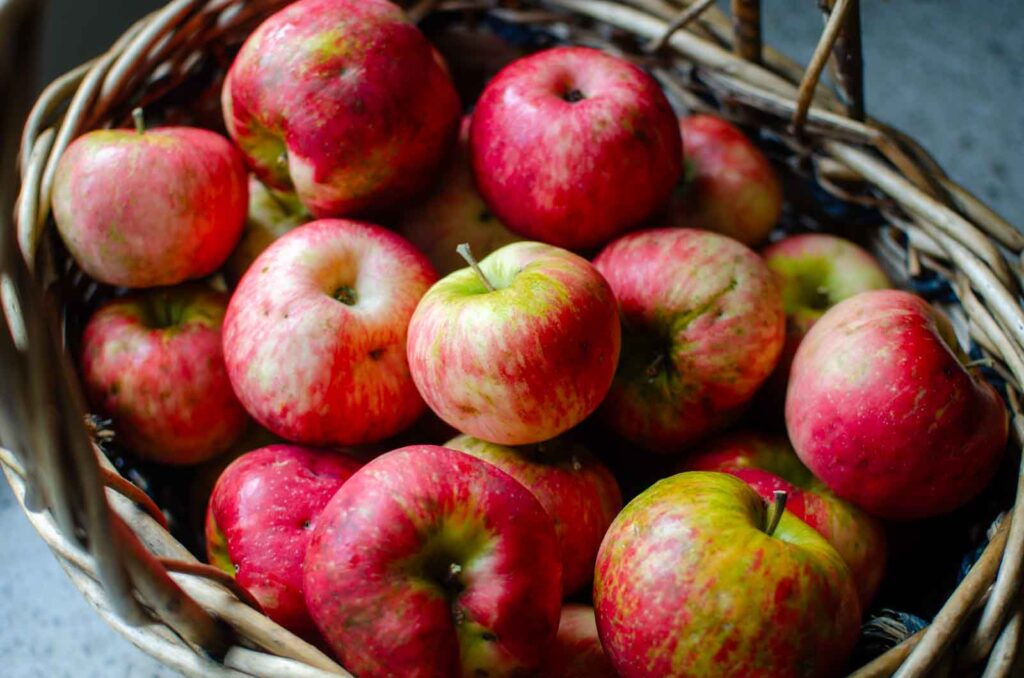
The best apple pie filling begins with choosing the right apples for the task. This can be overwhelming since there are over 100 commercially grown varieties in the States. However, most apples fall into one of two categories, sauce apples or baking apples.
Sauce apples break down when they’re cooked, which is exactly what you need to make great apple sauce. Baking apples hold their shape when cooked and are best in pies, crisps, and canning recipes. A few varieties of apples that hold their shape are Braeburn, Cortland, Honey Gold, Fuji, Gala, Haralson, and Honey Crisp. You can see why you don’t want to confuse the two lest you end up with a sauce that doesn’t sauce or a pile of mush in your pie.
The other factor to consider when choosing apples is their flavor. Apples have a broad range of candy-sweet apples like Fuji and Gala to lip-puckering tart apples like Granny Smith and Pink Lady. While most recipes give suggestions of which variety to use, I love using a combination of apples for the best-layered flavor profile. I suggest experimenting with different apple varieties and then taking notes right on your recipe for easy referencing.
What Is Clear Jel?
Clear Jel is a modified corn starch commonly used when canning acidic foods like pie fillings and sauces because it can tolerate high heat without breaking down during the extended processing time. Other thickeners like flour, corn starch, tapioca, or arrowroot can interfere with heat penetrating the center of the jar during the canning process, which can prevent the bacteria from being destroyed.
When I first began canning apple pie filling, I couldn’t find Clear Jel in any local stores. Later I found that your best bet is to purchase online. Otherwise, if you happen to live by an Amish store, they’re sure to stock it. Be sure to choose the cook-type jel and not the instant jel type for canning pie filling.
Equipment For Easy Homemade Apple Pie Filling
- Quart-size canning jars and two-piece lids
- Funnel
- Ladle
- Water bath canner
- Stockpot
- Jar lifter
- Apple peeler
- Whisk
- Slotted spoon
- Sharp paring knife
- Cutting board
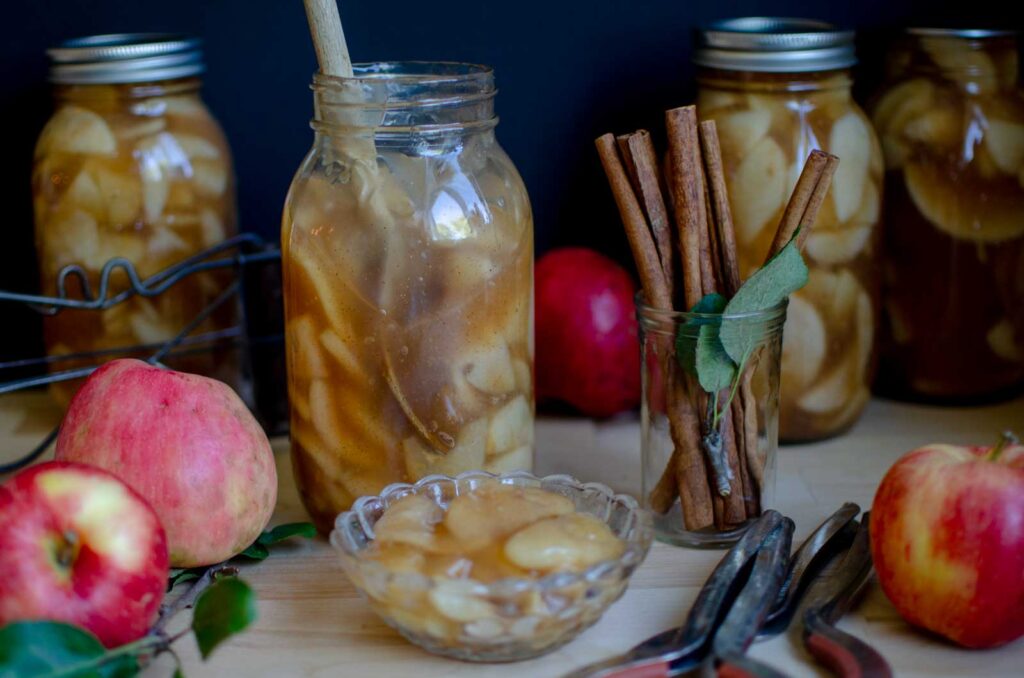
Easy Apple Pie Filling Ingredients
- Apples – Peel, core, and slice apples to 1/2″ thick. Use a combination of sweet and tart apples that will hold their shape during cooking and baking.
- Sugar – Sugar sweetens the pie filling as well as helps preserve the color.
- Clear Jel – Thickens the pie filling just like you’d find in a grocery store pie filling. Combine sugar and Clear Jel before adding any liquid to prevent it from clumping.
- Spices – Cinnamon, nutmeg, allspice, and cardamon flavor the apple pie filling without overpowering apple flavor so it can shine.
- Lemon juice – The lemon juice counterbalances the sweet flavor of the apples and helps keep them from browning.
How To Make Apple Pie Filling
Prep the Apples
Prep a large bowl with water and lemon juice.
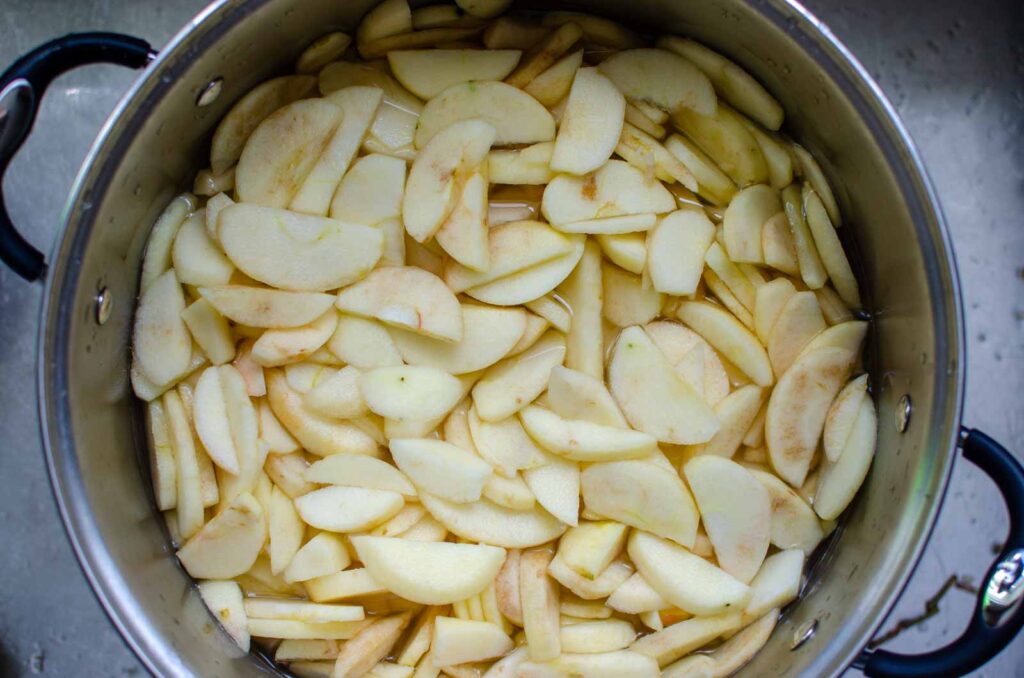
Wash the apples and peel them with an apple peeler. Place the apples in the lemon juice water as you go to keep them from browning.
Next, cut the apples off of the core and into 1/2″ slices. Make sure to remove any remaining core or skin on the slices. Place the apple slices back into the lemon water. (Don’t throw the peels and cores! Instead, use them to make apple scrap vinegar.)
Cook the Filling
Measure 3/4 cup of lemon juice and set aside.
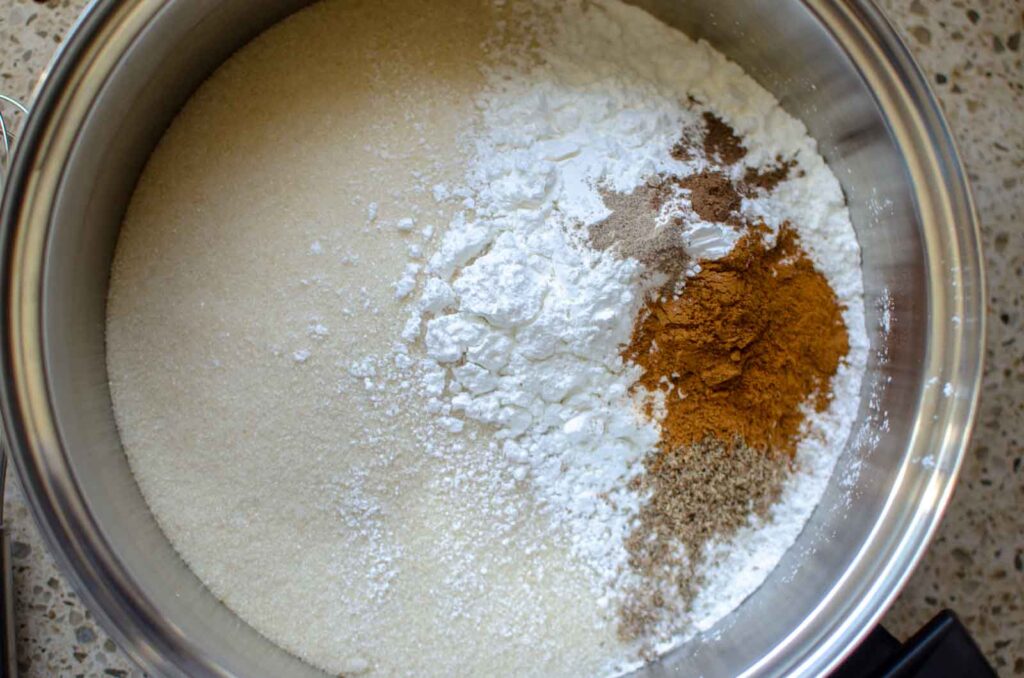
Add 5 cups sugar, 1 1/2 cups Clear Jel, 1 tbsp cinnamon, 1 tsp nutmeg, 1/8 tsp all spice, and 1/8 tsp cardamon to the stock pot and whisk to combine. Next, add 7 1/2 cups of water and whisk, making sure to break up all of the dry clumps.
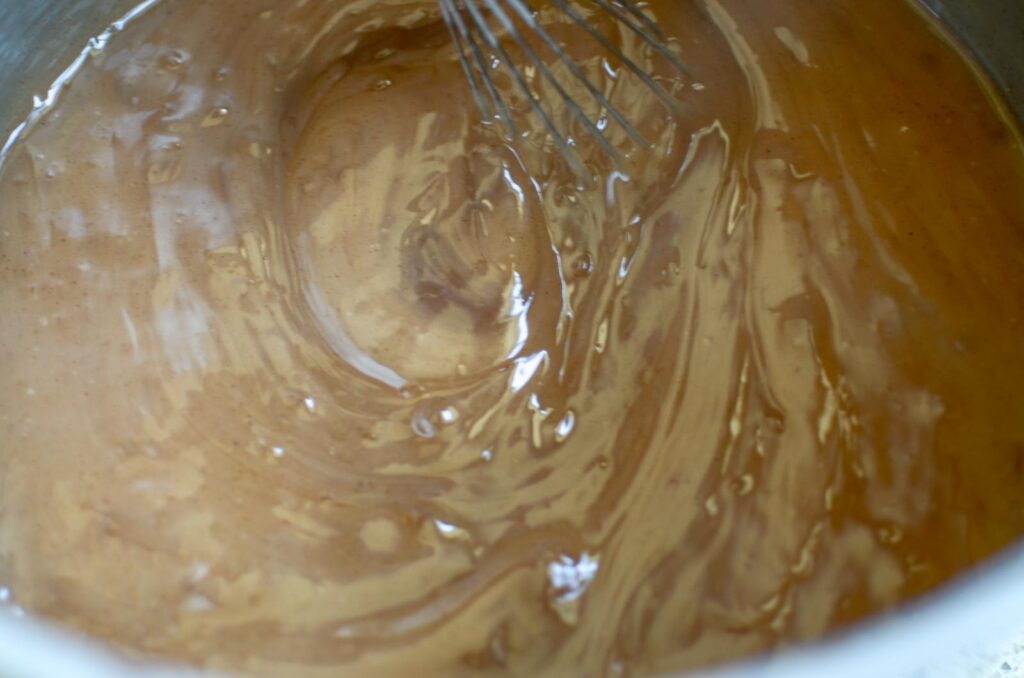
Place the stockpot on the stove and cook over medium-high heat, whisking constantly while you bring the mixture to a boil. Cook the mixture until it thickens and begins to bubble. Whisk in the lemon juice and return to a boil. Boil for one minute.
Use a slotted spoon to lift the apple slices from the lemon water and add to the thick filling. Reduce to medium heat and fold the sliced apples into the mixture. Cook the apples for 5 minutes, stirring continuously, until the apples are tender, but still firm. You can see in the photo below how the apples go from stiff on the left, to a bit softer on the right.
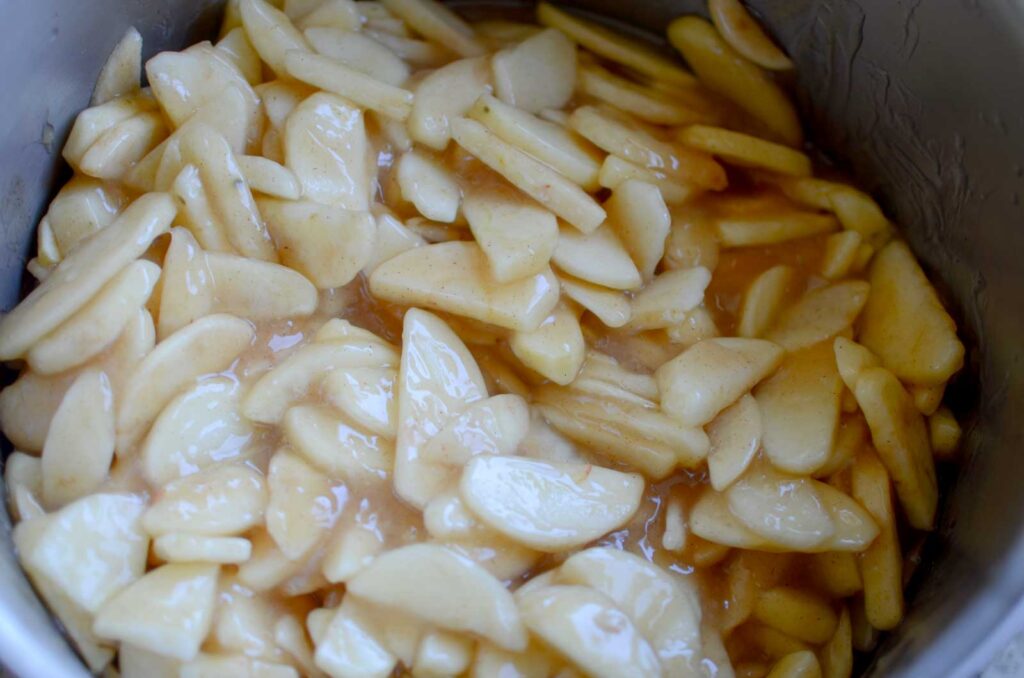
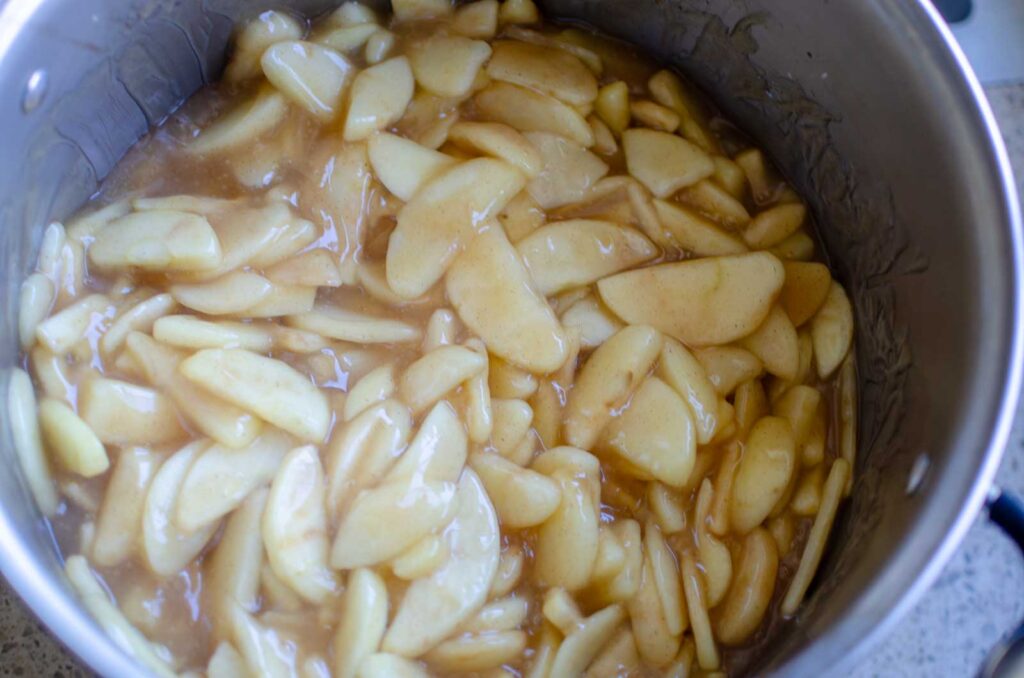
If canning, continue to the next step while the apple pie filling is still hot. Otherwise, let the pie filling cool and place into a container of your choice (mason jars, airtight containers, or bowl covered with plastic wrap) and refrigerate up to 5 days.
How Do I Can Apple Pie Filling?
Canning apple pie filling is a great way to fill your pantry shelves with plenty of canned apple pie goodness to enjoy in the coming months.
Prepare
Inspect the jars and rims to make sure that they’re completely intact, with no visible cracks or chips in the rim or body of the jar.
Fill a water bath canner half full with water and heat over high heat to boiling.
Gather the canning lids and rims.
Fill the Jars
Once the water reaches boiling, it’s time to fill the jars. Place a funnel in quart-size jars and ladle in hot apple pie filling, leaving 1-inch headspace. Repeat until all of the jars are filled.
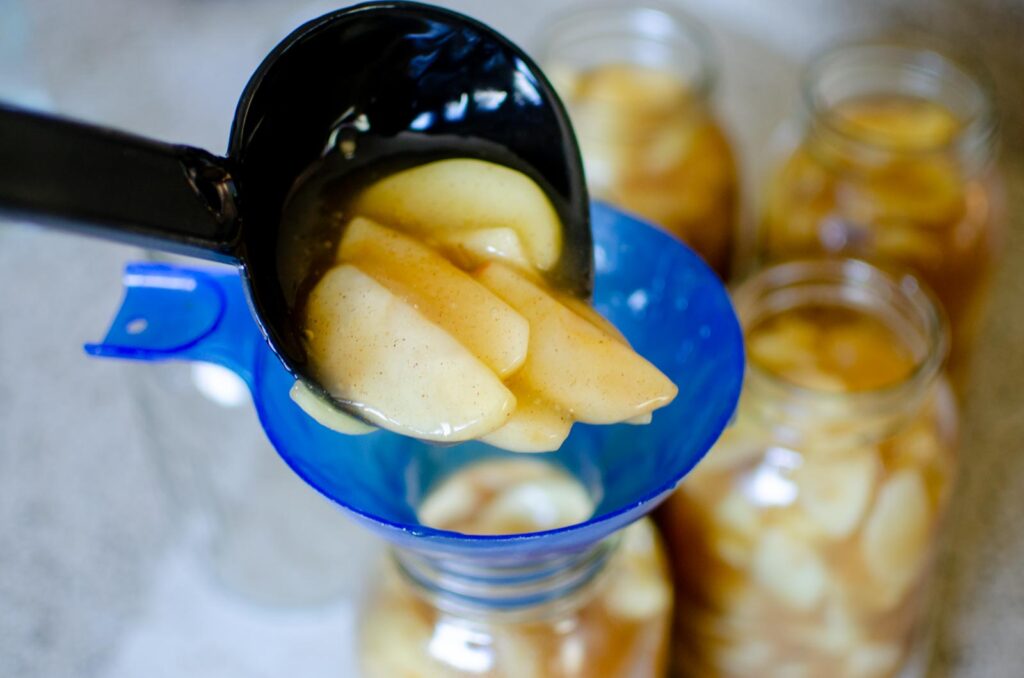
Debubble the jars by inserting a chopstick or small rubber spatula into the jars to shift the food around. The goal is to remove any air bubbles trapped throughout the jar.
Wipe the jar rims with a clean cloth to remove any syrup. Place a two-piece lid on the jars and screw bands until finger-tight.
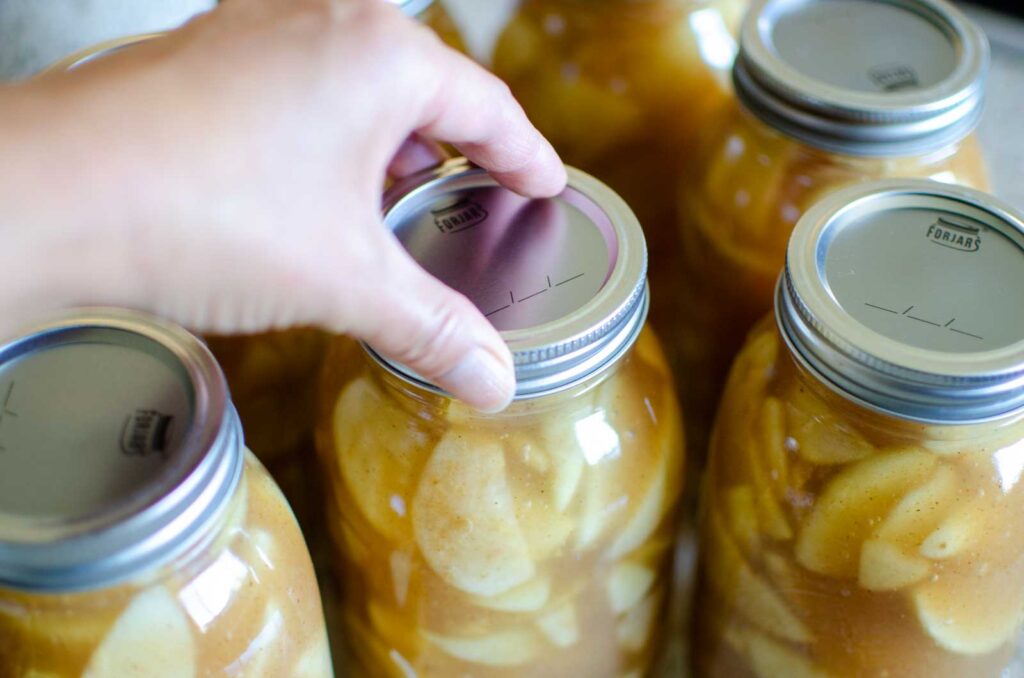
Processing the Jars in Water Bath Canner
Lift jars into the water canner, leaving enough space between the jars so they’re not touching. Add enough water so that the water level is 2 inches above the top of the jars.
Place the lid on the canner and bring to a boil. Once the water is to a rolling boil, set a timer for 25 minutes.
When the timer goes off, turn off the heat and leave the jars in the hot water for an additional 5 minutes.
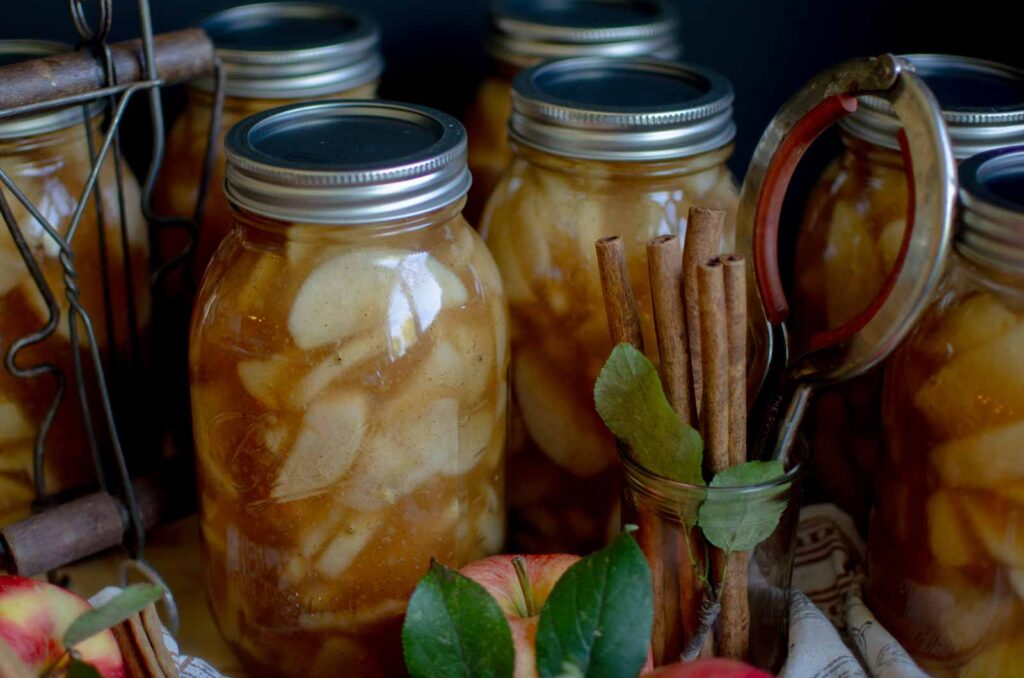
Use a jar lifter to lift the hot jars out of the canner and place them onto a heat-safe surface to cool. Leave undisturbed for 12-24 hours. In that time, the lids will pull down as they cool to create a seal.
Check the jars to make sure they are sealed before storing them in a dark place out of direct sunlight for 12-18 months. Refrigerate any jars that did not seal and use them within 5 days.
How Do I Freeze Apple Pie Filling?
Allow the mixture to cool completely. Spoon the apple pie filling into gallon-size freezer bags, remove as much air as possible, and label with the name and date. Place the bags in the freezer and freeze flat. For best flavor, use frozen apple pie filling within 6 months.
Expert Tips
- Don’t overfill the jars – Leaving the proper amount of headspace helps reduce siphoning as the pie filling is processing.
- Test the flavor before you can – The pie filling flavor will remain the same after it’s canned, so make sure it’s sweet and spiced to your liking before adding to the jars.
- Don’t slice the apples too thin – While choosing baking apples should maintain their shape during the extended processing time, cutting them too thin
- Cooking apples – Cooking the apples a bit before adding them to the jars is referred to as hot pack canning and comes with a few benefits. When the apples are cooked, it helps force out additional air from the apples. This not only allows more apples to fit in each jar, reducing the number of jars needed but also helps the food retain its color and flavor.
How To Use Apple Pie Filling
- Traditional – Just as the name suggests, use apple pie filling in your favorite pie crust to create the well-loved staple.
- Crisps or crumbles – Bake with an oatmeal crisp topping or cobbler batter to make quick work of assembling a dessert in a similar way of making apple pie.
- Pair with your favorite breakfast foods – Substitute apple pie filling for maple syrup to top your favorite sweet breakfast foods like waffles, pancakes, and French toast. Additionally, add a spoonful or two to your morning yogurt, granola, and oatmeal.
I’d love to hear from you! Please leave a comment and rate the recipe. Tag photos #Lockremhomestead over on Instagram when you share pictures of your Apple Pie Filling!
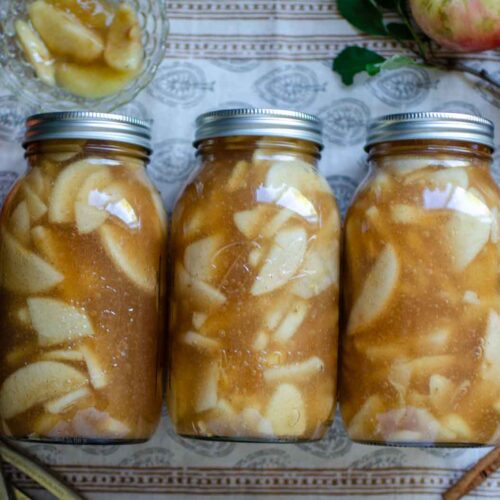
Easy Apple Pie Filling – Canning and Freezing Instructions
Want to Save This Recipe?
Enter your email & I’ll send it to your inbox. Plus, get great new recipes from me every week!
By submitting this form, you consent to receive emails from Lockrem Homestead
Ingredients
- 6 quarts medium to large apples approximately 30 apples
- 5 cups granulated sugar
- 1 tbsp cinnamon
- 1 tsp nutmeg
- ⅛ tsp all spice
- ⅛ tsp cardamon
- 7½ cups water
- ¾ cups lemon juice plus more for soaking apples
Instructions
Prepare
- Inspect the jars and rims to make sure that they're completely intact with no visible cracks or chips in the rim or body of the jar.
- Fill a water bath canner half full with water and heat over high heat to boiling.
- Gather the canning lids and rims.
Fill the Jars
- Once the water reaches boiling, it's time to fill the jars. Place a funnel in quart-size jars and ladle in hot apple pie filling, leaving 1-inch headspace. Repeat until all of the jars are filled.
- Debubble the jars by inserting a chopstick or small rubber spatula into the jars to shift the food around. The goal is to remove any air bubbles trapped throughout the jar.
- Wipe the jar rims with a clean cloth to remove any syrup. Place a two-piece lid on the jars and screw bands until finger-tight.
Processing the Jars in Water Bath Canner
- Lift jars into the water canner, leaving enough space between the jars so they're not touching. Add enough water so that the water level is 2 inches above the top of the jars.
- Place the lid on the canner and bring to a boil. Once the water is to a rolling boil, set a timer for 25 minutes.
- When the timer goes off, turn off the heat and leave the jars in the hot water for an additional 5 minutes.
- Use a jar lifter to lift the hot jars out of the canner and place them onto a heat-safe surface to cool. Leave undisturbed for 12-24 hours. In that time, the lids will pull down as they cool to create a seal.
- Check the jars to make sure they are sealed before storing them in a dark place out of direct sunlight for 12-18 months. Refrigerate any jars that did not seal and use them within 5 days.
How To Freeze Apple Pie Filling
- Allow the mixture to cool completely. Spoon the apple pie filling into gallon-size freezer bags, remove as much air as possible, and label with the name and date.
- Place the bags in the freezer and freeze flat. For best flavor, use frozen apple pie filling within 6 months.

I know you’re going to LOVE this recipe! It’s one of our family favorites. Plus, don’t forget that you can leave a comment or ask me a question here, and I’ll get back to you!