Waste Free DIY 5-Gallon Chicken Feeder
This post may contain affiliate links. As an Amazon Associate, I may receive a small commission, at no cost to you, if you make a purchase. Please read our disclosure policy.
Learn how to make this waste-free DIY chicken feeder from a five-gallon bucket. Have you ever seen chickens eat out of traditional chicken feeders? Food spills everywhere. And with the rising feed costs, we want to find ways to eliminate waste where we can.
How these ports are positioned in the 5-gallon bucket feeder helps to reduce food waste because the chickens need to reach into the feeder to access their feed instead of having the food right up to the edge of the feeder.
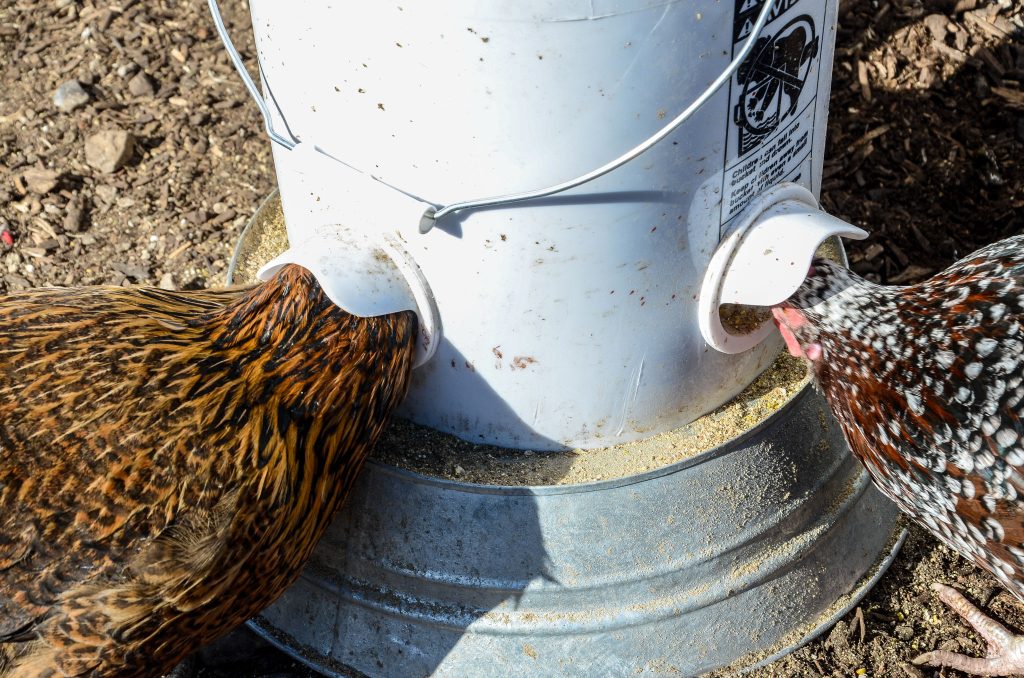
Chickens eat many small portions throughout the day versus one or two large meals. To meet the chickens’ needs, having access to feed at all times is a must. But let’s be honest, constantly refilling a feeder is an inefficient use of time.
We have used traditional red and white feeders from feed stores for the past two years for our egg-laying hens, but we recently decided it was time to upgrade the feeder to help streamline some of our processes on the homestead. I’ve seen other gravity-fed chicken feeders online, some using long tubes of PVC pipe to make into a food tunnel, but we ultimately decided to use this one because it seemed easier to refill. Plus we already had the bucket and lid, we just needed the No Waste Chicken Feeder Kit which kept the cost relatively low.
I love that this is a low maintenance feeder, only needing to refill once the feed reaches the bottom of the bucket. Which means you can go a long time in between filling the feeder. For our size flock, it’s about once every two weeks. So easy to assemble, it only took 10 minutes from the start to the finished product.
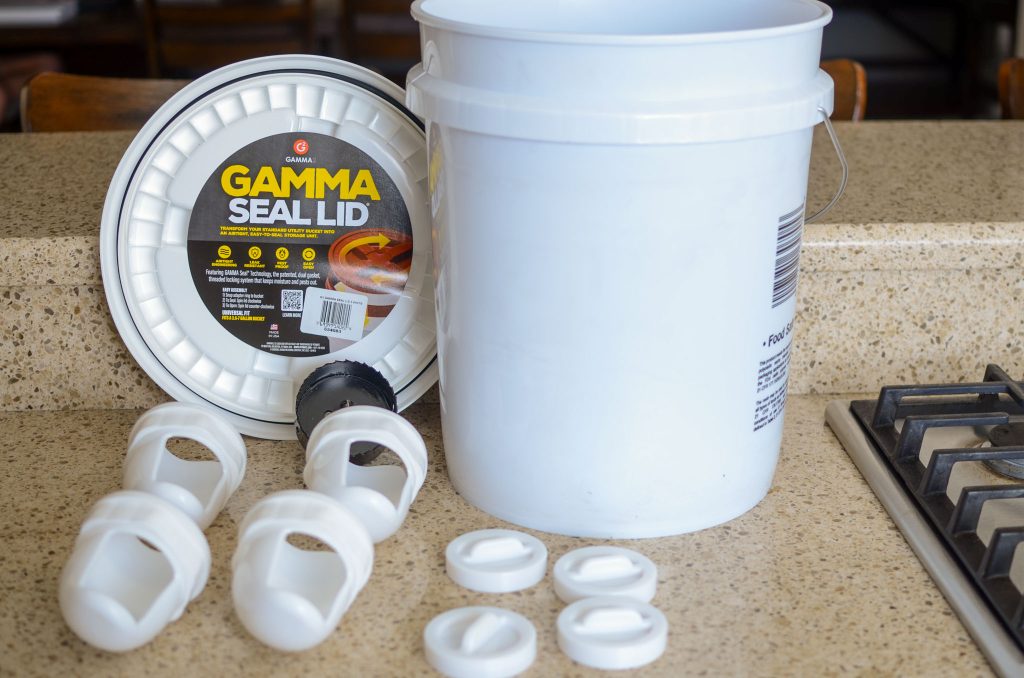
Equipment for Easy DIY Chicken Feeder
- No Waste Chicken Feeder Kit
- 5-gallon food grade bucket
- Tight-fitting lid. We used a Gamma lid for ease of opening to refill
- Drill
- Masking tape (optional)
- Razor knife
- Sharpie or marker
Measure
- Wash the bucket and wipe dry.
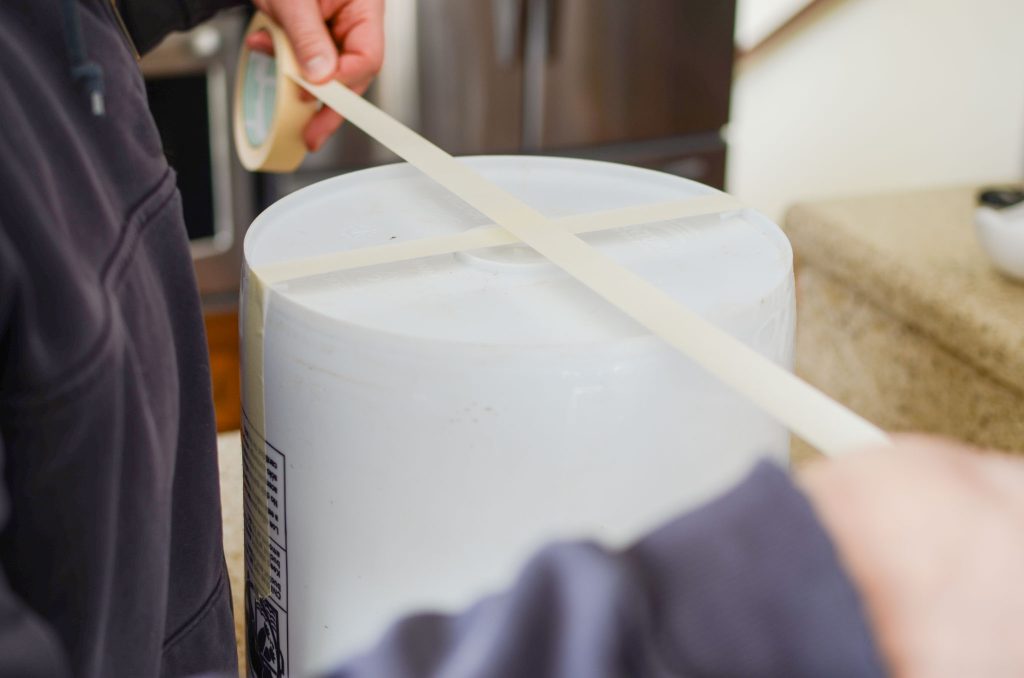
- This next step is optional, but because Scott is so good at laying out measurements and such, he wanted the ports to be evenly spaced around the bucket. If this isn’t important to you, skip this step. Flip the bucket upside down and using masking tape, tape an X on the bottom with a bit of tape going up the sides of the bucket. This will ensure that the ports are evenly spaced on all sides of the bucket.
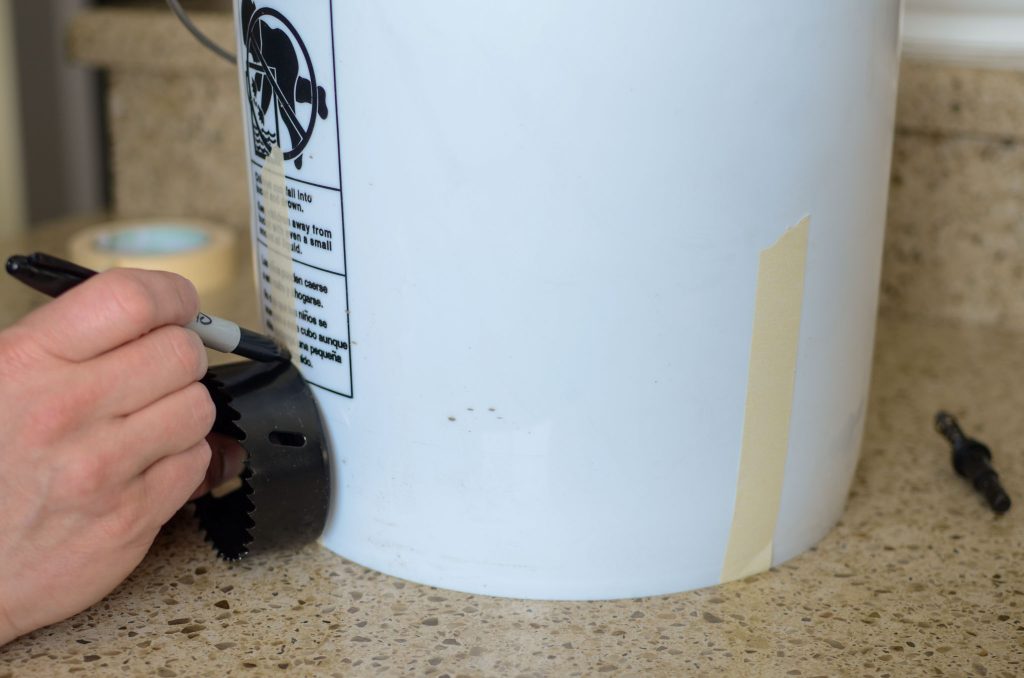
- The kit comes with a circle cutter the exact size needed for the ports to have a tight fit. The circle cutter doubles as a ruler to measure how high up the bucket to mark where on the bucket to drill the center of the hole.
- With the bucket right side up, set the circle cutter on its side next to the bucket in front of the tape. Use a sharpie or pen to mark the top of the circle cutter. Repeat on all 4 sides.
Cut
- With the sides marked, lay the bucket on its side and place the center bit of the circle cutter on the mark you made to cut the hole. (Cutting through plastic makes a mess from the shavings, this is best done outside.) Cut the hole out and discard. Repeat on all 4 sides.
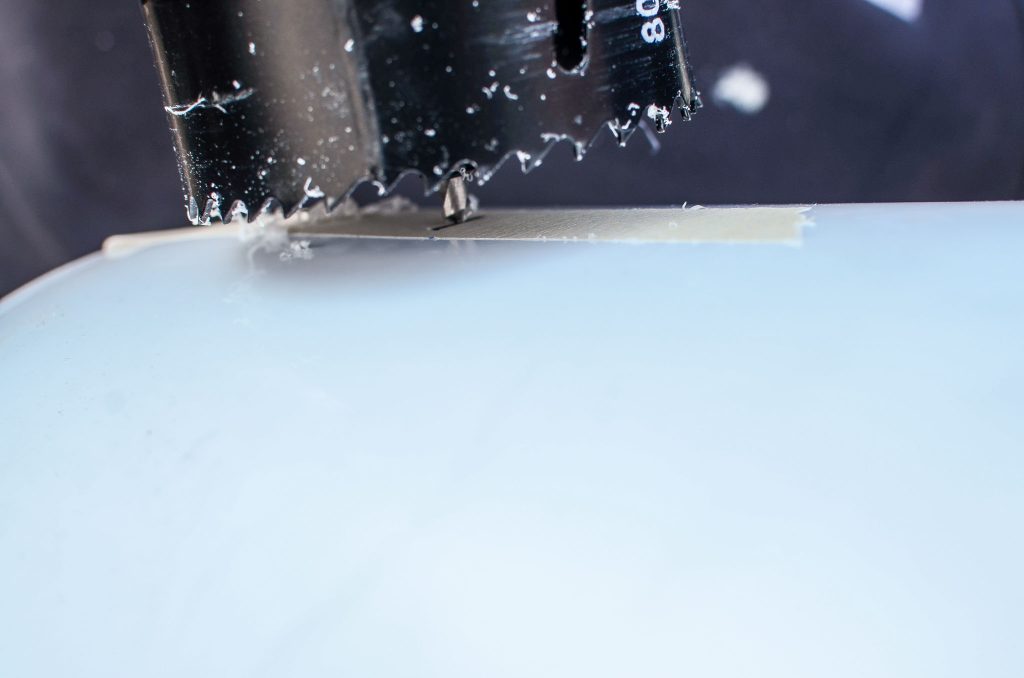
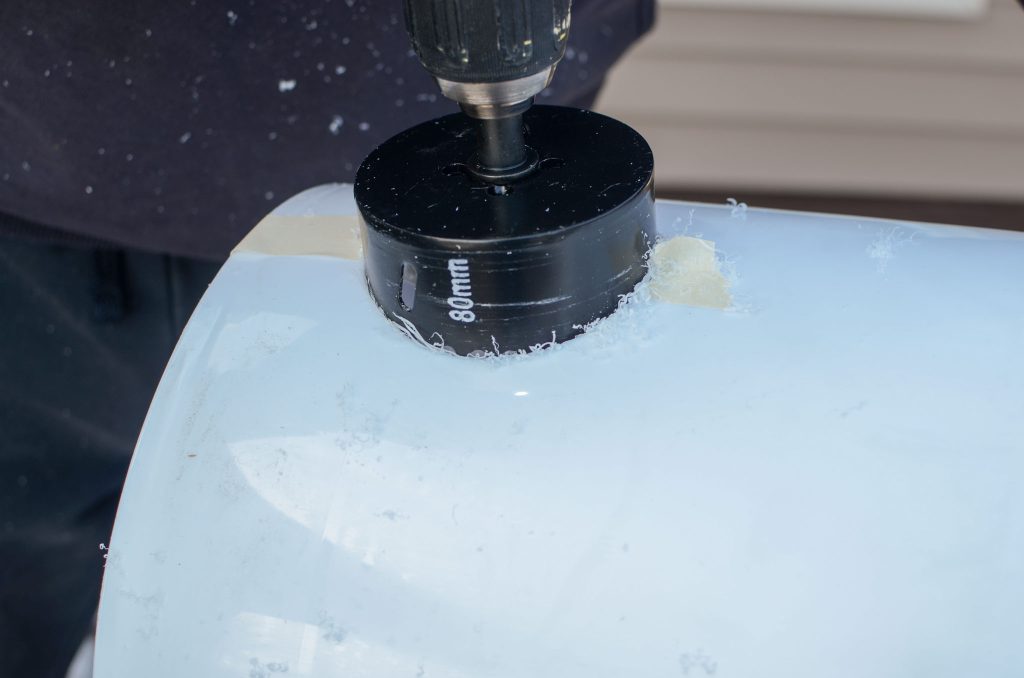
- Use a razor knife to shave off any sharp edges left from cutting.
Assemble
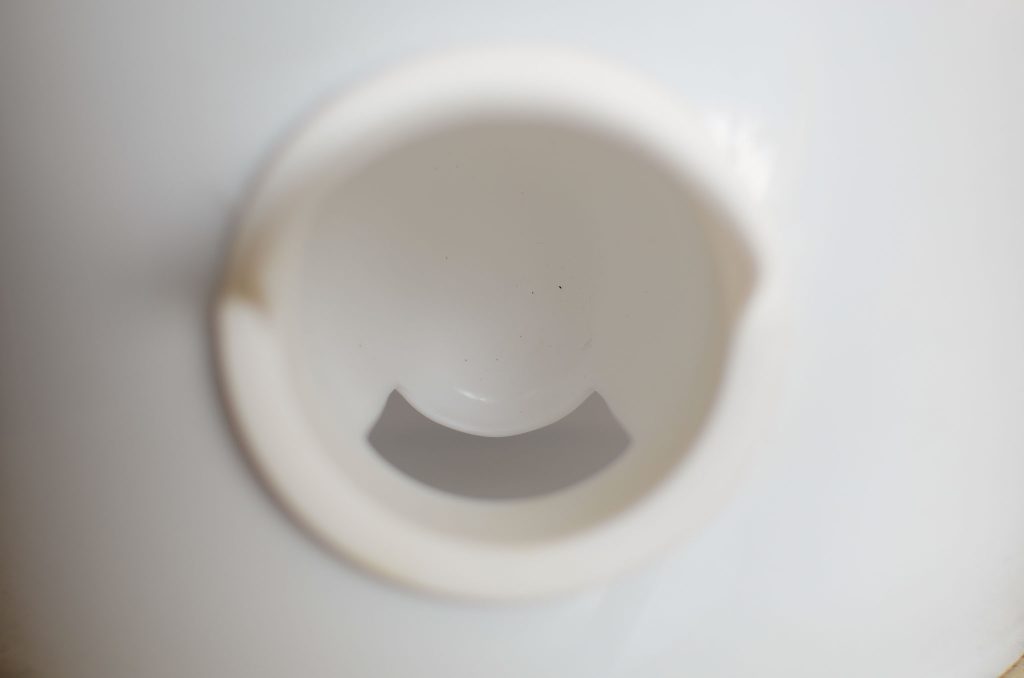
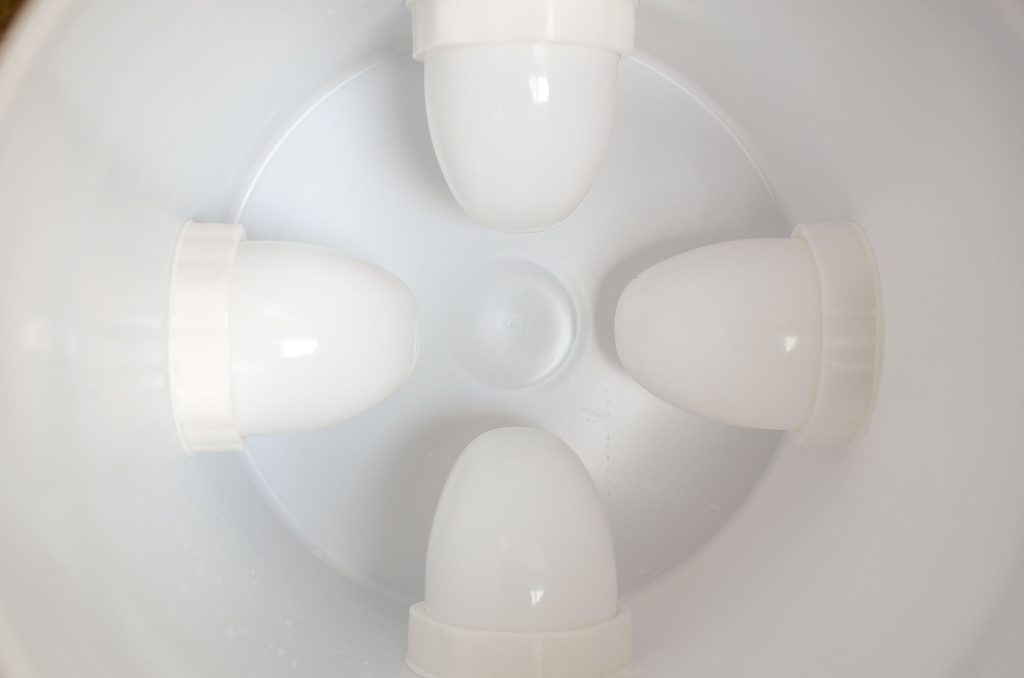
- Insert the rounded part of the feeder port, into the bucket, making sure that the rubber seal is on the outside of the bucket. On the inside of the bucket, fasten the bushing (circular ring) to hold the feeder port in place, making sure the cutout is facing down. Repeat on all four sides.
Fill the feeder to the top of the bucket with your chicken feed. As you can see, the feed stays in the bucket, even though its full.
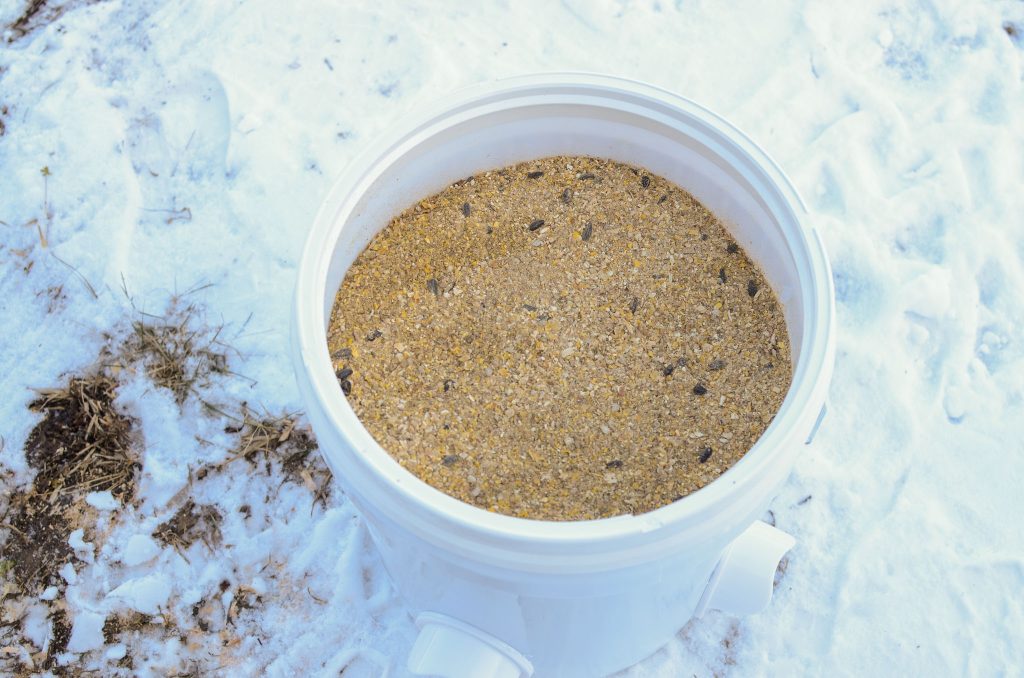
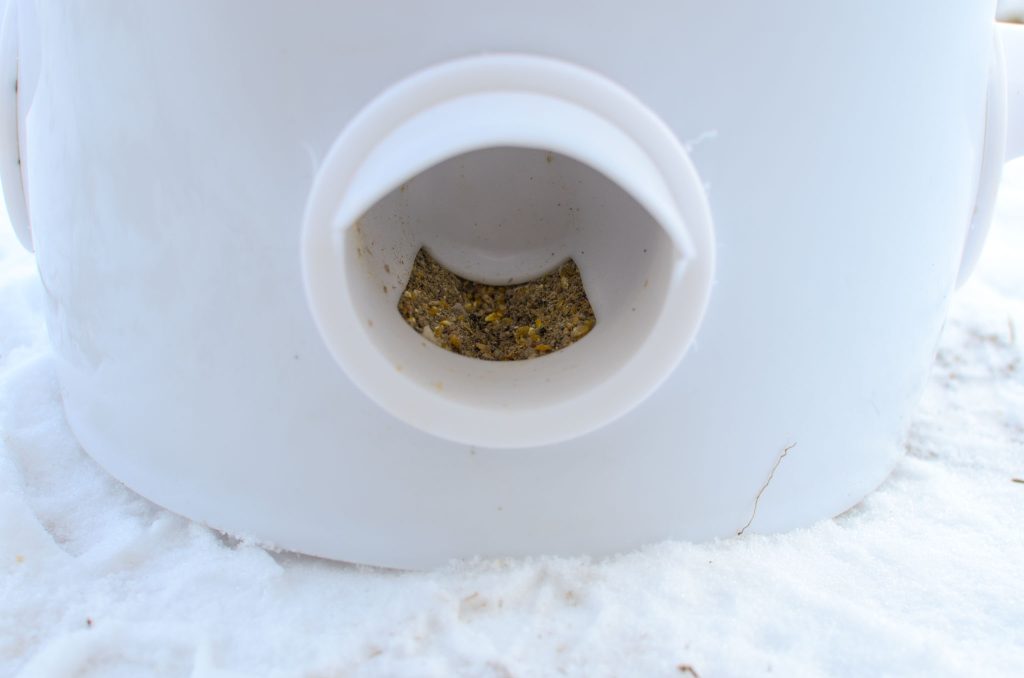
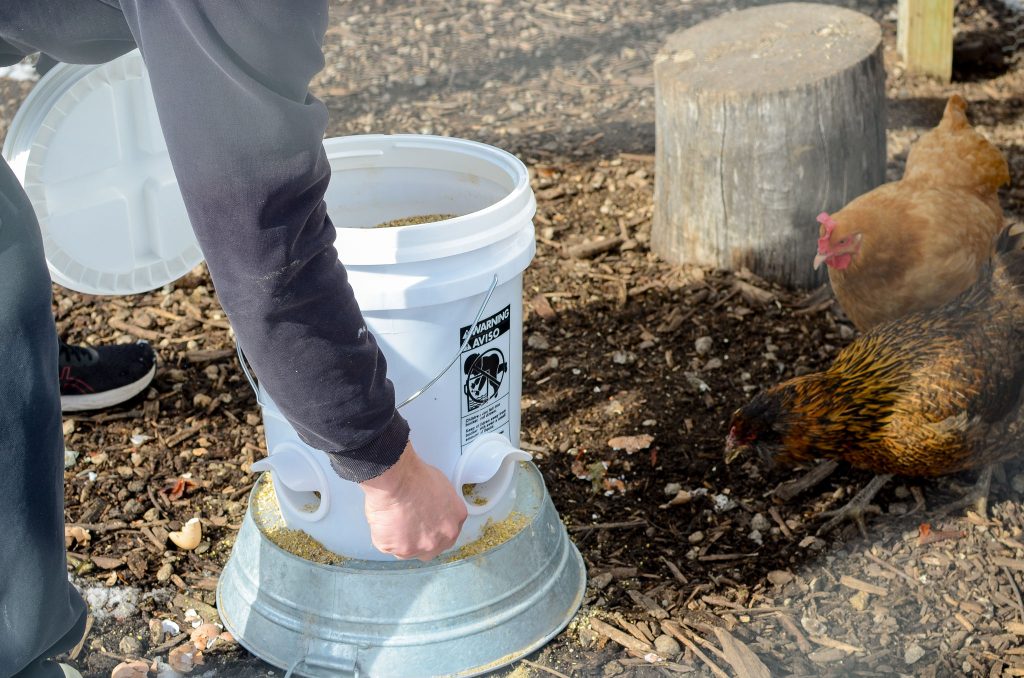
The height of the ports is too low to the ground for a chicken to comfortable reach into them. To remedy this, raise the feeder to a comfortable height using cinder blocks, a feed pan flipped upside down or paver stones.
The girls were curious about the feeder the moment we put it into the run. Spreading some of the feed outside of the ports teaches the chickens what it is and how to use it. To help with the transition to the new feeder, the old chicken feeder remained in the coop for the first couple days. Within a week, they were all eating from the new feeder.
Ways to Customize the Chicken Feeder
We used a 5-gallon bucket, but you could easily do this on any type of container.
- A large plastic garbage bin
- 95-quart storage container
The number of ports you need will depend on the number of chickens you have. You may want to make more than one five-gallon feeder if you have a large flock.
Even though the bucket holds quite a bit of food, it’s still easy to move in and out of the chicken coop on warm days. If you prefer a hanging feeder, it’s easy to use a rope and hang it inside the chicken coop. If you hang, use two ropes and fasten the bucket at two different points so the bucket doesn’t spin.
You and your girls will enjoy this easy 5-gallon bucket chicken feeder and I’d love to hear about it! Leave me a comment below and tell me how long your feed lasts in this feeder.

